Accessible Entryway Layout: Wheelchair Turning Space
Plan a wheelchair-friendly home entry with a flush threshold, usable door approach, turning space, reachable storage, seating, lighting, and dry routes.
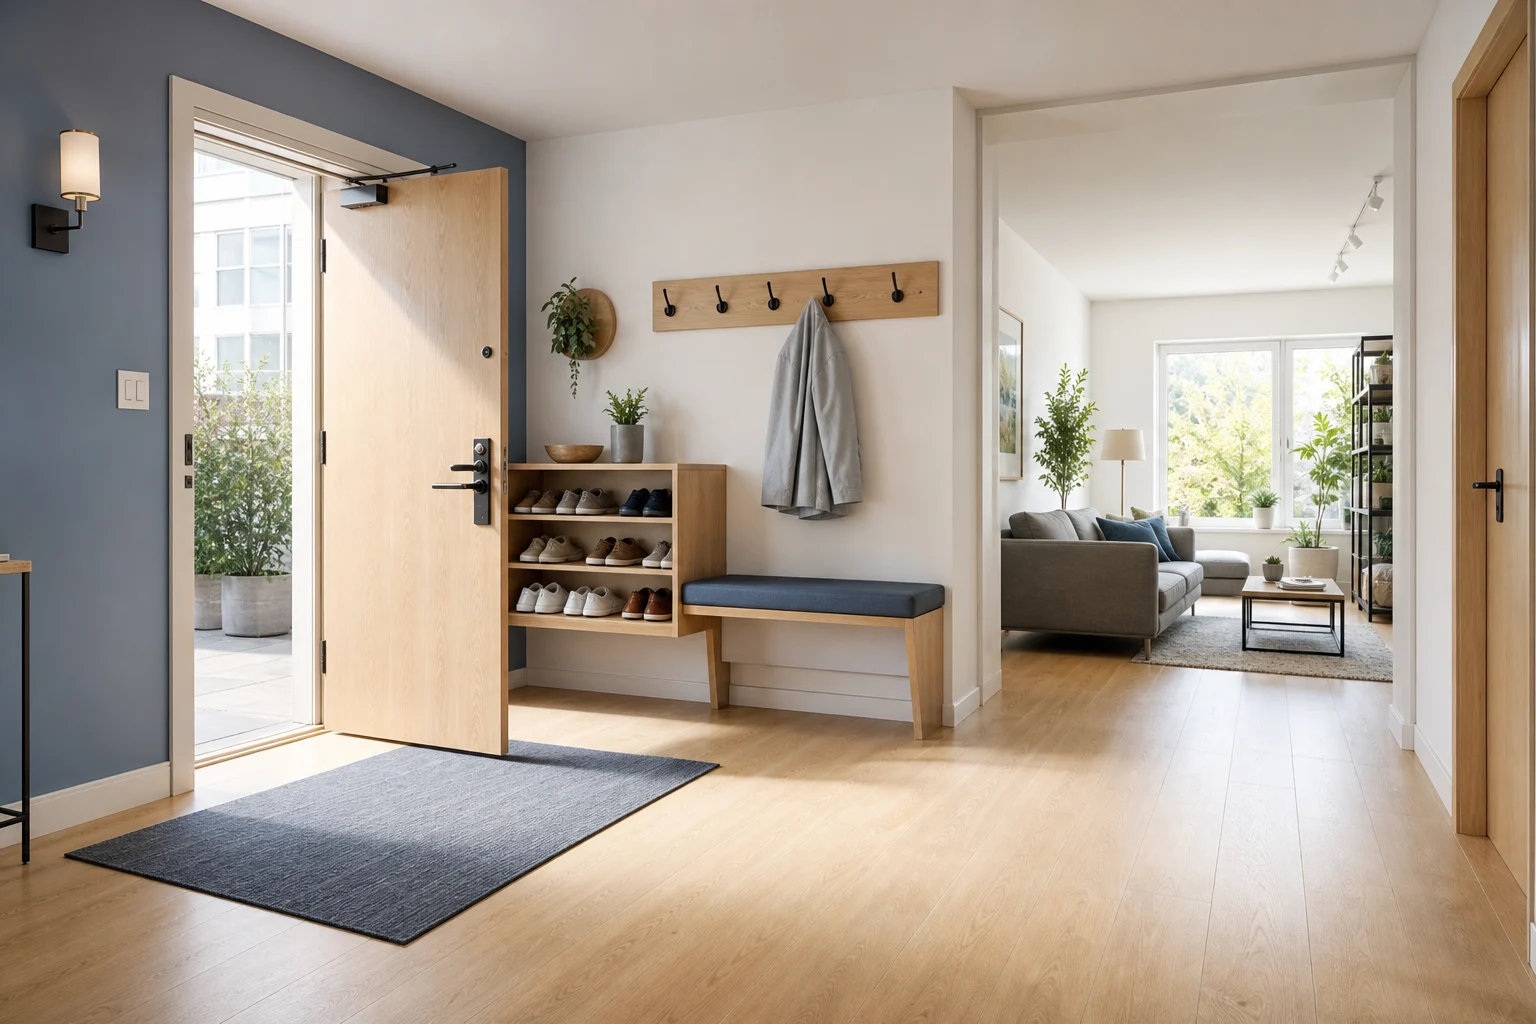
An accessible entry is a sequence from the public path to a safe interior transfer point. Door width alone does not solve a steep approach, raised threshold, unreachable lock, loose mat, or shoe cabinet occupying the turning area. Plan arrival in rain, carrying bags, with the door moving and another person nearby.
Begin Outside the Door
Trace the route from parking, sidewalk, or elevator. Check slope, cross-slope, surface stability, drainage, lighting, weather protection, gates, and any intercom. A level interior cannot compensate for a step at the building entrance.
Apartment residents may share common areas controlled by an owner or association. Coordinate modifications and applicable accessibility, fire, and egress requirements before assuming a private-door change is permitted.
Measure Clear Opening and Approach
Use the door's clear opening when open, not the nominal leaf width. Hinges, stops, handles, and the door thickness reduce passage. Local requirements define minimums and approach clearances; consult the applicable code and a qualified accessibility professional.
Approach space differs on pull and push sides. A wheelchair user opening a pull door needs room beside the latch to position, reach, and move backward as the leaf swings. A corridor that is wide only directly in front of the door can still fail.
Eliminate the Threshold Barrier
Aim for a flush or appropriately detailed minimal threshold while maintaining weather and water protection. Exterior drainage, sill pans, seals, and floor transitions must work as a system. Do not simply remove a threshold and create a leak path.
Mats should be firm, stable, slip resistant, and secured so edges do not curl under casters. Deep coir mats and loose rugs can become barriers even when they look appropriate for an entry.
Reserve Clear Floor and Turning Space
Keep the landing clear when the door, closet, shoe drawer, bench, and parcel shelf are in use. Turning requirements depend on jurisdiction and configuration; model the actual wheelchair and user technique rather than drawing a generic circle alone.
Avoid placing a console corner where knees or footplates need to sweep. A wall-mounted cabinet can provide floor visibility and toe clearance, but its projection and open doors must be included.
Put Hardware Within Reach
Use operable hardware that does not require tight grasping or twisting where appropriate, such as lever handles. Coordinate lock, latch, viewer, smart controls, light switches, and intercom within usable reach ranges. Check them from both sides of the door.
Door closers should not make the leaf excessively heavy or close before the user clears it. Automatic operators can help in some settings, but sensors, power, manual operation, and fire requirements need professional coordination.
Design Storage for Seated Use
Provide hooks, shelves, and a landing surface at several heights rather than putting everything overhead. A shallow open zone can hold a daily coat or bag. Draw cabinet pulls and doors so they do not occupy the clear approach.
Shoe changes may require a stable bench with clear transfer space and room for footrests. Some users remain in the wheelchair and need open knee space at a mirror or shelf. Ask the actual users instead of assuming one universal setup.
Create a Dry, Well-Lit Transition
Weather cover gives time to unlock the door without rain. Inside, provide an absorbent but low-profile surface and a place for wet items that does not narrow the route. Drainage should move water away from the threshold.
Use even, glare-controlled lighting with switches or sensors that activate before the user enters. Avoid strong reflections on glossy floors that obscure edges. Contrast can help identify the door, hardware, and storage without making the home feel institutional.
Connect to the Rest of the Home
The accessible route should continue to essential living spaces. Check the first turn after the foyer, especially where a sofa, island, or stair begins. A generous entry that immediately narrows at a console is not a continuous route.
Provide a safe parcel location and consider how a visitor, caregiver, or delivery person shares the space. Keep emergency egress clear and avoid storage that gradually migrates into the path.
Test Arrival in 3D
Build the exterior approach, door leaf, latch-side space, wheelchair footprint, turning movement, bench, open storage, mats, and first interior turn in the Aedifex room planner. Use the 3D demo perspective at seated eye height, and coordinate welcoming materials in the interior planner.
Accessible Entry Checklist
- Verify the continuous route from site or building entrance.
- Measure clear opening and push- and pull-side approaches.
- Detail a flush, drained, weather-tight threshold.
- Keep turning space clear with every door and drawer open.
- Place hardware, controls, storage, and mirrors within user reach.
- Provide stable seating or knee space based on actual needs.
- Use firm surfaces and even, low-glare lighting.
- Protect the route into essential rooms and emergency egress.
Accessibility is user-specific and code-dependent. After professional requirements are identified, register to save measured alternatives and review the route from outside to living space as one continuous experience.