Cordless Vacuum Charging Layout: Reach, Power, Storage
Arrange a cordless vacuum charging station around lifting clearance, battery ventilation, accessible power, attachment storage, and daily cleanup routines.
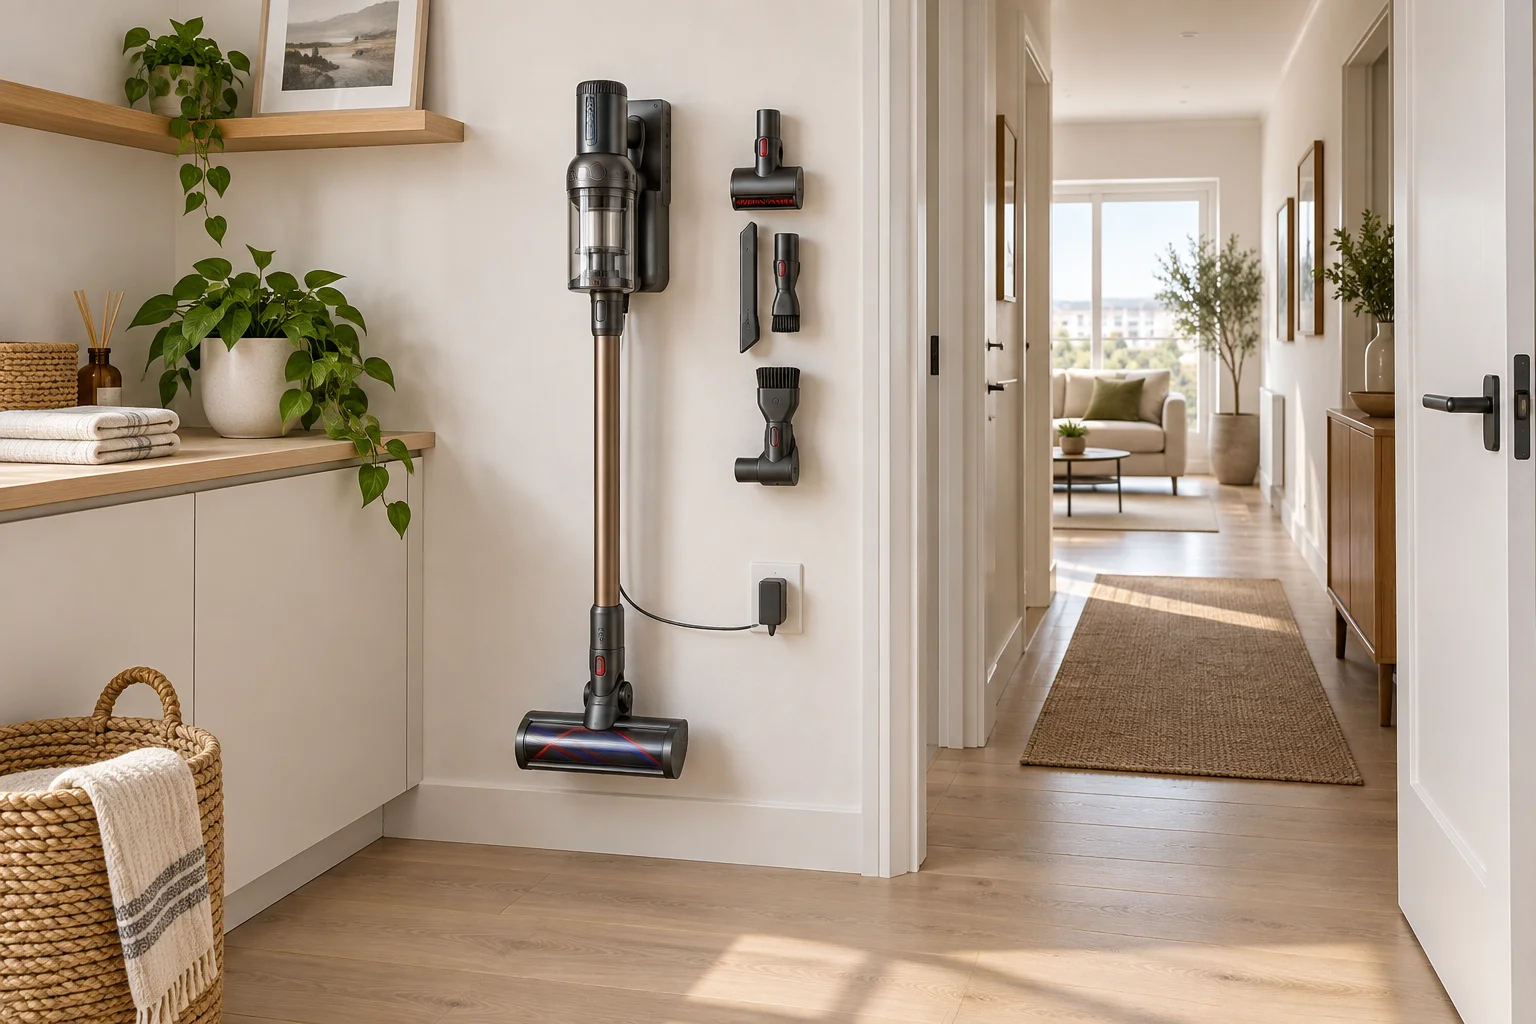
A cordless vacuum earns its place by being easy to grab for a short cleanup. If retrieving it requires opening two doors, removing a bucket, and untangling a charging cable, the storage arrangement defeats that advantage. Design the charging position around one continuous motion: approach, release, lift, clean, and return.
The right dimensions come from the actual vacuum and its approved charging hardware. Different models detach vertically, tilt outward, or charge through a removable battery. This guide helps you compare those actions in a room plan. It does not replace the manufacturer's electrical, mounting, battery, or ventilation instructions.
Measure the Release Motion Before the Wall Space
Record the assembled height, floor-head width, handle depth, and charging bracket dimensions. Then dock and remove the vacuum while someone marks the furthest point reached by the handle and cleaning head. This swept space is usually larger than the static outline shown on a retail listing.
For example, a 1,180 mm tall stick vacuum may need another 80 mm of upward travel before it releases from a bracket. A shelf placed 1,200 mm above the floor could therefore block removal even though the vacuum fits beneath it. These figures describe an example, not a recommended mounting height. Use the real release distance and the user's comfortable grip position.
Test With the Shortest Regular User
Let each adult user retrieve the appliance without standing on tiptoe or bending awkwardly. The heaviest part is often near the handle, so an apparently modest change in bracket height can alter the lifting effort. A lower mount may be easier to release but may conflict with the floor head or force an uncomfortable reach downward.
If the chosen position works only for one person, consider a compatible freestanding dock or separate battery charging arrangement allowed by the manufacturer. Confirm stability, cable access, and the force needed to disengage the vacuum before committing to either option.
Compare Wall Mounting and a Freestanding Dock
A wall mount keeps floor space available but needs a suitable fixing surface. Identify the wall construction, service routes, mounting pattern, and approved fixings before drilling. Do not assume a lightweight cabinet back can support repeated outward pulling. In rented homes, check the conditions for alterations before installing permanent fixings.
A freestanding dock avoids some wall work but adds a base that can trip users or prevent a cabinet door from closing. Measure the base, not just the vacuum. Check whether it remains stable while the vacuum is removed with one hand, and avoid improvising supports or modifying the supplied charging components.
In a narrow hall, neither option should reduce the usable passage. Put the station in a utility recess or another accessible position outside the door swing. A device that is easy to retrieve is still badly placed if its handle catches coats or blocks the exit.
Design the Cabinet Around Charging Conditions
A closed cupboard is visually tidy, but it is not automatically an appropriate charging location. Read the specified temperature range, ventilation requirements, and restrictions on charging within enclosed spaces. Do not guess a grille size or claim that a gap under the door guarantees sufficient cooling.
If the manufacturer does not support the planned enclosure, choose an open approved location or ask the supplier for guidance. Keep the charger away from wet mops, leaking cleaning products, and piled fabrics. The cleaning closet guide addresses the wider storage system; the charging bay needs its own assessment within that system.
Keep the Plug Reachable
Place the outlet so it remains accessible after the vacuum is installed. A plug trapped behind a screwed-in divider is not a convenient power arrangement. Use the approved charger and follow local electrical requirements. Any new outlet or modification should be handled by a qualified electrician.
Measure the supplied cable before finalizing the station location. Route it clear of the release mechanism and the floor head. Prevent a loose loop from falling into a walking route, and do not stretch the cord across a cupboard hinge or door edge.
Store Attachments by Frequency of Use
Place the crevice tool and small brush where they can be selected without removing the vacuum. A shallow compartment often works better than a deep bin because users can see which attachment is missing. Measure the actual tools, including their locking buttons, rather than designing identical holes for differently shaped parts.
Keep a separate space for items awaiting drying or cleaning. Washable filters must dry fully according to the instructions before being refitted; the charging bracket is not a drying rack. A clean, dry spare filter can have a labeled position without being stored against a warm charger.
Do not store sharp tools, loose metal items, or liquids alongside exposed battery contacts. Follow battery storage instructions, and stop using damaged charging equipment. The goal is an orderly station with visible parts and an unobstructed power connection, not maximum packing density.
Make Emptying Part of the Layout
The station and waste bin do not need to touch, but the route between them should be short enough for routine emptying. Check how the dust cup opens: downward dumping requires clear space below, while removing a whole canister may need a landing surface. Avoid positioning the charging bracket directly above a bin if the bin blocks release or encourages dust to collect on the charger.
An example utility wall might have a 650 mm wide charging bay beside a separate 350 mm cleaning-supply section. Those widths are only placeholders until the appliance is measured. Keep the bin independently accessible, and check whether its lid can open while the vacuum remains docked.
Simulate a Ten-Minute Cleanup
Imagine crumbs under a dining table. Retrieve the vacuum, attach the small tool, clean the area, empty the cup, and return the appliance. Count the doors opened and objects moved. A station in the laundry cupboard may be close in distance yet slow to use if a drying rack blocks its entrance every afternoon.
Then simulate a longer cleanup with the floor head and an accessory change. Where does the removed tool go during the task? A small temporary tray can prevent attachments from landing on the floor. Return everything in the intended order and check that the final charging connection is easy to see.
Use the room planner to compare the wall-mounted and freestanding footprints, adding the outward release zone as a separate object. The demo offers a way to inspect circulation in three dimensions. Confirm the motion physically before marking drill holes.
Final Fit Check Before Installation
Verify the mounting surface, approved charger, accessible plug, cable route, ventilation conditions, and door clearance. Ask the shortest regular user to remove and return the vacuum several times. Open neighboring drawers and move nearby furniture into its normal occupied position.
Finally, leave enough visibility to notice an incompletely seated vacuum or misplaced attachment. A charging station should support the entire cleanup routine with few decisions. When retrieval, emptying, and return all work naturally, the appliance becomes convenient without turning a passage or storage cupboard into an obstacle course.