Freestanding Bathtub Layout: Clearances That Work Well
Size a freestanding tub layout for safe entry, cleaning, filler reach, drainage, and circulation before committing plumbing and waterproof finishes.
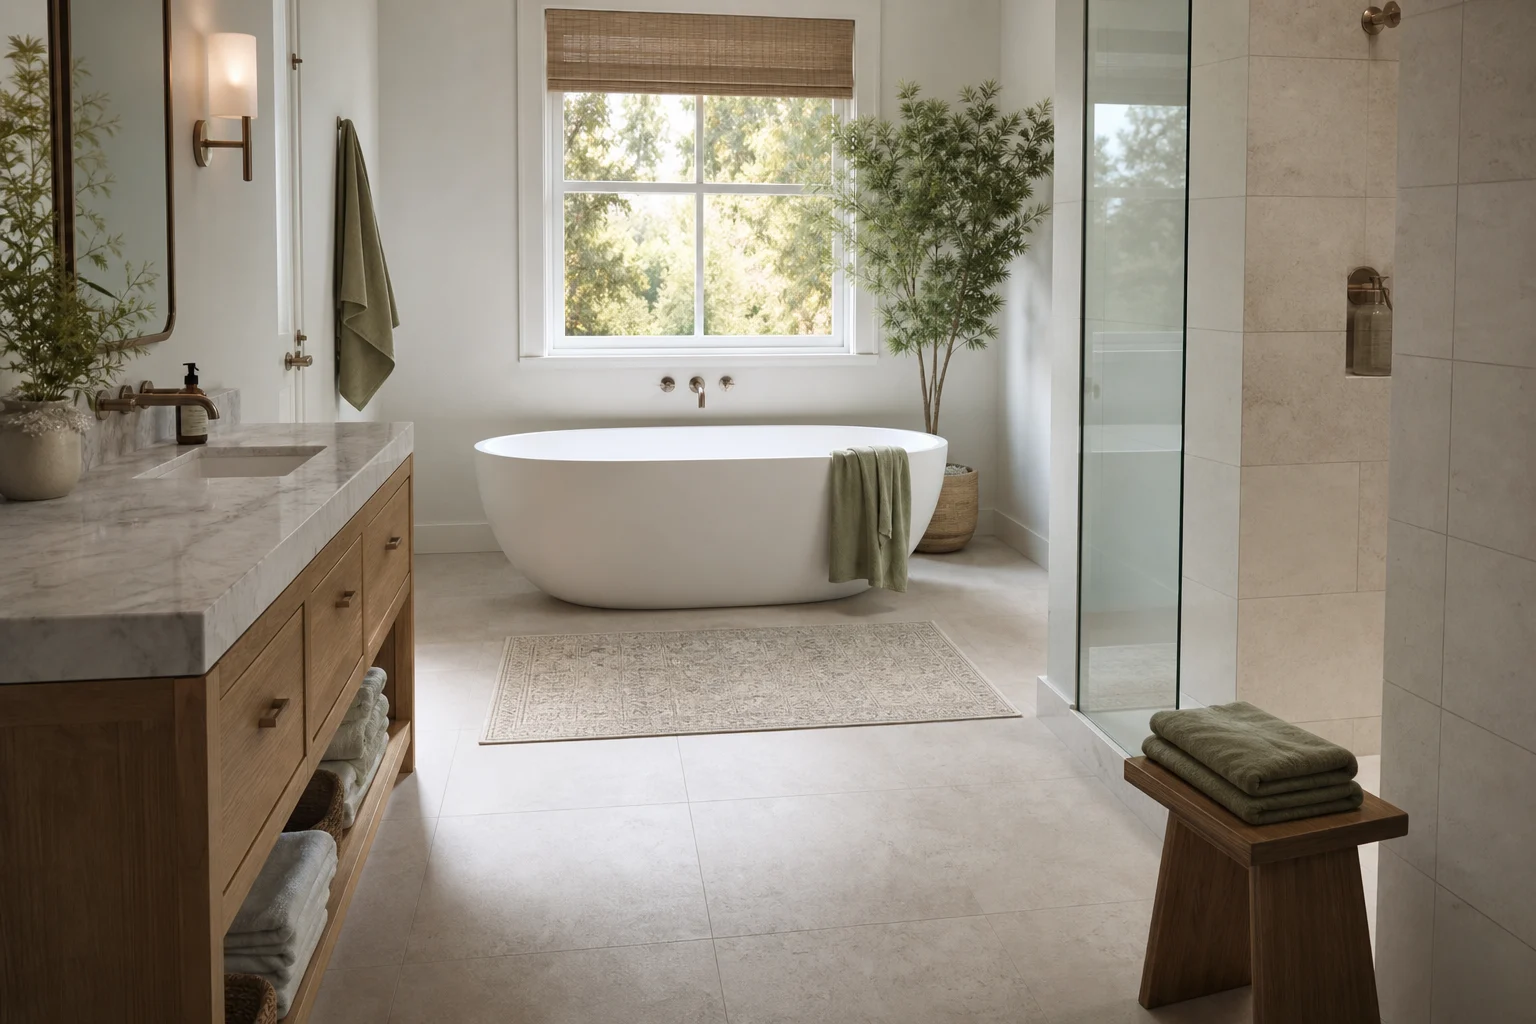
A freestanding bathtub creates a strong focal point, but the empty space around it is working space, not decoration. Someone must step in safely, reach the controls, clean behind the rim, dry the floor, and access plumbing. A tub placed too close to a wall can collect dust and moisture in a gap no hand or tool can reach. Plan from use and maintenance before choosing the visual centerline.
Use the Exact Tub and Filler Drawings
Record the tub's maximum length and width, rim height, base footprint, interior depth, overflow, waste location, weight empty and full, and installation tolerances. Curved tubs can be much wider at the rim than at the floor. Confirm whether the product is one piece, two piece, or requires access from below.
For the filler, record spout reach, outlet height, handle movement, supply connection, and required service access. Floor-mounted fillers require secure structure and waterproofed penetrations; wall-mounted fillers need the correct rough-in before finishes close the wall. Follow local codes and manufacturer instructions with qualified trades.
Plan a Safe Entry Side
Choose one primary entry side and keep it free of vanity doors, shower glass, towel stools, and room-door swings. The bather needs stable footing while stepping over the rim. Tub height, user balance, grab support, and floor slip resistance matter more than symmetry.
Freestanding tubs are not automatically accessible. If users have limited mobility, assess a lower threshold, transfer support, a different bathing fixture, or professional accessibility guidance. Do not add a grab bar to a weak partition or rely on a movable stool as structural support.
Leave Cleanable Gaps
A narrow gap can be worse than no gap: it admits water and dust but not a hand, mop, or vacuum attachment. If the tub is intended to read as truly freestanding, leave enough space on the exposed sides for routine cleaning and visual inspection. Many designers start around 4 to 6 inches (10 to 15 cm) at lightly accessed sides and more at the cleaning or entry side, but the right dimension depends on the tub shape, tool reach, wall finish, and installer requirements.
When space cannot support cleanable gaps, consider a back-to-wall freestanding-style tub designed for that condition. It preserves a sculptural front while eliminating an inaccessible rear slot.
Coordinate the Filler and Controls
The water stream must land inside the tub with adequate reach and without splashing the rim. The user should be able to start water and test temperature from outside the tub. Handles must clear the tub, wall, and nearby glass through their full movement.
Place a hand shower so its hose can serve the tub without lying across a walkway or striking finishes. Provide a secure cradle and check where residual water drains. Protect against scalding according to local requirements and the selected valve system.
Protect Circulation and Other Fixtures
Keep the route from bathroom door to toilet, vanity, and shower usable when towels, bath mats, or a small stool are present. An aisle that appears wide in an empty render can disappear when a vanity drawer opens. Draw all competing doors and drawers.
As a planning reference, a clear approach of roughly 30 inches (76 cm) at the entry side often feels more usable than a narrow slot, but code minimums and individual needs vary. Never treat a generic number as approval for a specific project.
Plan Water, Structure, and Waterproofing
A filled tub plus a person is a concentrated load. Confirm floor structure, particularly in older homes or upper stories. Coordinate waste alignment, trap access, supply routes, waterproofing transitions, and leak testing before the tub arrives.
The whole wet area needs durable, slip-resistant finishes and a strategy for incidental water. A freestanding tub does not make the entire room a wet room. If water can reach timber cabinets, unsealed baseboards, or floor penetrations, revise the detailing.
Place Towels and Bath Items Deliberately
Provide a towel within reach of the exit side without stretching over the filler. A wall niche, ledge, or small table can hold bathing items, but it must not narrow the safe approach. Avoid balancing products on a curved rim.
Check toilet-paper storage, robes, ventilation controls, and cleaning supplies as part of the same plan. Decorative plants should not occupy the only service gap.
Check Privacy, Views, and Ventilation
A tub near a window may receive beautiful daylight while creating privacy and condensation problems. Test sightlines from neighboring buildings and the room entrance. Choose window treatments that tolerate humidity and remain reachable around the tub.
Provide ventilation sized and installed for the bathroom. Air must move around the tub and dry hidden surfaces. Inspect whether a tall tub blocks a low vent or creates a cold corner at exterior glazing.
Model Before Rough-In
Build the tub, filler, open vanity drawers, shower glass, door swings, towels, and a person in the Aedifex room planner. Use the 3D demo perspective to inspect rim height and whether rear cleaning access is believable. Compare materials with the interior planner.
Freestanding Tub Checklist
- Use exact tub, filler, waste, and installation drawings.
- Choose and protect a clear primary entry side.
- Make every exposed gap wide enough to clean and inspect.
- Confirm spout reach, handle movement, and outside-the-tub control access.
- Check structure, waterproofing, drainage, and service access.
- Open every nearby door, drawer, and shower panel in the plan.
- Place towels and bath items without narrowing the approach.
- Review slip resistance, privacy, ventilation, and user mobility.
Before plumbing is fixed, register and save at least two tub orientations. A few minutes comparing maintenance and entry routes can prevent a permanent inaccessible gap.