Front-Load Laundry Layout: Doors, Pedestals, and Folding
Plan a front-load laundry area around appliance depth, door swing, pedestals, hoses, ventilation, sorting, folding, storage, and a clear work zone.
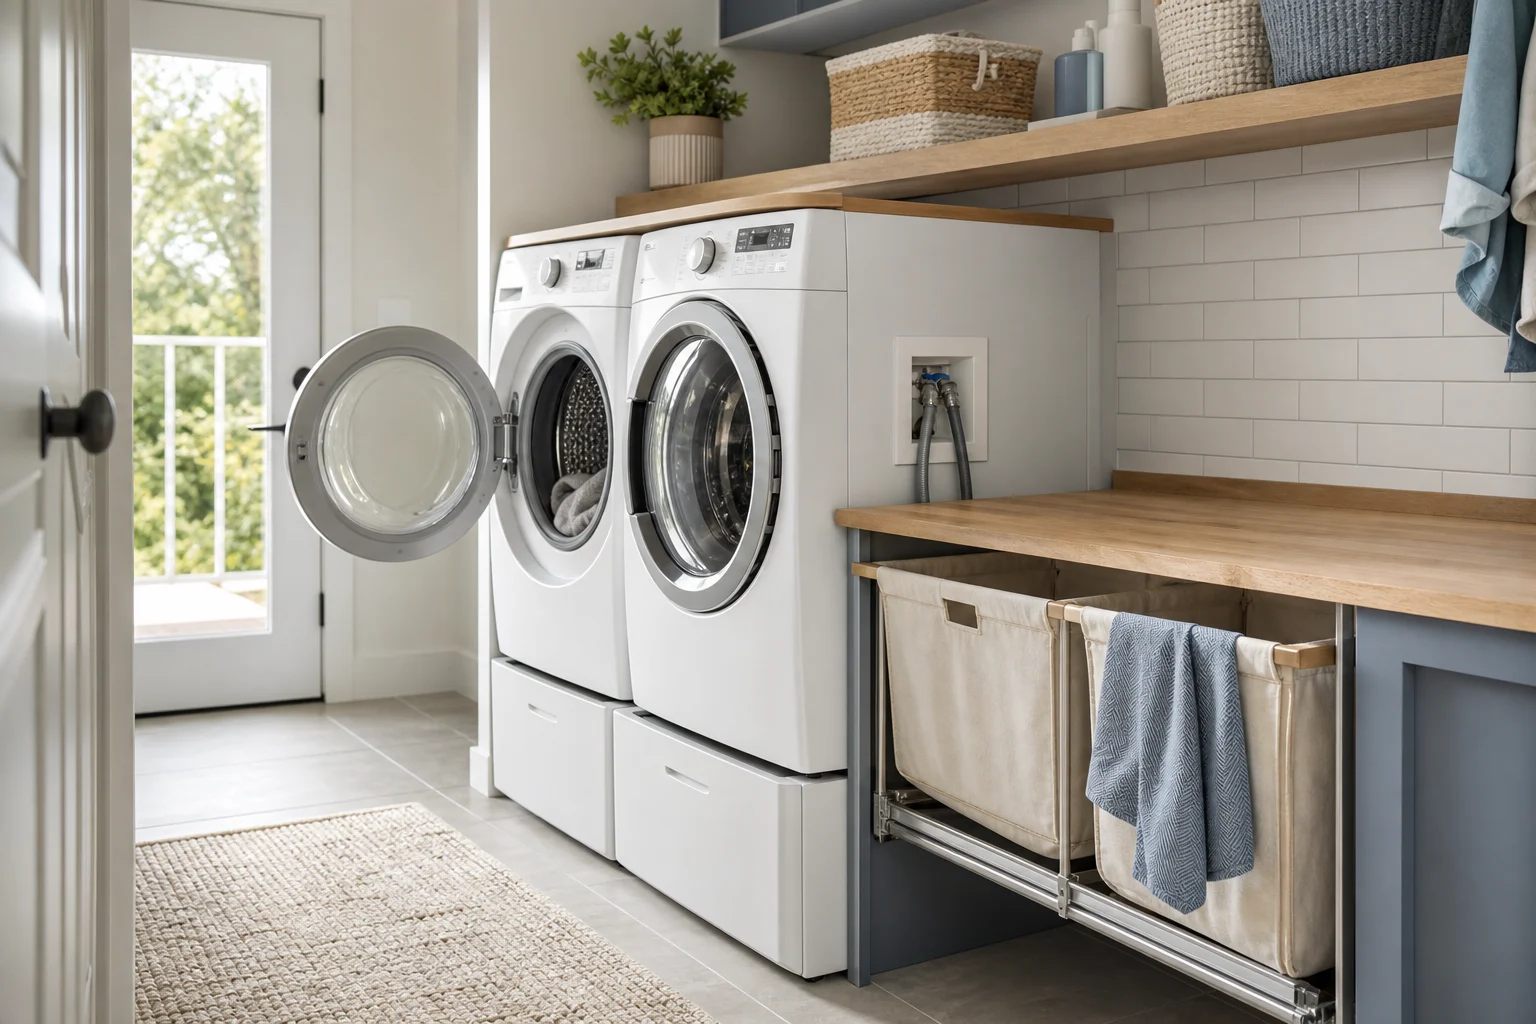
Front-loading laundry machines concentrate the work in front: doors swing into the room, a person crouches or reaches from a pedestal, and wet clothes move from washer to dryer. The cabinet opening can fit both machines while the room still fails because the doors oppose each other, hoses push units forward, or a hamper occupies the standing zone. Plan the complete wash-to-fold sequence around the selected appliances.
Use Manufacturer Dimensions and Installation Data
Record cabinet width, height, and depth plus door, control panel, detergent drawer, feet, rear connections, and required ventilation gaps. The nominal appliance depth often excludes hoses and a door projection. Use the current model's installation guide and local plumbing, electrical, gas, and venting requirements.
Draw the units at their final forward position. A 76 cm deep machine may project significantly beyond a 60 cm cabinet. Check corridor width and adjacent doorways from the frontmost point, not the counter face.
Coordinate the Two Door Hinges
Ideally, washer and dryer doors open away from the gap between machines so wet clothes transfer along a short path. Some models offer reversible dryer doors while washer hinges remain fixed. Confirm the exact model rather than assuming both can reverse.
Open both doors fully in the plan. Check collisions with walls, cabinet pulls, room doors, hampers, and each other. Leave a stable standing position where a person can reach both drums without stepping backward into circulation.
Decide Whether Pedestals Improve the Work
Pedestals raise drums and can reduce bending, but they also raise controls, increase visual height, add cost, and may conflict with shelves or counters. Test the shortest and tallest regular users. A pedestal drawer needs its own opening envelope and may be too shallow for some detergent bottles.
Manufacturer-approved pedestals or stacking kits are part of the appliance system. Do not improvise a base that compromises stability, vibration, warranty, or service. A built platform requires professional structural, moisture, and installation coordination.
Protect the Standing and Sorting Zone
Place at least one hamper where it can open without blocking machine doors. Two or three pull-out bins can separate loads, but their runners must clear the same standing area. A narrow room may work better with rolling hampers that park under a counter away from the appliances.
Include the person crouching, lifting a wet load, and turning toward the dryer. Keep this zone free of door thresholds, rug edges, and sharp cabinet corners. If the laundry is on a through-route, ensure another person can pass safely during loading.
Add Folding Space at the Correct Height
A counter beside the machines gives uninterrupted folding space and can sit at a comfortable work height. A counter above side-by-side units saves floor area but must clear vibration, appliance removal, hoses, and controls. Its height may be awkward when machines stand on pedestals.
Measure the largest routine item, such as a sheet or towel, and preserve enough depth to fold it without dragging on a wall shelf. A pull-out shelf can help in a closet but needs clear floor area and durable hardware.
Plan Water, Drainage, Venting, and Power Access
Keep shutoff valves visible and reachable. Hoses, standpipes, drain pans, leak sensors, floor drains, dryer vents, electrical disconnects, and gas connections require correct installation and service access. Follow local codes and manufacturer instructions with qualified trades.
Do not seal machines behind fixed panels that prevent emergency shutoff or removal. Dryer ducts need permitted material, route length, cleaning access, and exterior termination. Ventless heat-pump dryers still require ventilation and condensate planning according to their documentation.
Use Vertical Storage Without Blocking Service
Shelves above machines can hold light supplies if regular users can reach them safely. Keep heavy detergent low and avoid storing liquids where a leak can damage controls. Cabinet doors must clear appliance doors and the user's head.
Reserve space for detergent, stain treatment, mesh bags, iron or steamer, cleaning cloths, and spare linens. A hanging rail needs drip control and must not block controls or ventilation. Store dangerous products securely away from children and pets.
Manage Noise, Vibration, and Moisture
Level machines on a suitable floor and use manufacturer instructions for vibration control. Closing a laundry closet can reduce perceived noise but may violate required airflow. Louvered doors, transfer grilles, or mechanical ventilation require a coordinated design, especially for dryers and gas appliances.
Use moisture-resistant finishes and provide a way to dry the room after leaks or damp loads. Do not place a machine where vibration transfers directly to fragile shelving or where an open door blocks the only ventilation path.
Model the Complete Laundry Cycle
Build machines, connections, open doors, pedestals, hampers, counter, shelves, and room doors in the Aedifex room planner. Use the 3D demo style perspective to inspect control reach and whether upper storage feels usable.
Simulate sorting, loading, transferring, treating a stain, folding, hanging, cleaning the filter, shutting off water, and removing each machine for service.
Front-Load Laundry Checklist
- Use exact model dimensions and installation clearances.
- Include hoses, vents, doors, drawers, and final forward projection.
- Confirm which appliance doors can reverse.
- Test pedestals against user reach and counter height.
- Keep hampers outside door and standing envelopes.
- Preserve shutoff, drain, power, vent, filter, and service access.
- Coordinate folding, hanging, storage, airflow, and moisture control.
- Run the entire laundry cycle through the measured plan.
Use the interior planner to compare durable finishes, then register to save side-by-side, stacked, and pedestal alternatives.