Home Gym Room Layout: Equipment Spacing and Safety
Plan a home gym with real exercise envelopes, equipment clearances, ceiling height, flooring, ventilation, mirrors, storage, acoustics, power, and safe circulation.
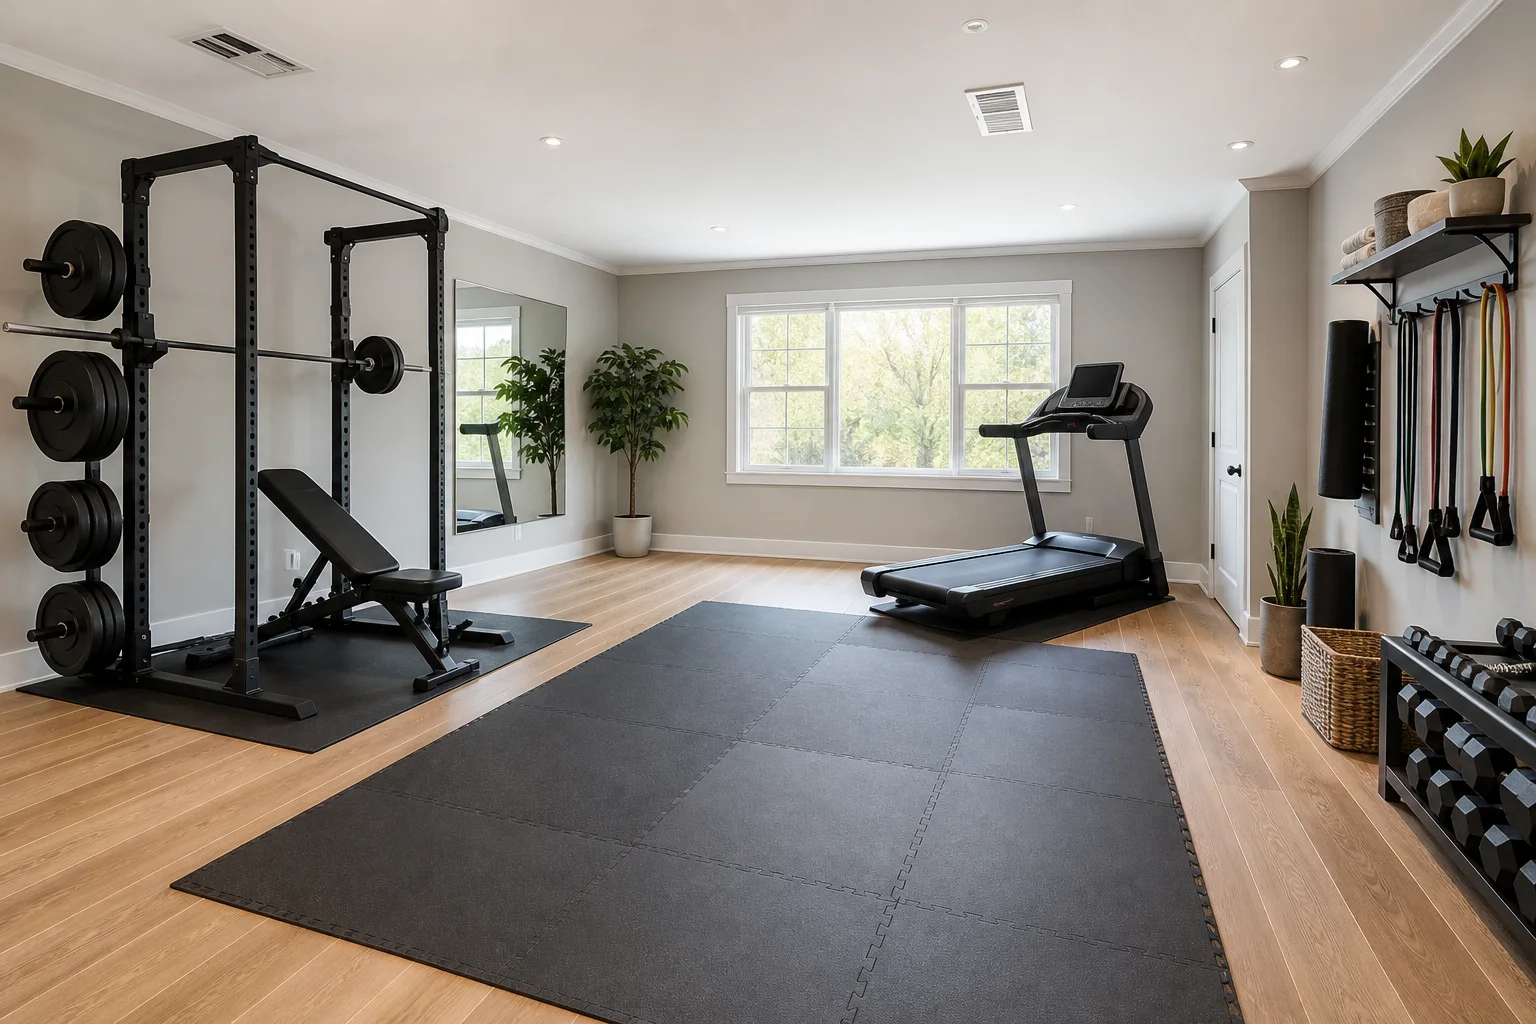
A home gym is not a collection of machine footprints. A treadmill belt moves behind the console, a bench shifts between flat and incline positions, dumbbells travel beyond the rack, and a person needs room to fail or step away safely. Build the plan from exercises and full movement envelopes, then coordinate structure, ventilation, power, light, sound, and storage.
Write the Training Program Before Buying Equipment
List the actual weekly sessions: strength, cardio, mobility, yoga, cycling, rowing, rehabilitation, or sports practice. Note the number of users, heights, mobility limitations, supervision, and whether two people train together. Rank each activity as essential, occasional, or aspirational.
This prevents one large machine from consuming the room for a workout used twice a month. Adjustable dumbbells, a folding bench, resistance bands, and a mat may support more routines than several single-purpose stations. Equipment choice should follow the program and qualified health guidance where relevant.
Measure Dynamic Exercise Envelopes
Use manufacturer-required clearances for every machine. Include treadmill rear safety space, rowing rail extension, bike mounting side, elliptical pedal movement, cable arms, rack plate loading, bench travel, and maintenance access. Add the user's full movement: arms overhead, lateral steps, lunges, floor work, and carrying weights.
Do not overlap safety zones merely because two exercises are not planned at once unless the equipment can be reliably moved and stored. Mark a no-storage area around emergency exits, electrical panels, heaters, windows, and doors.
Check Ceiling Height and Overhead Hazards
Measure the lowest ceiling point, beams, lights, fans, sprinklers, door tracks, and sloped areas. Add user height, shoe and platform thickness, raised treadmill deck, step-up, overhead press, pull-up position, and jumping clearance. A basement can have enough floor area but fail vertically.
Keep ceiling fans and pendant lights away from raised hands and equipment. Recessed or protected lighting may be safer, but electrical and fire systems must follow local requirements. Never relocate or obstruct safety equipment without qualified advice.
Verify Floor Structure and Surface
Heavy racks, weight stacks, treadmills, and dropped loads can exceed assumptions for residential floors or create damaging impact. Ask a qualified structural professional when loads, upper floors, or building conditions are uncertain. Spread equipment as recommended and follow anchoring instructions.
Choose flooring for the activity: stable under machines, resistant to sweat, easy to clean, and suitable for impact. Thick soft tiles can make a rack or treadmill unstable. Loose edges create trip hazards. Protect the floor without blocking door clearance or creating a difficult threshold.
Arrange Strength Training Around a Safe Center
Place the rack or primary strength station where a spotter, plate loading, safeties, and bar movement all fit. Keep mirrors out of likely impact paths. A bench needs room to move and rotate; dumbbell work needs lateral drop or set-down space even when weights are controlled.
Store plates near the rack without narrowing the exit. Put frequently used dumbbells between knee and waist height where possible, heavy pieces low, and small accessories in closed bins. Never store loose bands or handles in a route where they become trip hazards.
Put Cardio Near Air, Not in a Choke Point
Cardio equipment produces heat and sustained moisture. Locate it where ventilation, cooling, and fresh air can serve the user without blowing directly in an uncomfortable way. Window access can help, but screens, curtains, radiators, and emergency egress must remain clear.
Treadmills and bikes need power routed without extension cords crossing the floor. Keep controls and emergency stops reachable. Noise and vibration may transmit to bedrooms or neighbors, so evaluate placement, hours, floor assemblies, and manufacturer-compatible isolation.
Preserve a Flexible Floor Zone
Leave one clear rectangle for warm-up, mobility, bodyweight work, and stretching. A common exercise mat is roughly 60–70 cm wide and 170–185 cm long, but arms and legs extend beyond it. For lateral work or instruction screens, a larger clear zone is more useful.
Wall-mounted storage can free floor area, provided that fixtures suit the wall and equipment load. Folding equipment must have a defined parked position and safe locking method. If unfolding the bench always requires moving the bike, the room will not support consistent use.
Use Mirrors and Screens Deliberately
Mirrors can support form checking and make a room brighter, but they require safe backing, appropriate installation, and placement outside impact zones. A mirror should show the full movement from the intended station, not just decorate the wall. Avoid confusing reflections near doors or stairs.
Place an instruction screen where it is visible from the mat and machines without forcing neck rotation. Protect it from weights and sweat. Provide a shelf for a phone or timer without putting cables across the workout area.
Plan Ventilation, Light, and Cleaning
Ventilation should manage heat, humidity, and odor for the expected occupancy. Basements and converted garages may have moisture or air-quality issues that need professional assessment before exercise use. Keep supply and return paths unobstructed.
Use even lighting with minimal glare on screens and mirrors. Provide cleaning supplies, towels, and a hamper near the exit, but separate liquids from electrical equipment. Leave enough room to vacuum or mop under and around machines, and follow equipment maintenance schedules.
Simulate a Full Session
Build exact equipment and movement zones in the Aedifex room planner. Include the user at maximum reach, open doors, bench positions, plate loading, mat work, storage, mirror, and screen. Use the 3D demo to inspect ceiling hazards and sightlines.
Run entry, warm-up, strength work, changing stations, cardio, cooldown, cleaning, and emergency exit. Then add a second user. If safety zones overlap, reduce equipment or create a strict movable layout with visible parking marks.
Home Gym Checklist
- Base equipment on a real weekly training program.
- Use manufacturer clearances and complete movement envelopes.
- Measure beams, lights, fans, platforms, and overhead exercises.
- Verify structure, anchoring, impact, and floor stability.
- Keep exits, panels, heaters, and windows unobstructed.
- Place weights and accessories near use without creating trip hazards.
- Preserve a flexible mat and mobility zone.
- Route power without floor-crossing cables.
- Control heat, humidity, noise, vibration, and cleaning.
- Test the whole session with one and two users.
After the safe training layout works, coordinate durable finishes in the interior planner and register to save the equipment plan before purchasing.