Kitchen Appliance Garage Dimensions and Clearances
Size an appliance garage for coffee makers, toasters, blenders, mixers, doors, outlets, steam, heat, cables, landing space, and safe daily access.
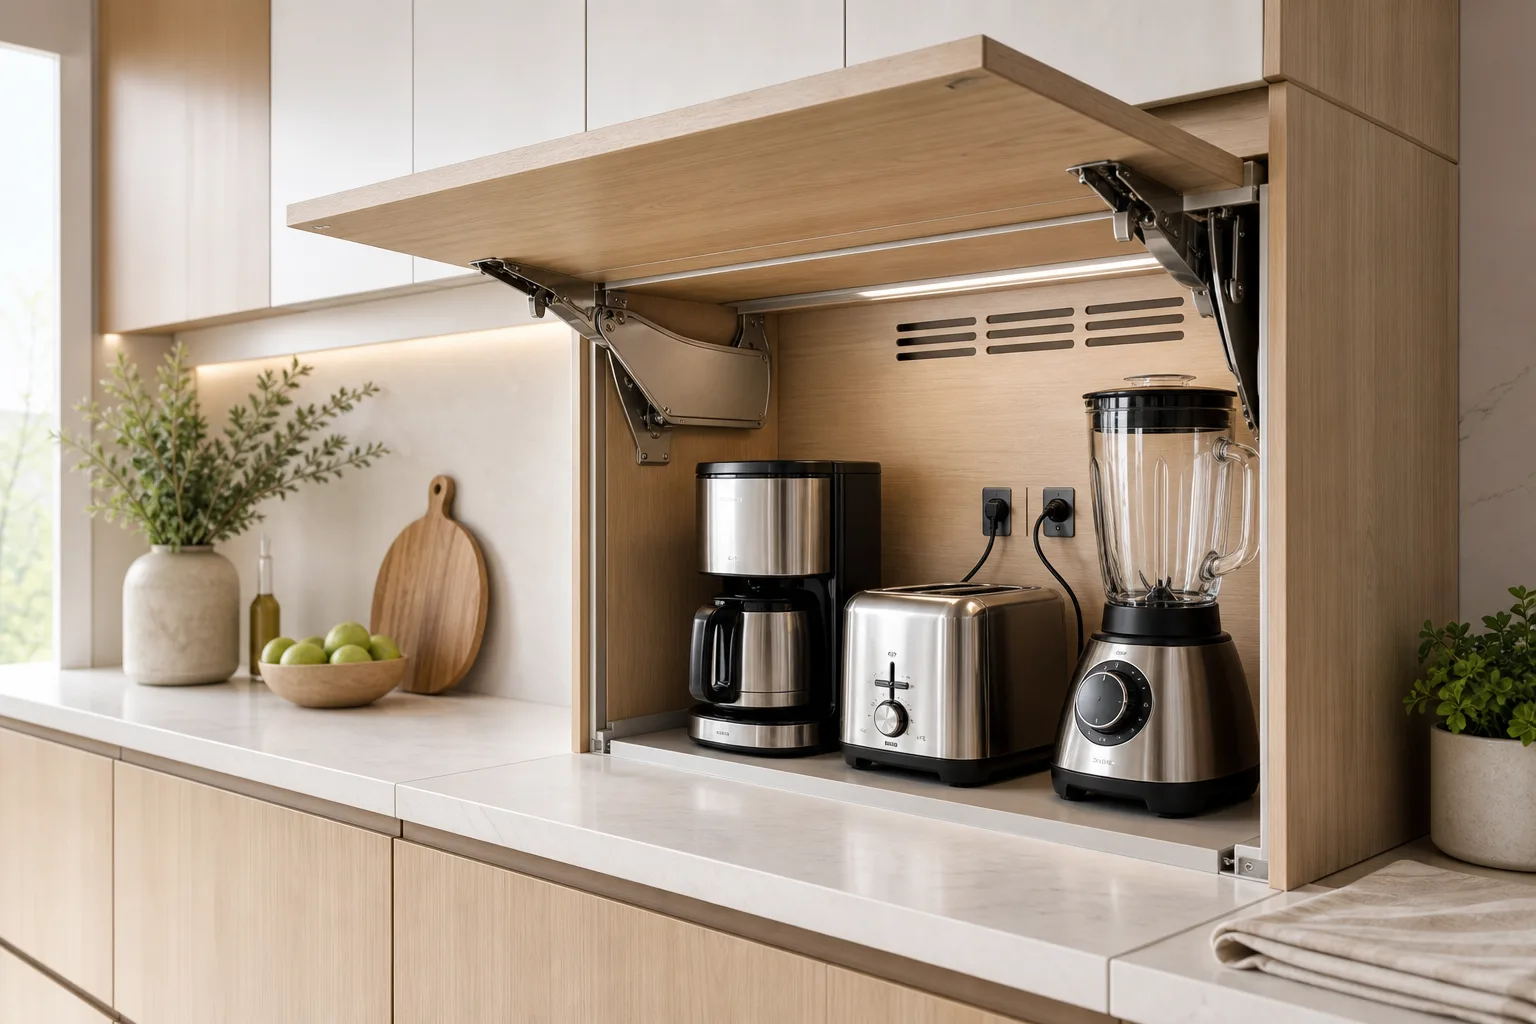
An appliance garage can clear a countertop, but a cabinet that merely hides a toaster or coffee maker is not automatically usable. Doors need somewhere to move, heat and steam need a safe path, water tanks need to lift out, and the counter in front must still receive a hot bowl or full carafe. Design the garage around equipment in operation, not a row of catalog widths.
Inventory the Exact Appliances
List every appliance intended for daily and occasional storage. Record model, width, depth, height, weight, cord exit, plug projection, feet, ventilation requirement, hottest surface, steam direction, door or lever movement, removable parts, and cleaning method. Photograph each appliance beside a tape measure.
Measure a mixer with its head tilted and bowl removed, a toaster with bread lifted, a blender with the jar removed, and a coffee maker with reservoir, filter basket, and carafe moving. Manufacturer instructions determine whether an appliance may run inside an enclosure; many should be pulled forward or used only with the door fully open.
Calculate Interior Depth Honestly
Start at the finished cabinet back, not the wall framing. Subtract back panel, outlet, plug, cable bend, ventilation gap, appliance body, handle, and the hand needed to grip it. A standard counter around 60 cm deep does not provide 60 cm of usable cabinet interior.
If an appliance must slide forward, add a load-rated pull-out shelf or a continuous counter path. The shelf must support dynamic operation, lock or remain stable as required, and avoid tipping the cabinet. Do not drag heavy equipment across a fragile counter edge every morning.
Set Height From Full Operation
Interior height must accommodate lids, hoppers, levers, mixer heads, and hand access. A coffee machine can fit beneath a shelf yet be impossible to refill. A toaster needs safe clearance above according to its manufacturer, not a decorative gap. Steam can damage a shelf long before visible staining appears.
Adjustable shelves are useful only when their pins, edge, and contents do not obstruct hot appliances. Store lightweight accessories above and heavy machines at a comfortable lift height.
Choose a Door That Disappears From Work
Tambour doors save swing space but consume interior depth and require clean tracks. Pocket doors retract to the sides but need wider cabinetry and hardware access. Bi-fold or lift-up doors need overhead and side clearances, balanced hardware, and safe handle reach. Side-hinged doors are simple but can block adjacent preparation space.
Draw the door at every intermediate position. Confirm it cannot fall, collide with a faucet, meet an upper door, or trap fingers. The kitchen aisle must remain usable while the appliance garage is open for an entire breakfast.
Preserve a Landing Zone
Do not dedicate the full cabinet width to machinery. Keep a clear landing area in front or beside the garage for a hot carafe, toast, blender jar, ingredients, and cleaning. Roughly 40–60 cm of uninterrupted landing is a useful starting test for many routines, but actual appliances and household volume decide the requirement.
The garage should not consume the only preparation counter between sink and cooktop. If it occupies a valuable work zone, move it to the end of the run, a pantry wall, or a dedicated beverage station.
Plan Outlets and Cables
Count simultaneous loads and follow local electrical rules for circuits, outlet spacing, residual-current protection, appliance ratings, and accessible disconnects. A power strip hidden in a cabinet is not a substitute for electrical design. Keep outlets away from direct steam and spills while still reachable for service.
Route cords without crossing cutting space or touching hot surfaces. Coiling a high-load cord tightly can retain heat. A switched outlet can simplify shutdown only when permitted and correctly rated. Never drill an improvised cable hole through a fire, moisture, or structural assembly without an appropriate detail.
Control Heat, Steam, and Crumbs
Follow product-specific ventilation and clearance instructions. Pull forward or remove appliances that are not approved for enclosed use. Use heat- and moisture-tolerant surfaces, preserve air paths, and consider a steam shield where the system allows. Do not assume a few decorative slots provide sufficient airflow.
Crumbs and grounds collect in corners and door tracks. Make the base removable or fully wipeable, protect seams, and leave room to lift drip trays. Avoid placing a toaster beneath combustible stored goods. A smoke alarm, suppression requirements, and cabinet materials must follow local safety guidance.
Organize Accessories Around the Workflow
Keep filters, mugs, bread, attachments, and cleaning tools near the machine they serve without filling its ventilation gaps. Shallow drawers beneath the garage work well for small parts. Heavy mixer attachments need stable dividers rather than a high loose bin.
Separate clean accessories from food waste and wet cloths. If the garage is a coffee station, the home coffee bar guide helps coordinate water, beans, cups, milk, and grounds.
Model the Open Cabinet
In Aedifex, build the finished cabinet interior, door mechanism, shelves, outlets, cords, appliances, open lids, removable reservoirs, hands, and landing space. Use the room planner to compare a tambour, pocket door, lift-up front, and an open appliance shelf.
Run one full breakfast: open the garage, refill water, make coffee, lift toast, blend, place hot items down, clean crumbs, remove a bowl, and close everything. Then test a deep clean and appliance replacement with a slightly larger future model.
Appliance Garage Checklist
- Inventory exact models, weights, cords, plugs, heat, steam, and moving parts.
- Calculate usable interior depth after backs, outlets, cables, handles, and hands.
- Measure full operational height, not only closed appliance height.
- Choose door hardware that remains out of the kitchen workflow.
- Preserve a continuous landing and preparation zone.
- Use code-compliant circuits, outlets, protection, and accessible disconnects.
- Follow each manufacturer’s enclosed-use, ventilation, and clearance instructions.
- Make crumbs, spills, drip trays, and tracks easy to clean.
- Store accessories without blocking airflow or operation.
- Test breakfast, deep cleaning, maintenance, and future replacement.
The best appliance garage reduces visual clutter without adding operational friction. After the equipment envelope is proven, compare cabinetry in the interior planner and register to save the measured design.