Open Kitchen Dining Layout: Zones, Aisles, and Light
Zone an open kitchen and dining room with working aisles, chair clearance, lighting, storage, and traffic routes that remain clear during real meals.
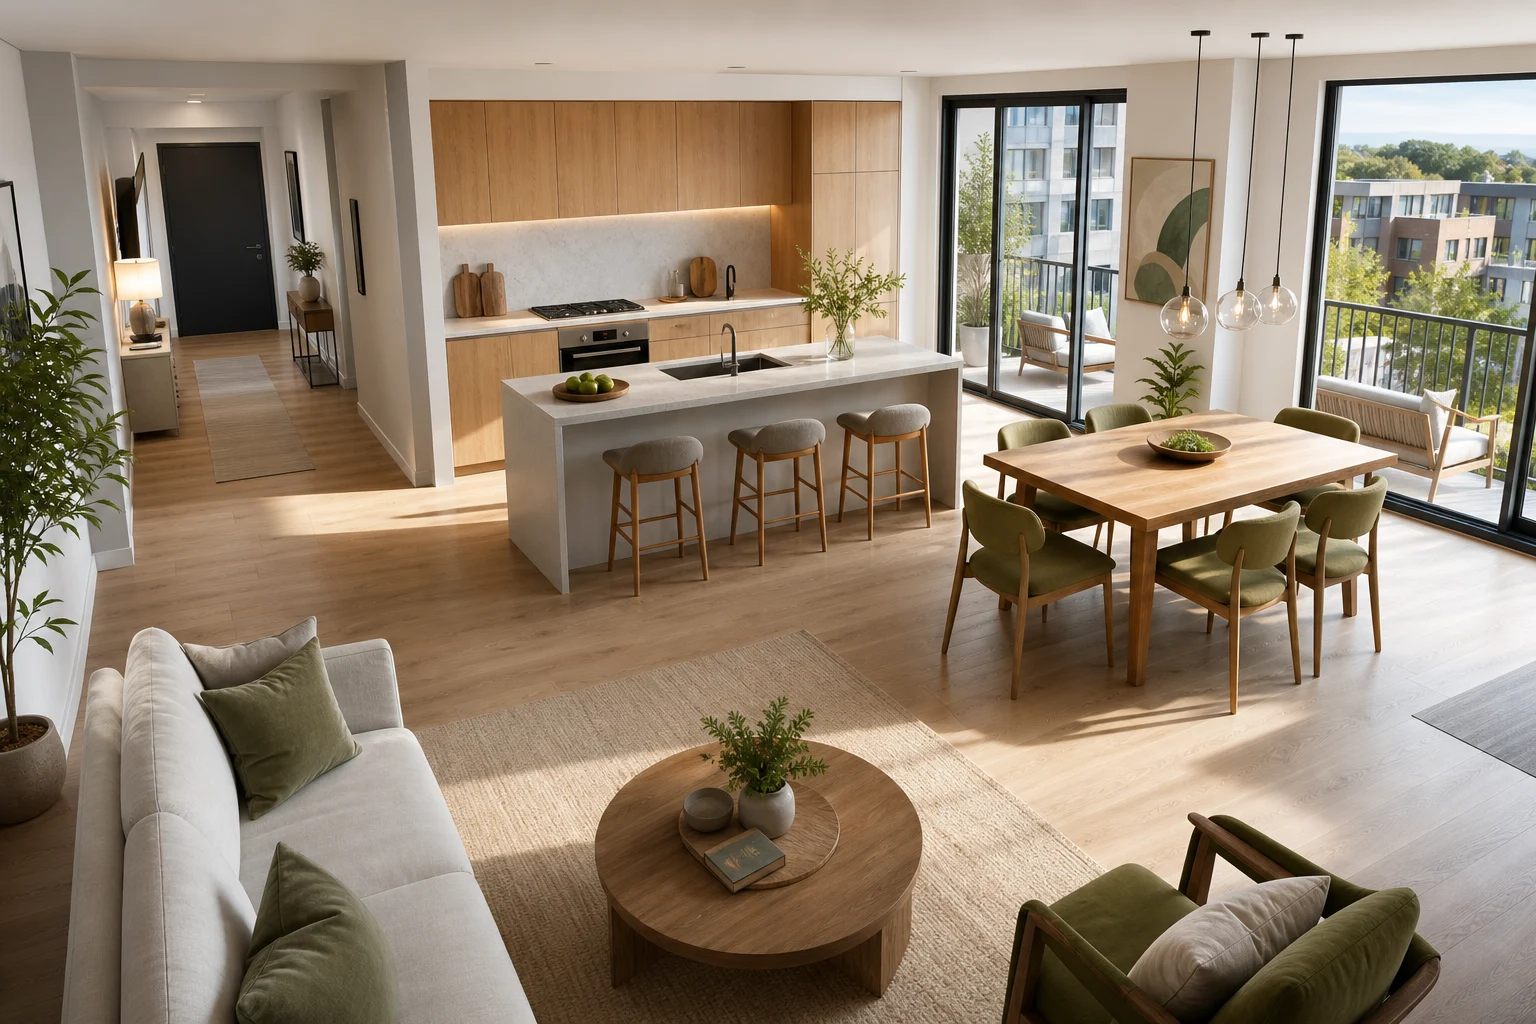
An open kitchen and dining room removes a wall but not the need for boundaries. Cooking requires focused work aisles; dining requires chair pull-back and serving space; the household still needs a route through both. Good zoning makes those activities overlap selectively instead of competing every evening.
Map Routes Before Placing the Table
Trace entry to kitchen, kitchen to dining chairs, dining to balcony or garden, and living room to bathroom. Mark frequent through-routes that should remain open while someone cooks or a chair is occupied. The shortest geometric path is not always the safest path if it crosses behind the range.
Place the dining zone beside, not inside, the primary kitchen work route. A small offset can preserve connection while preventing guests from standing in front of the refrigerator or dishwasher.
Establish the Kitchen Work Boundary
Draw counters, appliance doors, drawers, and the user's standing positions. The work boundary is the area repeatedly occupied while moving among refrigerator, sink, preparation surface, and cooking equipment. Keep the dining table and chair pull-back outside this active envelope.
An island can mark the boundary, but only if its aisle works. Many kitchens begin with planning references around 42 inches (107 cm) for one cook and 48 inches (122 cm) for multiple cooks between opposing work faces. Appliance openings, user mobility, and local requirements may demand more.
Calculate Dining Space With Chairs in Use
Table dimensions are only the center of the problem. Add chair depth, pull-back, a seated person, and any route behind the chair. Roughly 36 inches (91 cm) from table edge to a wall may allow basic chair use, while 44 to 48 inches (112 to 122 cm) is often more comfortable when people must pass behind. Test your chairs because depth and leg geometry vary.
Include end seats, high chairs, benches, and table extensions. An occasional eight-person setup may require a different orientation or temporary furniture movement. Give moved pieces a destination.
Decide Between Island Seating and a Table
Island stools are useful for breakfast and conversation, but they do not always replace a dining table. Backless stools, counter height, fixed alignment, and limited legroom can be uncomfortable for long meals or users with mobility needs.
If island seating faces the dining table, avoid creating two rows of chairs that collide. Model stools pulled out and dining chairs occupied simultaneously. Consider placing stools on a side away from the primary dining circulation.
Use Lighting to Define Without Blocking
Pendant lighting can anchor the dining table while recessed or linear task lighting supports the kitchen. Center dining fixtures on the table's intended position, not merely the room. If the table can extend or rotate, choose an adaptable lighting arrangement.
Keep hanging fixtures out of standing eye lines and routes. Control glare from bright work lights during dinner, and avoid leaving the kitchen in darkness when it still forms the room's visual background.
Coordinate Serving and Storage
Provide a short path from preparation counter to table. A sideboard can hold dishes and reduce trips into the work aisle, but its doors and drawers need clearance behind occupied chairs. Place daily tableware between kitchen and dining zones where both can reach it.
Avoid deep storage along a narrow dining edge. A shallow cabinet, wall shelf, or built-in bench may keep circulation clearer. Secure furniture and follow appropriate load and fixing guidance.
Manage Visual and Acoustic Spill
Open rooms expose kitchen clutter, appliance noise, and cooking smells. A raised island edge can screen some preparation without creating a bulky barrier. Closed appliance storage and a defined cleanup zone help the room reset after meals.
Specify ventilation for the actual cooking equipment and local requirements. Soft dining upholstery, curtains, acoustic ceiling materials, and books can reduce reverberation, but keep combustible or hard-to-clean materials away from cooking hazards.
Protect Daylight and Views
Do not let a tall cabinet wall or oversized pendant cut daylight to the dining zone. Place the table where changing daylight is comfortable, then check glare at breakfast and heat in late afternoon. Preserve access to window and balcony doors when chairs are occupied.
Use zoning materials sparingly. A dining rug can define the area only if it is large enough for chairs to remain on it when pulled back and its edges do not cross a major route. In messy households, lighting and furniture alignment may define the zone more practically.
Simulate a Real Dinner
Build the island, stools, open appliances, table, pulled-back chairs, sideboard, serving route, and balcony door in the Aedifex room planner. Inspect the relationships from the 3D demo view and compare finishes with the interior planner.
Open Kitchen-Dining Checklist
- Keep through-routes outside the main cooking envelope.
- Measure aisles from handles and projecting work faces.
- Add occupied chairs and pass-behind space to the table footprint.
- Test stools and dining chairs in use at the same time.
- Center adaptable lighting on functional zones.
- Provide a short serving route and accessible tableware storage.
- Control ventilation, noise, glare, and visual clutter.
- Preserve window and balcony access during a full meal.
Once the dinner scenario works, register to save table orientations and island sizes, then compare them with every chair and appliance open.