Record Listening Room Layout: Acoustics and Spacing
Arrange speakers, listening seat, records, acoustic treatment, power, and circulation for a balanced vinyl room before buying more audio equipment.
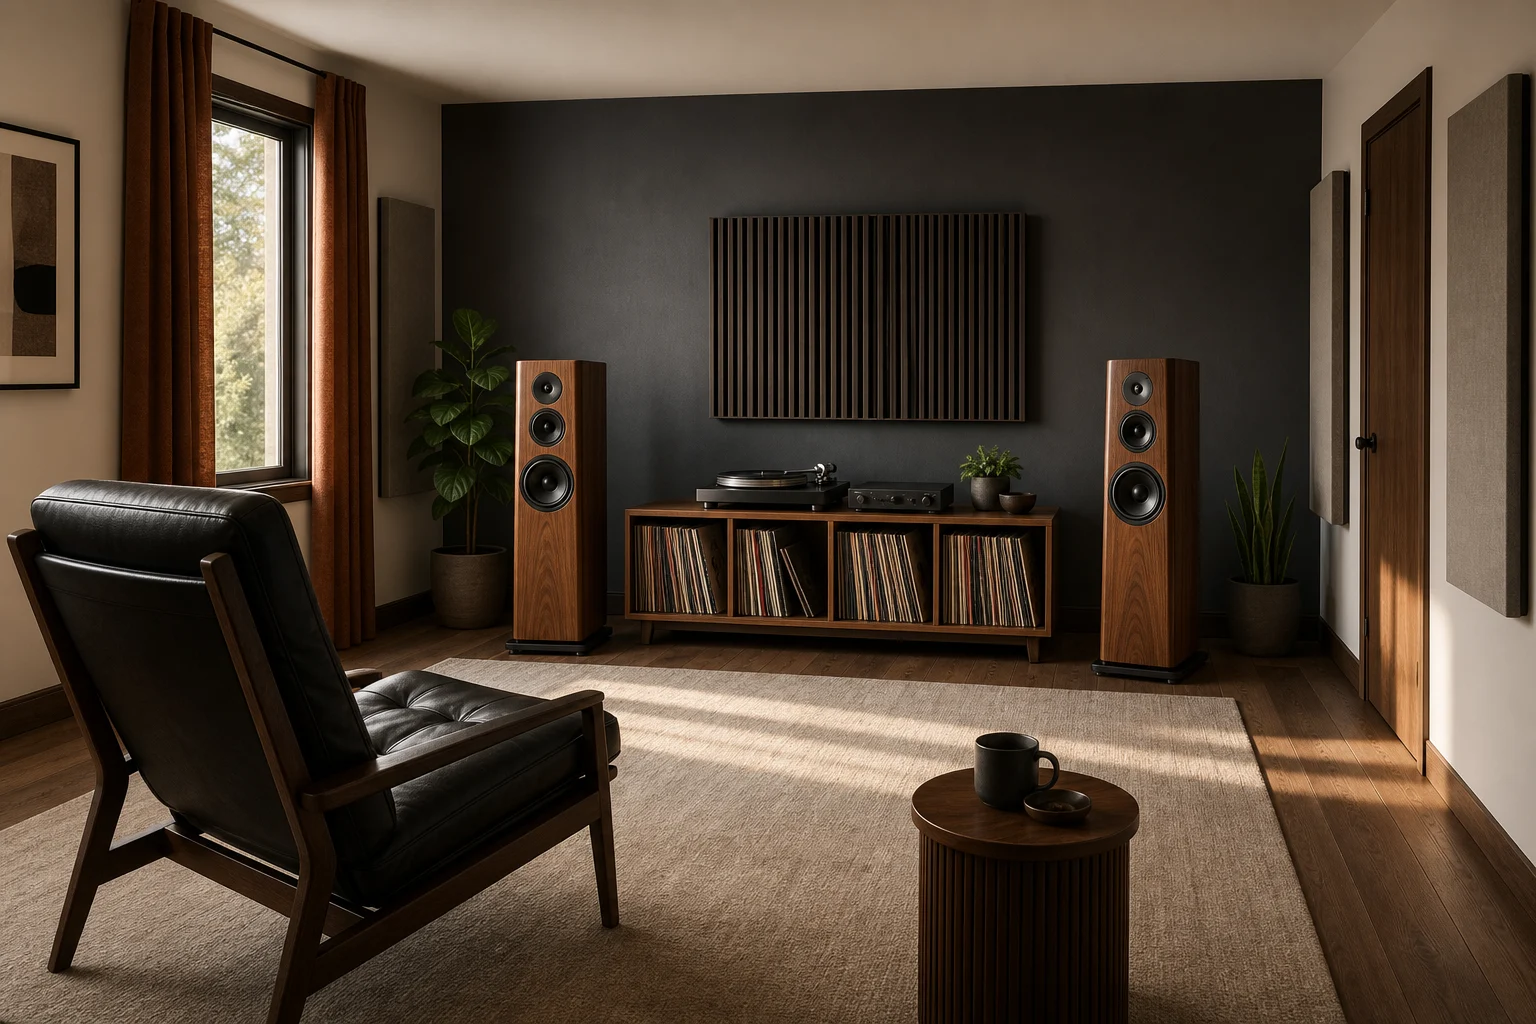
A satisfying record room begins with geometry, not expensive equipment. Speaker distance from walls, symmetry around the listening axis, seat position, and reflective surfaces strongly affect imaging and bass. The room also has to store heavy records, let someone browse, protect a turntable from vibration, and preserve a path to the door.
Measure the Room and Fixed Constraints
Record length, width, height, doors, windows, recesses, radiators, columns, and major openings. Note which walls are solid and where neighboring bedrooms or apartments sit. A roughly symmetrical speaker end is easier to tune than one side opening into a hall while the other is a glass wall.
Choose the likely listening orientation before buying storage. In many rectangular rooms, speakers firing along the longer dimension allow more distance behind the seat, but doors and windows may make another orientation more practical.
Establish the Listening Triangle
Begin with speakers and the main seat forming an approximate equilateral triangle: the distance between speaker acoustic centers is similar to the distance from each speaker to the listener. This is a starting point, not a final rule. Manufacturer guidance, room response, speaker radiation, and taste all matter.
Keep left and right distances symmetrical where possible. Measure to the listening position, not the chair front. Toe-in both speakers consistently and mark positions temporarily with removable tape while testing.
Move Speakers Away From Boundaries
Placing speakers directly in corners usually increases bass unevenly and can blur imaging. Start with space behind and beside them, then adjust in small equal increments. Rear-ported speakers may have specific minimum guidance. Do not block vents or place delicate equipment beside a heater.
Distance is measured from the relevant speaker surface or driver reference, so document the method. A low console between speakers should not project forward enough to create strong early reflections.
Avoid the Center Seat Trap
The exact middle of room length or width can coincide with strong modal cancellations or peaks. Start the seat away from the geometric center and the rear wall, then listen and measure if possible. A chair pressed to the back wall often produces heavy, uneven bass.
Keep the seat far enough from the door swing and record browsing route. If several people listen, evaluate a small sofa across multiple seats rather than optimizing one chair and assuming the whole row sounds identical.
Treat First Reflections and Bass Deliberately
Side-wall first-reflection points and the wall behind or between speakers may benefit from absorption or diffusion, depending on room and system. Thick, properly specified treatment is more effective than random thin foam. Bass problems often require substantial corner or boundary treatment and careful placement.
Consult an acoustician for high-performance rooms. Maintain fire safety, ventilation, and secure fixing. Curtains, rugs, books, and upholstered furniture can reduce high-frequency reverberation, but they are not a calibrated substitute for broadband treatment.
Build Stable Record and Equipment Storage
Vinyl is heavy. Use shelving designed and anchored for the load, with compartments that prevent long rows from leaning. Keep records vertical, supported, dry, and away from direct sun or heat. Leave browsing space in front without blocking the listening path.
Put the turntable on a level, stable, low-vibration surface. Suspended timber floors may transmit footsteps; wall mounting or isolation solutions can help when structurally appropriate. Keep speakers off the same lightweight cabinet as the turntable.
Plan Power and Cable Routes
Provide properly installed outlets for source, amplification, active speakers, lighting, and accessories. Separate signal and power routing when practical, avoid tight bends, and leave service slack without creating floor loops. Do not overload adapters or hide heat-producing electronics in sealed cabinets.
Ventilate amplifiers according to manufacturer requirements. Keep the system reachable for shutdown and troubleshooting. Protect cables from door leaves, chair legs, pets, and cleaning equipment.
Control Light and Daily Comfort
Direct sun can heat records and create glare while cueing a track. Use adjustable window treatments and low-glare task lighting at the turntable. A small surface near the chair can hold a sleeve or drink, but place liquids away from records and electronics.
Maintain a clear, softly lit route to the door. Acoustic panels should not cover required ventilation, electrical equipment, or safety devices. Consider sound transmission to the rest of the home as well as sound quality inside the room.
Iterate With Listening, Not Appearance
Build room boundaries, speakers, seat, console, record shelves, open doors, panels, curtains, and cable routes in the Aedifex room planner. Inspect symmetry through the 3D demo view, then test physical positions before permanent mounting.
The interior planner can coordinate absorptive materials, dark equipment, and warm storage without making treatment look accidental.
Listening Room Checklist
- Measure the complete room and choose a workable orientation.
- Start with a symmetrical listening triangle.
- Leave adjustable space behind and beside speakers.
- Keep the seat away from exact room centers and the rear wall.
- Treat reflections and bass with appropriate, safely fixed products.
- Use load-rated record storage and a stable turntable support.
- Plan ventilated power, service access, and protected cable routes.
- Control daylight, sound transmission, and the path to the door.
After marking several tested positions, register to save the room geometry and document the speaker and seat measurements that produced the most balanced result.