Entryway Full-Length Mirror Placement and Clearances
Choose an entryway full-length mirror position with enough viewing distance, safe door clearance, useful lighting, and practical checks for narrow hallways.
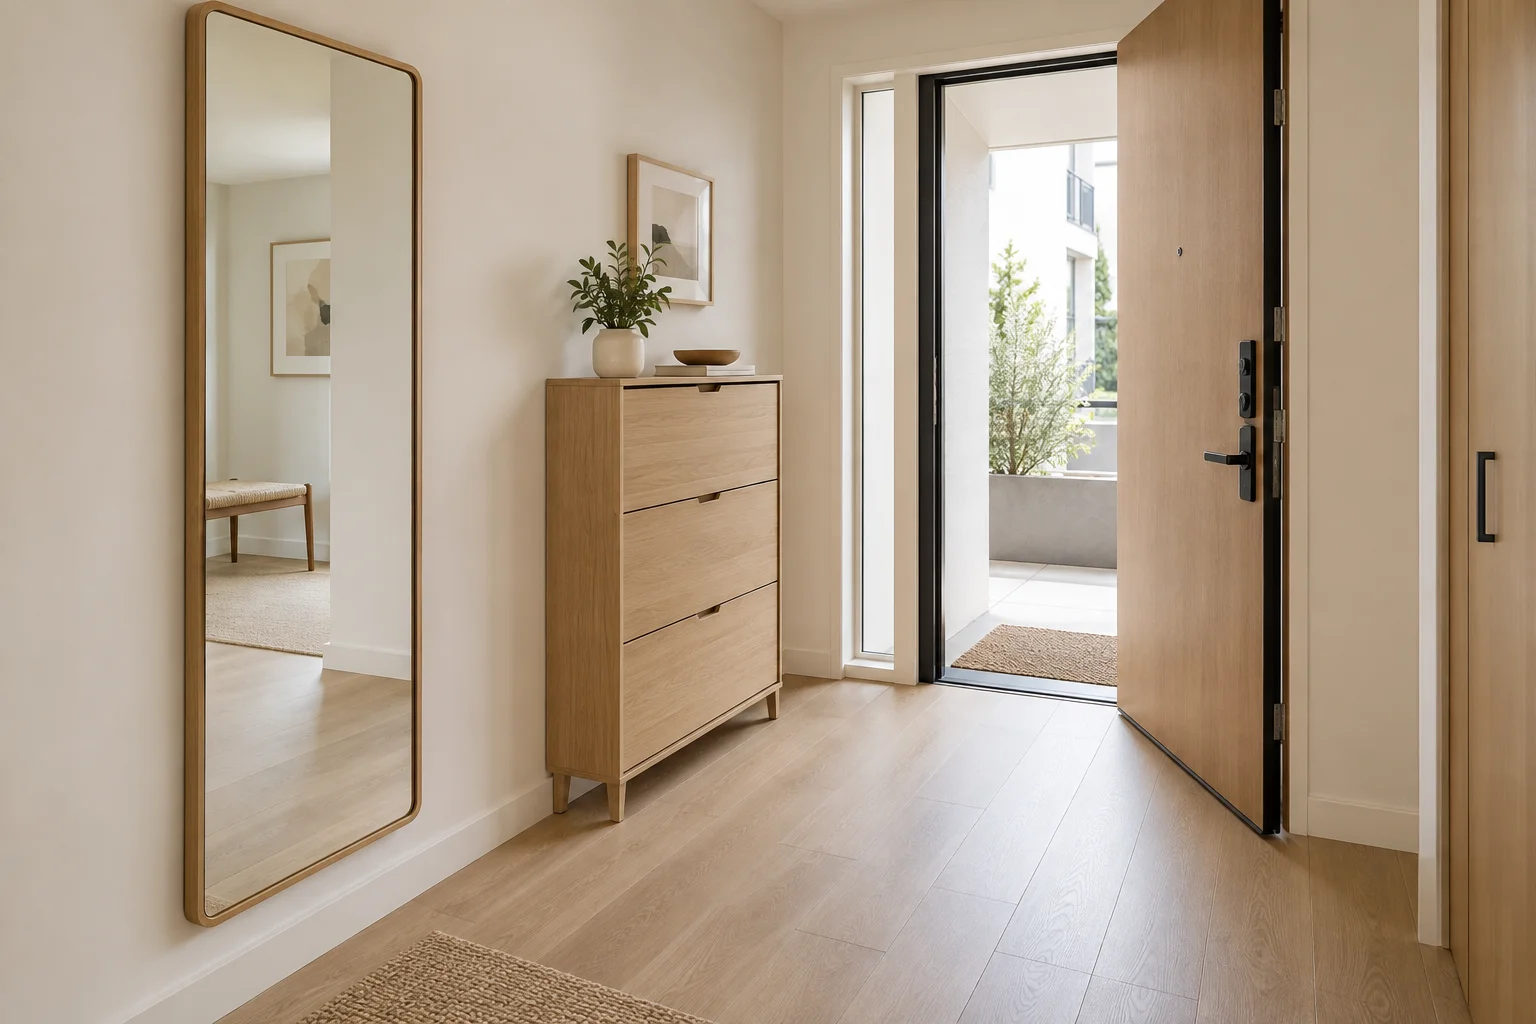
An entryway mirror should let you check your clothes without standing in an opening door or backing into a staircase. That sounds simple until a narrow hall must also accommodate shoes, coats, bags, and several people leaving together. The right position is the one that supports the departure routine while preserving the route through the home.
A large mirror can make a hall feel brighter, but a reflected passage is not additional floor area. Measure the physical space independently of its reflection. The following dimensions are starting points for comparing domestic layouts, not building regulations or an accessibility specification. Confirm local requirements and the needs of the people who use the entryway.
Map the departure routine before choosing a wall
Write down what happens when you leave: find shoes, put on a coat, collect keys, inspect the outfit, and open the door. Then repeat the sequence on arrival with a parcel or shopping bag. A mirror positioned between the shoe bench and key shelf may work well, but only if stopping there does not trap another person behind the entry door.
Mark the front door swing, internal doors, cupboard doors, and stair approach. Include protruding handles and the depth of hanging coats. In a small apartment, the only visually empty wall can sit inside a door's sweep. In a family house, the mirror may fit beside a bench while the person standing in front blocks access to every coat hook.
Test a real standing position
Place a temporary floor marker where you expect to stand. Try roughly 900–1,200 mm from the mirror as an initial comfortable viewing distance, then adjust to your eyesight, preferred posture, and available space. This is a usability test rather than an optical minimum: a flat mirror does not require you to stand a full body length away.
For a correctly positioned flat mirror, seeing your full height generally needs a reflective height of about half your body height under ideal viewing geometry. In practice, a larger mirror allows for different users, imperfect positioning, and footwear checks. Avoid turning that principle into a product-size guarantee. Tape up a rectangle and test the tallest and shortest users in their normal shoes.
Remember seated users and children
Someone checking a coat from a seated position needs the lower reflection to be useful from that seat. A mirror mounted high above a console may show an adult's upper body but exclude both shoes and a child. Decide whether the mirror serves a single standing adult or the whole household before setting its bottom edge.
Set the bottom and top edges together
A mirror about 400–600 mm wide and 1,400–1,700 mm high can be a useful full-length comparison size for many homes, but it is not a universal requirement. Its mounting height matters as much as its size. Start with a low bottom edge, mock up the entire outline, and raise it only after checking feet and head from the intended standing position.
Keep the frame clear of the skirting profile and avoid an awkward unsupported overlap. If there is a socket, alarm control, intercom, or thermostat on the wall, draw it at its actual height. Do not cover controls or make them harder to operate merely to center the mirror on an architectural feature.
Preserve the actual walking route
Consider the depth of the frame and mounting hardware. A slim wall-mounted mirror may occupy little space; a leaning mirror with its foot away from the wall can consume a meaningful strip of a narrow hallway. A decorative stand also creates an object at shin height precisely where people carry bags and look toward the door.
For early comparisons, test a clear route around 900 mm wide where the existing layout allows, and provide more room where users pass, turn, or use mobility equipment. Applicable requirements may differ. Measure from the outermost obstruction, including a hanging coat or open shoe drawer, rather than from the bare wall behind it. A reflected route cannot compensate for a physically pinched one.
Check doors in their full open positions
Open the entry door to the angle used when carrying furniture or bringing in groceries. Make sure its handle cannot strike the mirror or frame. Check cupboard doors and pushchairs too. A doorstop can be part of a resolved installation, but the hall should not rely on somebody remembering to hold a door short every time.
Also stand at the mirror while another person opens the front door. If you must jump away, the mirror's viewing zone conflicts with the entrance. Move the mirror or change the standing position. The same test applies beside a stair: avoid encouraging someone to back toward a step while concentrating on their reflection.
Place light where it helps the person
Bright light behind your head can leave your face and clothing in shadow. Compare a position with light arriving from the front or side, and check it at the time you normally leave home. A window opposite the mirror can provide useful light, but low direct sun may produce uncomfortable glare. The effect changes throughout the day and across seasons.
At night, test the actual hall lighting rather than judging only in daylight. A ceiling spotlight directly above your head can create harsh shadows. Additional lighting should suit the room and be installed appropriately; a mirror is not a reason to trail a cable across the entryway. Do not assume a 3D preview proves real-world illumination levels or glare performance.
Choose the reflection deliberately
From the normal standing spot, note what appears behind you. A mirror facing an overfilled coat rail can double the visual clutter, while a view of a simple wall or artwork can feel calmer. From outside the open front door, check whether the reflection reveals a bedroom or other private area that was previously out of sight.
A mirror facing the entrance is not inherently wrong. The practical questions are whether the reflection is distracting, whether people mistake it for another opening, and whether the view suits the household. Use personal preferences as design inputs instead of treating a styling rule as an unavoidable restriction.
Specify a secure mounting method
Confirm the mirror weight, approved mounting orientation, wall substrate, and manufacturer fixing instructions. A heavy mirror needs hardware and a wall assembly suited to its load. A freestanding or leaning product may still require an anti-tip restraint. Follow its instructions, particularly where children, pets, or a busy entryway make accidental contact likely.
Check appropriate glazing or safety backing for the intended location with the supplier. Adhesive products must be compatible with the mirror backing and wall surface. In a rental, obtain the necessary agreement for permanent fixings and use an installation method appropriate to the actual product; do not improvise a heavy mirror installation with general-purpose strips.
Compare two narrow-hall options
Consider a hall 1,150 mm wide. A leaning mirror whose foot projects 180 mm leaves only 970 mm before any coats or shoes are added. A slim wall-mounted option may preserve more usable space, but it still needs a comfortable viewing position. Placing it on the long wall could let you look from an adjoining doorway rather than stand directly in the main route.
Compare mirror outlines, standing zones, and door swings in a room planning study. The 3D demo can help you understand viewpoint relationships; verify actual reflections and reach with a temporary physical mock-up. Choose the option that works when the hall is occupied, not only when it is empty.
Final entryway mirror checklist
- Every regular user can see the intended portion of their outfit.
- The standing position avoids doors, steps, and the main passing route.
- Frames, stands, coats, and shoe drawers are included in clearances.
- Daylight and evening lighting give a useful view without strong glare.
- Reflections do not unintentionally expose private rooms.
- The wall, fixings, restraint, and glass specification suit the product.
Once the practical position is established, coordinate the frame with the bench and other interior elements. A well-placed mirror becomes a brief, useful stop on the way out, rather than an obstacle everyone learns to walk around.