Home Office Printer Station Layout and Storage Guide
Plan a home office printer station with space for open trays, scanning, paper storage, cable access, and maintenance without crowding your desk or walkway.
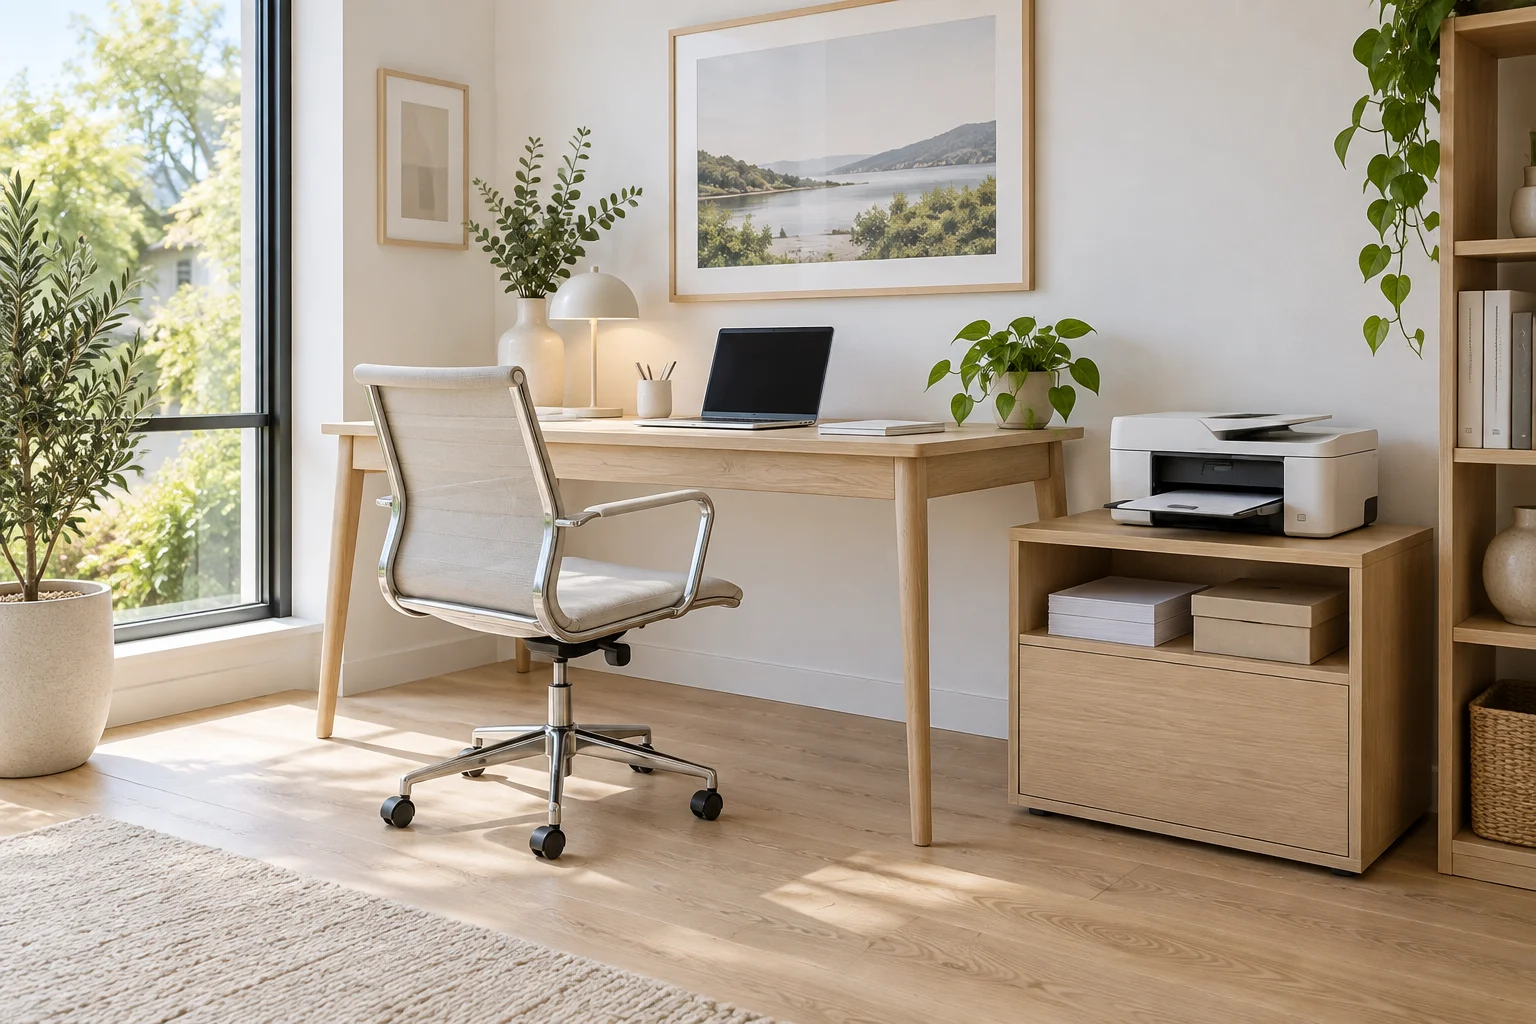
A printer station needs more space than the printer occupies while switched off. Paper trays extend, scanner lids lift, rear panels open, and somebody has to stand nearby with a stack of documents. A cabinet that looks perfectly sized in a product photograph can become frustrating as soon as you need to scan a book or clear a paper jam.
Start with the exact printer model and its operating instructions. Then plan the cabinet or shelf around the machine's working envelope. The examples below are layout comparisons, not installation specifications. Manufacturer ventilation, loading, electrical, and service requirements take precedence over general furniture dimensions.
Define the work that happens at the station
List the regular tasks: printing shipping labels, scanning signed forms, copying pages, loading envelopes, or preparing school materials. A household that prints a few pages a month has different needs from someone processing parcels every afternoon. Include the number of people who share the machine and whether they approach from the office or the rest of the home.
Do not automatically place the printer beside your keyboard. A separate station can preserve desk space and let another household member collect pages without reaching across your work. On the other hand, frequent scanning may justify a closer position. Choose according to the physical task rather than the convenience of the first available socket.
Measure the printer in every working state
Record the closed body width, depth, and height, then extend every paper tray and output support. Open the scanner lid to the angle needed for a book, not only a loose sheet. Check rear feed slots, cartridge access, maintenance covers, and the manufacturer's required clear space. Include a USB plug or power connector that projects behind the body.
For illustration, a printer body about 420 mm wide and 360 mm deep might appear to fit a 450 mm-deep shelf. Once a front tray, rear connector, and service requirements are included, that shelf may no longer be suitable. The exact operating depth varies substantially, so do not turn this example into a general shelf recommendation.
Make two outlines rather than one
Use one outline for normal operation and another for occasional service. A machine may print with little overhead room but need substantially more space to open its scanner or replace a component. If the service plan requires moving it, confirm that the move is safe, manageable, and consistent with the instructions. Do not assume lifting a heavy printer will remain easy for every user.
Choose an open surface or a cabinet deliberately
An open shelf makes controls, paper, and airflow easier to access, but leaves the machine visible. A cabinet can reduce visual clutter when the printer is idle, yet may obstruct trays or retain heat during operation. Confirm whether the product can operate in the proposed enclosure and what openings it requires. Furniture doors should not be used to improvise an acoustic or ventilation solution.
A pull-out shelf can expose a compact machine for use, provided its slides, fixings, and furniture are rated for the full load and extension. Check the weight of the printer plus paper and supplies, not the empty shelf alone. Follow furniture anti-tip requirements and verify stability with the shelf extended before treating the arrangement as resolved.
Set surface height for the real task
For a printer beside a seated desk, a surface around normal desk height may be convenient. For regular standing scanning, a higher work surface can reduce bending. A comparison range around 700–900 mm may help test these options, but the printer's own height raises the controls and scanner above that surface. Measure the total rather than choosing a cabinet height in isolation.
Have the main user load paper, read the controls, retrieve output, and place a document on the scanner. If a lid is lifted overhead or someone must bend deeply for every page, revise the height. Consider a seated approach where needed and confirm that nearby doors or drawers do not obstruct it. Reach comfort cannot be validated from a side elevation alone.
Give documents a landing area
Provide a clear surface for papers waiting to be scanned and a separate destination for completed work. Even a modest area around 300 by 400 mm can be a useful initial comparison for an A4-sized document workflow, but larger originals and multiple piles need more. A sheet should not have to balance on a printer lid that must open next.
Define the direction of movement: incoming documents, scanning or printing, checking, and filing or recycling. If the landing area is on the opposite side of an opening cabinet door, the sequence becomes awkward. Keep confidential pages in a suitable closed location after use, particularly when the station sits near a shared hallway or guest area.
Store paper where it stays usable
Keep paper flat, dry, and protected according to the paper and printer guidance. Measure the unopened packs, envelopes, and specialist media you actually buy. A4 and US Letter have different dimensions, and packaging adds bulk. Do not size a drawer from the bare sheet alone, then discover that a full ream cannot slide inside.
Place everyday paper within comfortable reach and reserve lower or less convenient storage for infrequently used supplies. Keep cartridges and toner in their recommended conditions and packaging. Avoid storing liquids above the equipment, where a small leak could damage the machine or documents. The station should make replenishment simple without turning every nearby shelf into miscellaneous storage.
Preserve walking and chair movement
Open trays can project into the route behind a desk chair. Draw the chair in a pulled-back position and the printer in its active state at the same time. Someone collecting pages should not require the seated worker to stand up, tuck in the chair, and close a tray for each visit. Shared equipment needs a shared approach route.
Use about 900 mm as an initial comparison for a clear walking path where the room permits, increasing it for turning, passing, or mobility needs and checking applicable requirements. The service area may need more space than normal printing. Keep the machine away from a door swing that can hit an open tray or the person using the scanner.
Plan cables, heat, and sound realistically
Leave accessible routes for power and any required data cable, with enough slack for approved movement and maintenance but no loose loops underfoot. Do not pinch leads behind the cabinet or drape them across paper trays. Wireless printing may remove a data cable; it does not remove the power connection or the need for physical access.
Respect ventilation requirements and avoid enclosing the printer behind a shut door during operation unless the equipment and enclosure are designed for it. Printing noise and vibration can also disturb calls. Test a location farther from the microphone or shared bedroom wall before assuming a cupboard will solve the problem. Use only support or isolation measures compatible with the equipment's stability and instructions.
Rehearse one complete printing cycle
Suppose a small office has a 1,400 mm desk and a 600 mm-wide side cabinet. The cabinet may accommodate the printer's body, but a scanner lid could conflict with the shelf above, and the front tray could enter the chair's movement area. Compare moving the station to the wall beside the doorway, then check whether that creates a door or circulation conflict instead.
In a room layout study, represent the printer, open tray, scanner clearance, and standing user with approximate volumes. Explore sightlines using the 3D demo, then test with cardboard outlines and actual measurements. Run through loading, printing, collecting, scanning, and accessing a jam panel before ordering cabinetry.
Final printer-station checklist
- Closed, operating, and service dimensions have been recorded.
- The surface and any slides support the complete load.
- Controls, trays, scanner, and consumables are reachable.
- Incoming and completed papers each have a destination.
- Paper storage stays dry and fits the purchased packaging.
- Chair movement, doors, cables, and ventilation remain clear.
Once these conditions work, coordinate the cabinet with the rest of the home office interior. The goal is a station that handles the full document workflow without consuming the desk or interrupting everyone who walks past.