Kitchen Baking Cart Layout: A Practical Prep Station
Plan a kitchen baking cart for weighing, mixing, and shaping dough with a stable worktop, useful storage, parked clearance, and a clear route to the oven.
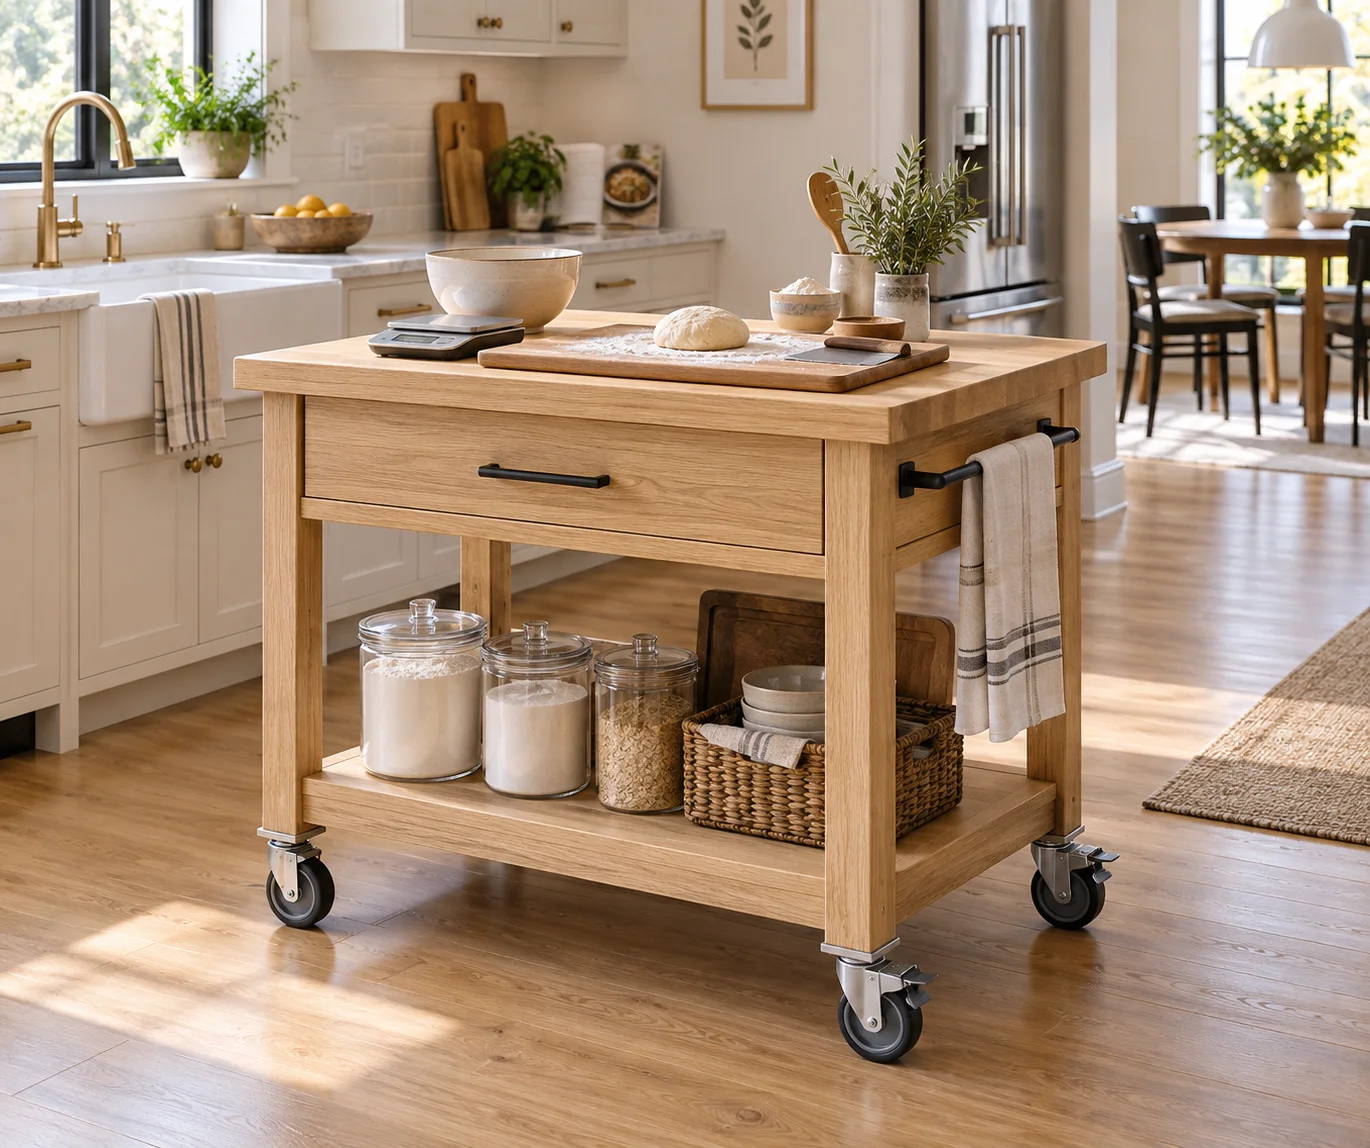
A baking cart can give flour, scales, and mixing bowls a dedicated home without rebuilding a small kitchen. It can also become a wobbly obstacle that has to be emptied before every meal. The difference is whether the cart is planned around actual baking tasks. Weighing ingredients, kneading dough, chilling pastry, and transferring a tray to the oven require different surfaces and movements. Decide which tasks belong on the cart before selecting its size or buying attractive storage containers.
Start With One Recipe You Make Often
Choose a familiar recipe rather than imagining a professional bakery. A weekly loaf needs a bowl, scale, flour container, dough scraper, shaping area, and access to the oven. A batch of cookies adds a tray-staging problem. Pastry may require a cool surface and regular trips to the refrigerator. List every object used from measuring through washing up and measure the largest bowl, board, and tray.
Lay those objects on an existing counter in the order you use them. Photograph the arrangement and note which items must stay out at the same time. A single 600 by 450 mm cart top may work for weighing but be too shallow for your rolling board and flour container together. Those dimensions are a planning example, not a recommended product size; the tools and recipe define the useful surface.
Assign the Cart a Clear Job
There are three practical roles to compare: ingredient storage with a small weighing surface, a stable dough-preparation workstation, or a tray and equipment staging unit. One cart can support more than one role if the tasks happen at different times, but its top cannot be counted twice during the same step. If the mixer occupies the entire surface while running, there is no remaining shaping station simply because the cart is called a baking island.
For an apartment kitchen, an ingredient cart may deliver the most benefit. Park flour and tools below, weigh ingredients on top, then transfer the bowl to the main worktop for mixing. This arrangement keeps the cart lighter and avoids assuming that furniture intended for storage can handle repeated kneading force or powered equipment vibration.
Match Stability to the Work
Check the manufacturer's rated load, intended use, caster design, and top construction. The total stored weight is only part of the problem. Kneading pushes sideways as well as downward; a narrow cart can move or rock even when the ingredients are comfortably below its load rating. Wheel locks do not automatically make a cart equivalent to a fixed workbench. Test the intended action on a suitable demonstration unit where possible.
If the furniture is not designed for forceful preparation, keep kneading and powered mixing on a suitable fixed counter. Use the cart for measuring and staging instead. Do not improvise structural modifications or assume that placing heavy flour bags on the bottom shelf solves tipping. A stable low center of gravity helps storage behavior, but the cart must still be suitable for the planned task.
Plan Stored and Working Positions
Measure the cart including handles, towel rails, and any folded leaves. Draw one position for parking and another for use if it moves. A cart 450 mm deep placed in a 1,100 mm aisle leaves 650 mm before allowing for handles or the operator. That subtraction reveals a potential blockage; it is not an acceptable-clearance recommendation. Test the actual route and applicable requirements, especially where the kitchen has only one exit.
The working position should not obstruct the refrigerator, dishwasher, or oven door needed during the recipe. The parking position should remain available when shopping bags, a bin, or dining chairs are in their normal places. If the only parking location is the oven's opening area, the cart will require a planned relocation before baking rather than becoming a permanent extension of the counter.
Use Work Height as a Task Decision
For weighing and decorating, visibility and relaxed shoulders matter. For kneading or rolling, some users prefer a somewhat lower working plane than their general counter, but the correct height depends on their body and technique. Test with the actual board on top because a thick removable slab changes the effective height. Avoid buying a cart from a nominal height measurement without counting the tools placed on it.
Invite the regular baker to mix an empty bowl, scrape an imaginary dough, and reach the far edge. If another household member uses the cart, repeat the test. A large top that looks generous can demand an uncomfortable forward reach, especially when a flour bin or mixer pushes the active area toward the back. Keep frequent work close to the user's natural standing position.
Store Ingredients Without Losing Access
Put heavy ingredients low enough to keep the unit balanced while maintaining a manageable lifting height for the user. Choose food-safe, sealed containers appropriate to the ingredient and local conditions, and retain labels and date information. Measure the container with its lid open or removed. A flour bin that fits beneath a shelf may still need to be lifted out before every scoop.
Group small tools in a shallow tray rather than burying them behind heavy bags. Keep measuring spoons, a scraper, and parchment near the weighing position. Leave space for the largest tray without forcing it to lean into a wheel path. An exposed lower shelf near the floor also collects dust, so decide which items need covered storage and how the shelf will be cleaned.
Keep the Oven Transfer Route Independent
A mobile cart can stage an empty tray before loading, but receiving a hot tray requires a stable, suitable heat-resistant landing surface. Confirm the surface's heat limits and use appropriate protection. Do not assume a decorative timber finish, a plastic top, or an ordinary mat is suitable. A fixed landing counter beside the oven may be the better choice even when preparation happens on the cart.
Walk the route with a cold tray held in both hands. Open the oven door and identify where your feet go. The cart should not force a sideways reach over the door or require moving furniture while holding hot food. Plan cooling racks away from the main traffic route, with enough space for the batch rather than only the first tray.
Treat Power as a Separate Constraint
If you intend to use a mixer on the cart, verify both equipment and furniture suitability, stable support, and the electrical arrangement. Cords must not cross a walkway or become trapped under wheels. Do not wheel a connected appliance across the kitchen. A convenient storage place for a mixer is not automatically an appropriate operating place.
Many small kitchens work better when the mixer remains on a fixed counter and the cart carries ingredients to it. This avoids a cable across the aisle and provides more predictable resistance to vibration. Model the mixer in its raised or open position as well, since changing attachments can require extra height that a parked storage arrangement conceals.
Run a Full Batch Before Finalizing the Layout
Use the room planner to compare cart sizes with the refrigerator, oven, and dining chairs in place. Represent both parked and working positions, but do not show them as simultaneously available floor area. Add your largest rolling board and tray to check whether the proposed surface actually supports the recipe.
Then perform a cold rehearsal with weighing, mixing, shaping, tray transfer, cooling, and cleanup in sequence. Record every point where you move the cart, wipe the surface, or borrow another counter. Explore the demo for spatial review, and keep a short task list beside the final drawing. The best baking cart earns its floor space through useful storage and comfortable work, not through an oversized top that blocks the kitchen.