Refrigerator Door Clearance: A Kitchen Layout Guide
Plan refrigerator door swing, drawer pullout, landing space, ventilation, and aisle clearance so food storage works without blocking the kitchen.
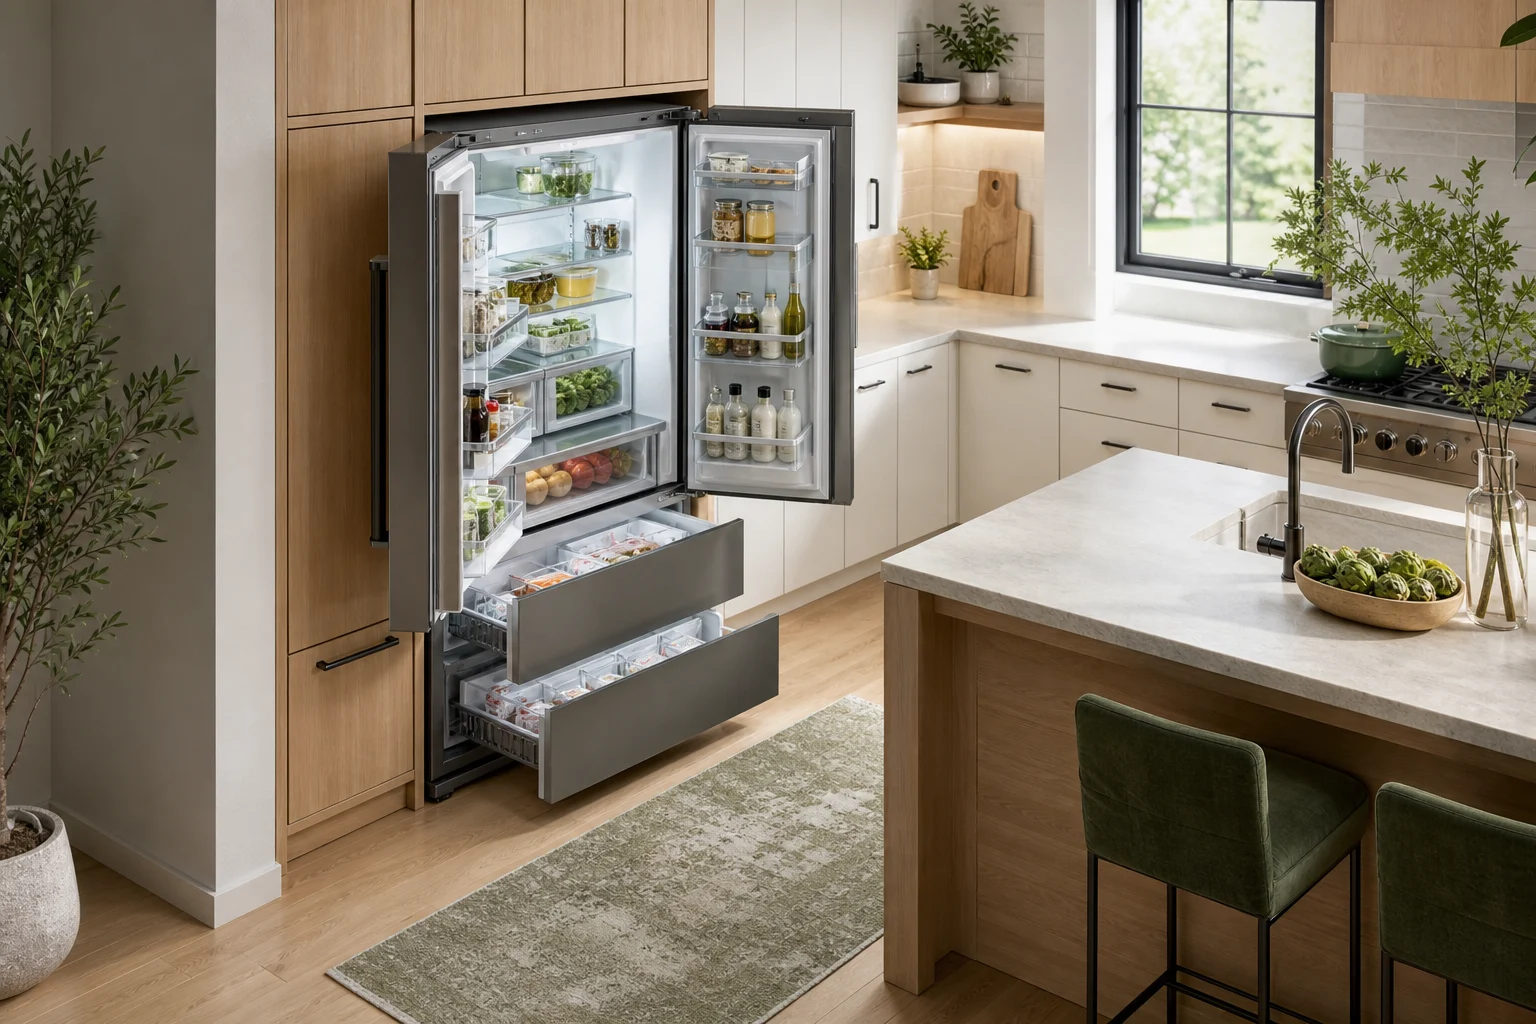
A refrigerator is not a cabinet-sized box. Its doors project into the aisle, internal drawers may require a door to open beyond 90 degrees, and handles can hit a return wall before a crisper comes out. A kitchen can look generous in plan yet make groceries awkward to unload or prevent a technician from removing the appliance. Model the exact refrigerator in its most demanding positions before fixing cabinets, islands, or pantry walls.
Start With the Installation Drawing
Record the appliance width, cabinet depth, body height, hinge height, handle projection, door thickness, rear connections, ventilation gaps, and maximum open-door envelope. Do not rely on the retail category name. Two nominal 36-inch refrigerators can require different side clearances because their hinge geometry differs.
Distinguish between the case width and the width across open doors. A counter-depth model may still project past a 24-inch cabinet once the door and handle are included. Add the manufacturer's rear clearance for power, water, and airflow. If the floor or wall is not square, reserve installation tolerance rather than designing a friction fit.
Test Every Door and Drawer Position
Draw closed, 90-degree open, and fully open positions. Many French-door models let shelves work at 90 degrees but require a wider angle to remove bins. Bottom-freezer drawers need a person to stand behind the extended drawer while lifting a basket. Side-by-side doors need narrower swings, yet the freezer opening can feel restrictive beside a wall.
Check the collision between handles and adjacent walls, tall pantry doors, oven handles, island corners, and room doors. A filler panel may give the hinge enough room, but it reduces usable cabinet width. Confirm that solution against the selected appliance rather than applying a generic filler dimension.
Size the Working Aisle, Not Just the Gap
Measure the aisle from the refrigerator's most forward permanent point to the opposite counter, island, or table. Then subtract the open door or drawer projection. The remaining space must hold the user and, ideally, let another person pass.
As a practical starting point, many one-cook kitchens benefit from roughly 42 inches (107 cm) between opposing work faces, while 48 inches (122 cm) often works better for two cooks. Those are planning references, not substitutes for local standards or a product drawing. A refrigerator opposite an island may need more because loading groceries is a stationary task performed with doors open.
Provide a Landing Zone
Place a stable counter within one or two steps of the refrigerator. It should hold grocery bags, a casserole dish, or several ingredients without crossing the cooking path. The nearest surface may be beside the refrigerator, on an island, or across the aisle, provided an open door does not cut it off.
Avoid placing the only landing surface behind the user. Turning with a heavy dish is more difficult than sliding it sideways. If the refrigerator sits at the end of a cabinet run, even 15 to 18 inches (38 to 46 cm) of clear counter can greatly improve unpacking and meal preparation.
Keep the Main Route Out of the Door Swing
The refrigerator is one of the most frequently visited kitchen points. Put it where children or guests can reach drinks without walking through the range-sink work zone. At the same time, avoid making its open doors block the only route to a balcony, dining room, or back door.
Trace three trips: entry to refrigerator with shopping bags, refrigerator to sink with produce, and refrigerator to dining area with drinks. Test each trip with one door open. A layout that works only when every appliance is closed is not a working layout.
Coordinate Pantry and Tall Cabinets
Tall units create a visually calm wall, but several large doors opening into one narrow zone can conflict. Open the refrigerator, pantry pullout, broom cabinet, and wall oven in separate scenarios. They do not all need to open simultaneously, but each needs a safe user position and a way to close without stepping around another fixed obstacle.
Do not trap a refrigerator between two panels so tightly that the doors cannot swing or the unit cannot be rolled forward. Protect access to the water shutoff, filter, outlet, and rear connections. Follow the manufacturer's enclosure and ventilation rules, especially for built-in models.
Plan for Cleaning and Replacement
Food debris collects beneath and beside appliances. Leave details that can be cleaned without dismantling adjacent millwork. A removable toe kick or accessible side gap can help, but must not undermine the required appearance or fire and ventilation provisions.
Also test a future replacement route. Can the appliance pass through the kitchen door, hallway, elevator, or stair? Can installers protect the floor and turn the refrigerator upright? A perfectly fitted niche is expensive if every compatible replacement is slightly larger.
Model the Kitchen in 3D
Build the room, tall cabinet wall, refrigerator, handles, open doors, freezer drawers, island, stools, and people in the Aedifex room planner. Compare closed and fully open states from the 3D demo perspective. The view should reveal whether a door hides the landing counter or squeezes the route.
If the kitchen connects to living space, use the interior planner to check how a deeper appliance affects the full elevation rather than only the floor plan.
Refrigerator Layout Checklist
- Use the current model's installation drawing and hinge details.
- Include handles, rear services, ventilation, and final forward projection.
- Test 90-degree and fully open doors plus every internal drawer.
- Preserve a standing zone behind an open freezer drawer.
- Provide a landing counter within one or two steps.
- Keep the primary household route usable during loading.
- Confirm pantry, oven, and room-door conflicts.
- Protect shutoff, filter, outlet, cleaning, service, and replacement access.
Save several cabinet and island alternatives after you register, then compare them with the same refrigerator model so the decision is based on movement rather than a tidy closed-door rendering.