Wet Room Bathroom Layout: Dimensions and Drainage Plan
Plan a wet room with practical shower zones, floor slopes, drainage, splash control, dry storage, ventilation, access, and construction-ready checks.
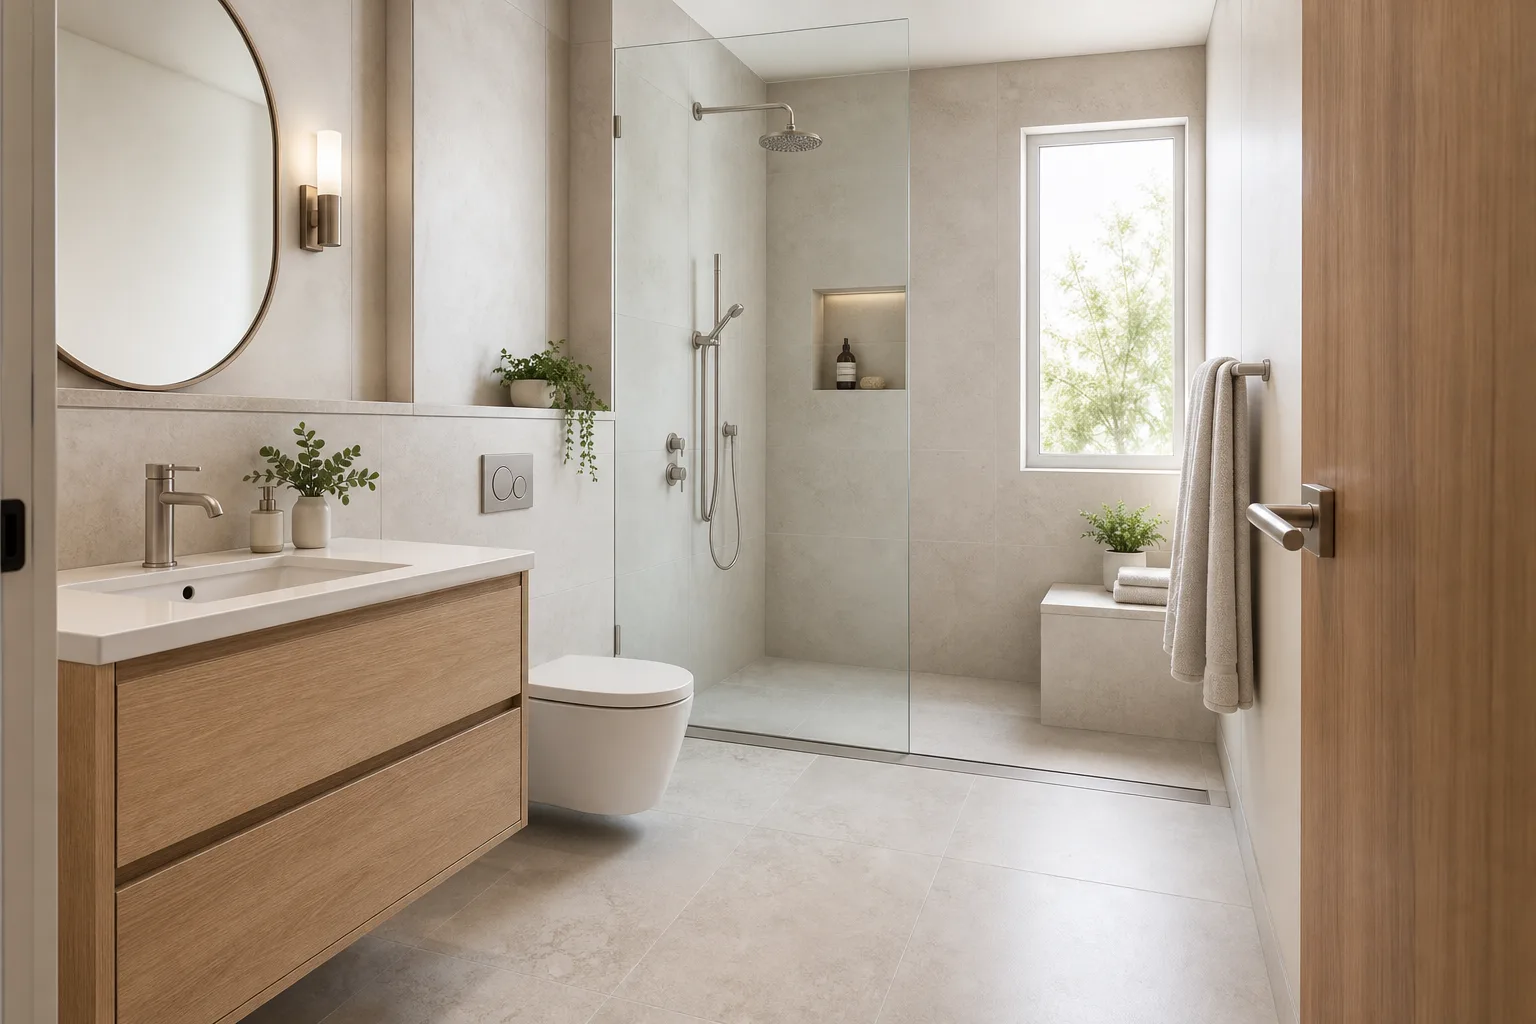
A wet room removes the shower curb, but it does not remove the boundary between wet and dry tasks. Water still needs a controlled fall to a drain; towels and toilet paper need protection; the door must open without meeting standing water. Successful wet rooms are planned as drainage systems first and visual spaces second.
Define the True Wet Zone
Place the shower head, hand spray, user, controls, and likely splash radius on the plan. A nominal 90 × 90 cm shower area can send water farther when the spray faces the room or a tall user turns. A larger zone, fixed glass panel, or different spray orientation may be needed. Follow local plumbing, waterproofing, and accessibility rules rather than treating general dimensions as approvals.
Separate direct spray, frequent splash, occasional dampness, and expected dry floor. This map determines waterproofing extent, drain position, storage type, electrical zones, and where a bath mat can safely sit.
Start With the Finished Floor Build-Up
The floor must fall continuously toward the drain without creating a ridge at the doorway or a low puddle beside the toilet. The correct slope depends on the drainage system, tile, local standard, and installer specification; many projects use a fall around 1–2 percent as a design conversation, not a universal prescription.
Calculate the vertical drop across the full run. A long room can require more build-up than expected, affecting joists, slab, ceiling below, door thresholds, and adjacent floor levels. Confirm structure and waterproofing details with qualified professionals before demolition.
Choose Point or Linear Drain From Geometry
A central point drain usually needs falls from multiple directions, which suits small-format tile but complicates large slabs. A linear drain can permit one-direction fall and larger tile, but its exact location, flow capacity, removable trap, wall junction, and maintenance access matter. A wall drain can simplify the walking surface only when the waterproofing system supports it.
Do not hide the drain under a fixed bench or place it where hair and soap cannot be reached. Match drain capacity to the shower output, including multiple heads if present.
Protect the Doorway and Dry Fixtures
An inward-swinging door may sweep across the wettest floor and trap a fallen person. An outward-opening door or suitable sliding system can improve access, but wall structure, privacy, hardware, and corridor safety still need review. Keep the door approach away from the direct spray and provide a dry place to stand before stepping into the shower.
Place toilet paper, towels, outlets, switches, wood cabinets, and laundry outside direct splash. A glass screen may stop spray without creating a narrow pinch point. Test its edge, support, cleaning access, and the route around it.
Size the Shower Around Actions
Model the user washing hair, turning, reaching controls, picking up a dropped bottle, using a stool, and assisting another person. Controls reachable before entering the spray improve comfort. A hand shower needs a hose path that does not wrap around a grab bar or strike glass.
If accessibility is a goal, use applicable local standards and the actual user to set clear floor area, turning, seat, grab-bar reinforcement, control height, and transfer approach. “Barrier-free look” is not the same as an accessible bathroom.
Keep the Vanity and Toilet Functional
Draw open vanity drawers and two feet standing at the basin. Water on the floor should not reach the toe-kick or make the mirror position slippery. Wall-hung cabinetry makes cleaning easier but still needs suitable wall structure and moisture-resistant construction.
At the toilet, preserve required side and front clearances and keep the flush control reachable. Do not let the glass panel create a slot that cannot be cleaned. Refer to the bathroom vanity size guide when a compact basin competes with the dry standing zone.
Build Storage for Humidity
Recessed shower niches need sloped shelves, waterproof corners, suitable framing, and a position that avoids the strongest spray. Keep daily products reachable without bending beneath the shower. Towels require a genuinely dry hook or rail, not a decorative bar inside the splash radius.
Store medicines, electronics, paper supplies, and spare textiles outside the humid room when possible. Closed cabinetry reduces visual clutter but must use moisture-tolerant materials and ventilation appropriate to the assembly.
Plan Ventilation and Heat
Size extraction for the room, shower load, duct length, and local requirements. Exhaust outdoors, not into a roof cavity. Put the intake where it captures steam without being blocked by a closed door or glass screen. Provide make-up air through a suitable door undercut or transfer path.
Underfloor heating can accelerate drying but does not replace waterproofing, drainage, extraction, or cleaning. Coordinate heating cable with drains, fixings, membranes, and sensor placement before the floor is tiled.
Model the Wet Room Before Construction
Build the room in Aedifex with finished wall thickness, floor levels, drain, glass, open door, vanity drawers, toilet, towel rail, bench, controls, and a person-sized turning block. Use the room planner to compare point-drain, wall-drain, and linear-drain arrangements.
Then trace water and people separately: where water travels, where a dry user stands, where cleaning tools reach, and how someone exits if the floor is wet. A beautiful render cannot compensate for an unserviceable trap or inaccessible shutoff.
Wet Room Construction Checklist
- Map direct spray, splash, damp, and dry zones.
- Coordinate floor fall, structural build-up, doorway level, and adjacent flooring.
- Select a drain suited to tile geometry, flow, waterproofing, and cleaning access.
- Keep the entrance, towels, paper, electrics, and dry storage out of direct spray.
- Test shower controls, hand-spray hose, bench, and assistance actions.
- Apply local accessibility requirements where barrier-free use is intended.
- Draw open vanity drawers and required toilet clearances.
- Detail niches, glass supports, corners, and penetrations within one waterproofing system.
- Vent outdoors and coordinate make-up air and heating.
- Obtain product-specific design and qualified installation before construction.
A wet room succeeds when water management is almost invisible in daily use. Once the technical zones are proven, use the interior planner to compare tile and cabinetry, then register to save the coordinated layout.