Wheelchair-Accessible Kitchen Layout: Practical Guide
Plan a wheelchair-accessible kitchen with turning space, knee clearance, reachable storage, appliances, counters, controls, lighting, and safe work zones.
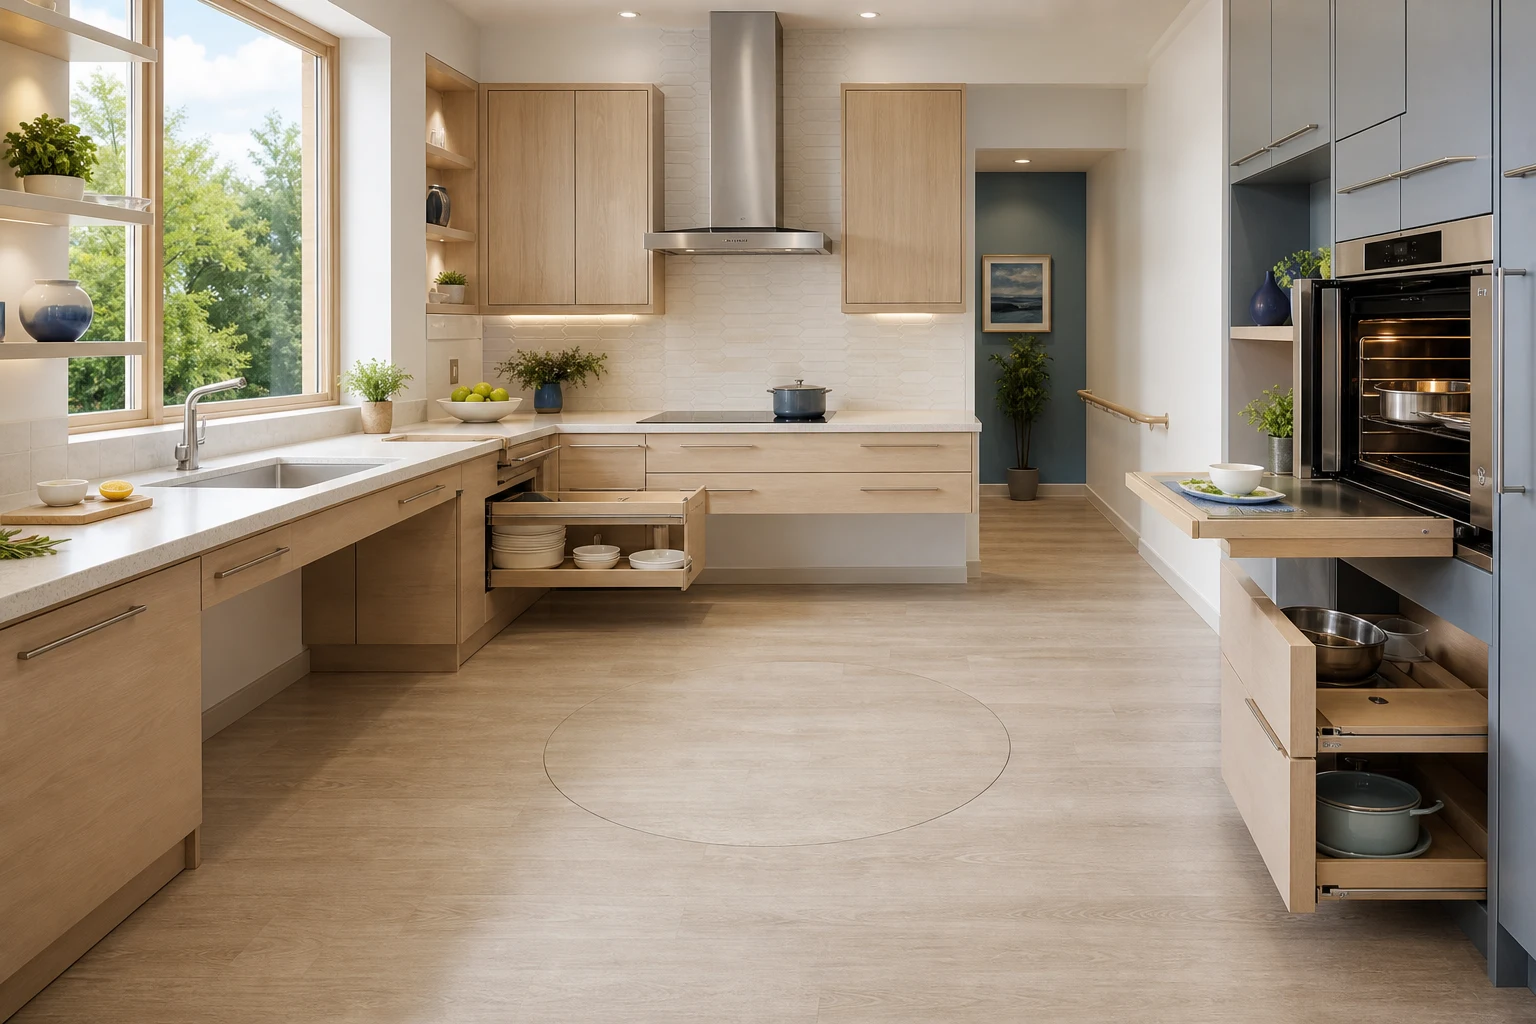
An accessible kitchen is not created by lowering one counter. The route into the room, turning space, approach direction, knee and toe clearance, appliance doors, controls, storage reach, heat safety, and the user’s individual chair all interact. Regulations provide essential minimums, but the best plan comes from measuring the actual user and testing complete cooking tasks with an occupational therapist or accessibility professional where possible.
Begin With the User and Local Standards
Record chair width, length, footrest projection, turning method, reach range, transfer needs, strength, and whether another person assists. Verify current local accessibility rules; common reference numbers are not universal approvals. On a plan prepared with Aedifex, manually mark the measured chair, footrests, hands, and any helper position. Distinguish the user’s turning method from an assumed generic circle. Check closed and relevant open-appliance states; the software does not simulate wheelchair maneuvers or certify accessibility.
Plan an Unbroken Accessible Route
Measure the continuous approach from entry, dining area, and pantry at its narrowest actual point, including handles and other projections. Do not treat a 90 cm aisle as a universal minimum or as evidence that a kitchen is wheelchair-accessible. Required route width, maneuvering space, approach, and permitted overlaps depend on the applicable local requirements, room configuration, chair, and user. Have the project professional identify those requirements before fixing the cabinetry. Keep turning and waiting positions away from an open hot oven; in a galley, document where the user reverses or turns rather than relying on one aisle-width measurement.
Provide Useful Knee and Toe Clearance
A seated prep area needs open knee space, protected plumbing, and a work surface matched to the user—not merely an empty cabinet bay. Include toe clearance so the chair approaches closely. At a sink, insulate hot pipes and use a shallow bowl if it improves reach. Removable base cabinets can support future adaptation, but the finished condition must remain stable and safe.
Put Work Zones Within Reach
Arrange refrigerator, landing, sink, prep, cooking, and serving in a short sequence. Provide a heat-resistant landing surface beside the cooktop and oven so hot dishes never travel across the lap. A pull-out board can extend prep space if it locks securely. Keep knives, boards, pans, and waste within the zone where they are used, reducing repeated turns.
Select Appliances by Operation, Not Appearance
Side-opening or wall ovens may improve access when installed at a suitable height with an adjacent landing shelf. Induction avoids a cooking flame, but cookware and the cooking surface can still be hot; it does not remove burn risk. Controls must be readable and reachable without reaching over a hot zone. Drawer dishwashers or raised conventional units may reduce bending. Check refrigerator handle force, drawer extension, door reversal, and whether open doors trap the chair.
Make Storage Reachable
Use full-extension drawers, pull-down upper fittings, shallow shelves, and pantry pull-outs instead of deep fixed cupboards. Daily items belong within the user’s comfortable reach, not at the theoretical maximum. Avoid heavy objects overhead. D-shaped handles are easier for many hands than small knobs, and touch latches can be difficult if they require precise force. Test every mechanism with the intended user.
Coordinate Counters and Shared Use
One continuous lowered counter may not suit a household with standing and seated cooks. Use two work heights or an adjustable section, while preserving landing and cleanup continuity. Rounded corners reduce injury at turning points. Contrasting edges can help users with low vision. Leave enough room for a second cook without forcing them to reach over the seated user or cross the hot zone.
Improve Controls, Light, and Safety
Place outlets, switches, shutoffs, and appliance controls at accessible positions away from hot surfaces. Use lever taps or touch controls appropriate to the user and provide anti-scald protection. Layer bright, glare-controlled task lighting across counters and inside storage. Visual, audible, or connected alerts can support users with different sensory needs. Keep a fire extinguisher and emergency exit route reachable.
Annotate and Review a Complete Meal
Mark the user, aid, and helper positions for entering, retrieving food, washing, preparation, transferring cookware, loading the dishwasher, storing leftovers, and taking waste out. Review these manual annotations with the user and an appropriate specialist. For a physical trial, use stable equipment and cold, lightweight substitutes; do not use hot pans or sharp tools to prove the layout works. Draw every door and drawer open during its step. Repeat with a helper present and with no helper. Review the aging-in-place layout guide for whole-home connections and future needs.
Accessible Kitchen Checklist
- Measure the actual user, chair, approach, reach, and assistance pattern.
- Verify local code and specialist guidance before construction.
- Preserve route, turning, knee, toe, and transfer clearances.
- Provide safe landing surfaces beside every hot appliance.
- Put daily storage and controls within comfortable reach.
- Test appliance doors, two-person use, lighting, and emergencies.
Use the interior planner to record fixture positions and manually marked task spaces, then validate movement separately with the user and relevant professionals. An accessible kitchen succeeds when a person can choose ingredients, prepare food, cook, clean, and leave with control and dignity. Dimensions are the starting framework; the user’s real movement and preferred routines determine the final design.
Prototype the Critical Workstation
Have a suitable stable mockup of the sink or prep station prepared before cabinetry is fabricated; do not improvise raised supports or ask the user to attempt an unsafe reach or transfer. Test surface height, knee depth, toe space, faucet reach, outlet position, task light, and the location of knives and waste with the actual chair. Repeat after several minutes, because a position that works briefly may cause shoulder fatigue during a full meal. Invite the regular standing cook to test the adjacent zone at the same time. Record the successful dimensions and reach points for the designer, contractor, and occupational therapist to review together.
Record the Limiting Condition, Not Just an Aisle Number
For each step, record four fields: the closest obstruction, its open or closed state, the chair and hand position, and the unresolved requirement. For example, a dishwasher may leave the entry route open when shut but occupy the user's approach to the sink when lowered. The question is then whether loading can occur without trapping the user or removing a required route, not whether the empty aisle exceeds one reference number.
| Task | Space to mark manually | Review before approval |
|---|---|---|
| Enter and turn toward prep | Door approach, hand rims, footrest sweep, turning path | Continuous route and maneuver requirements for this configuration |
| Open and load a dishwasher | Door, rack, user position, helper if needed | User can operate and leave; required access remains available |
| Retrieve from a drawer | Full extension and comfortable reaching position | No forced backward movement toward a hot or obstructed zone |
Keep “measured,” “assumed,” and “awaiting specialist review” separate on the drawing. A successful furniture fit calculation is not a compliance or individual-use assessment.
Wheelchair-Accessible Kitchen Layout: Practical Guide
An authored wheelchair-kitchen scenario focuses on one person making tea and rinsing a bowl. Chair geometry, approach preference and reach are individual inputs, so an accessible label or generic turning circle cannot settle the arrangement.
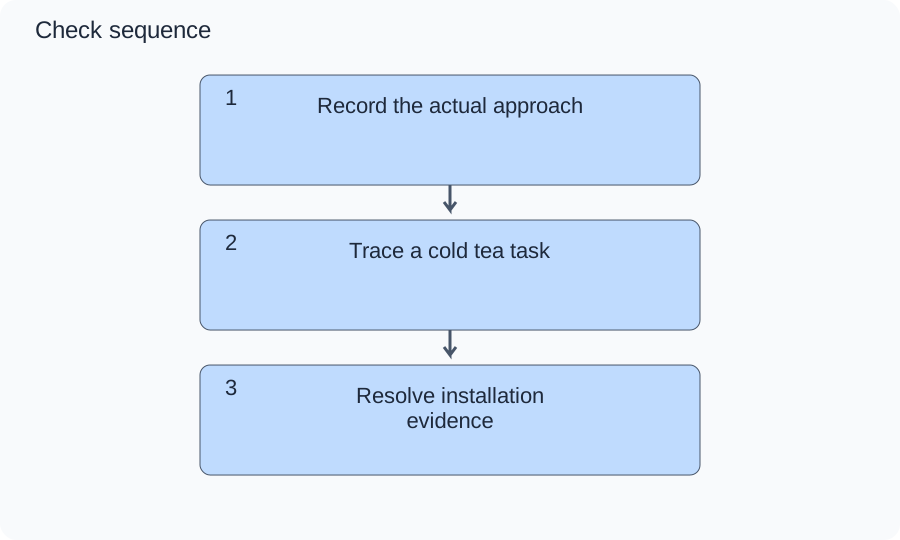
The diagrams record approach, handling and professional-review evidence in three stages. They contain no certified clearance envelope, so completion marks identify reviewed tasks rather than legal compliance.
Numbers and marks identify the items described here; use the stated dimensions rather than measuring the screen.
1–3 refer to the evidence steps below. A highlighted step is selected, not automatically verified.
| Step / option | What to check |
|---|---|
| 1. Record the actual approach | Measure the chair including footrests, then ask the user to choose forward or side approach at the sink without assuming either is preferred. |
| 2. Trace a cold tea task | With empty vessels, follow storage, filling, landing and cleaning; record any reach requiring strain or an extra turn. |
| 3. Resolve installation evidence | Take the failed actions and dimensions to an accessibility professional and installer to verify knee, heat, services and local requirements. |
Changed conditions and evidence
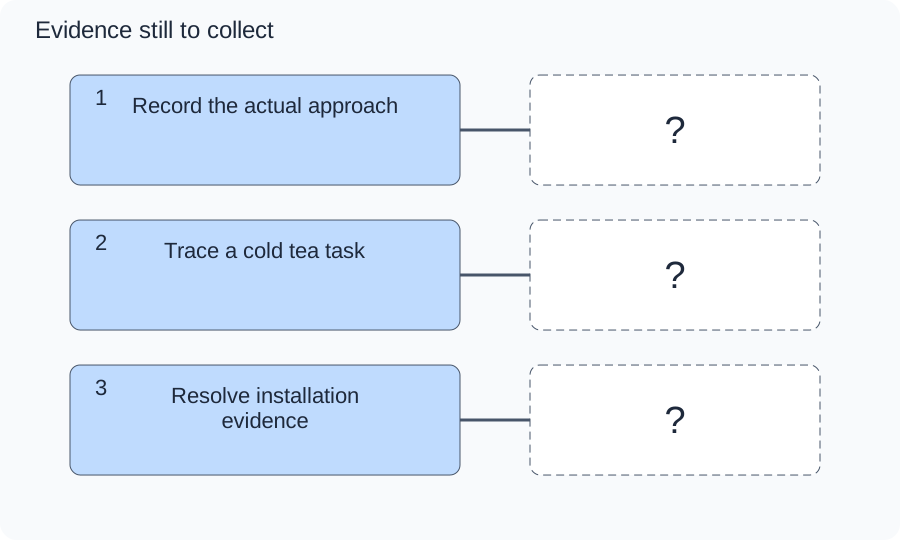
If the chair reaches the counter but the kettle is beyond comfortable reach, a wider aisle alone does not solve the task. Moving the landing surface closer may help while reducing fixed storage, and hot handling still needs individual assessment.
The question marks are evidence still to obtain, not a completed check.
Use the real chair and cold empty vessels with the user’s consent and suitable assistance. Confirm controls, knee protection, floor transitions and applicable accessibility provisions with qualified advice before installation.
TRY THE EXAMPLE
Wheelchair-Accessible Kitchen Layout: Practical Guide
An authored wheelchair-kitchen scenario focuses on one person making tea and rinsing a bowl. Chair geometry, approach preference and reach are individual inputs, so an accessible label or generic turning circle cannot settle the arrangement.
Measure the chair including footrests, then ask the user to choose forward or side approach at the sink without assuming either is preferred.
Use the real chair and cold empty vessels with the user’s consent and suitable assistance. Confirm controls, knee protection, floor transitions and applicable accessibility provisions with qualified advice before installation.
Teaching assumptions, not a surveyed home or a construction check. Results describe this simplified geometry or budget only. Changes stay on this page and reset on reload.