Bathroom Towel Rail Placement for Practical Layouts
Plan bathroom towel rail placement with practical heights, shower reach, door clearance, drying space, and a checklist before drilling into finished walls.
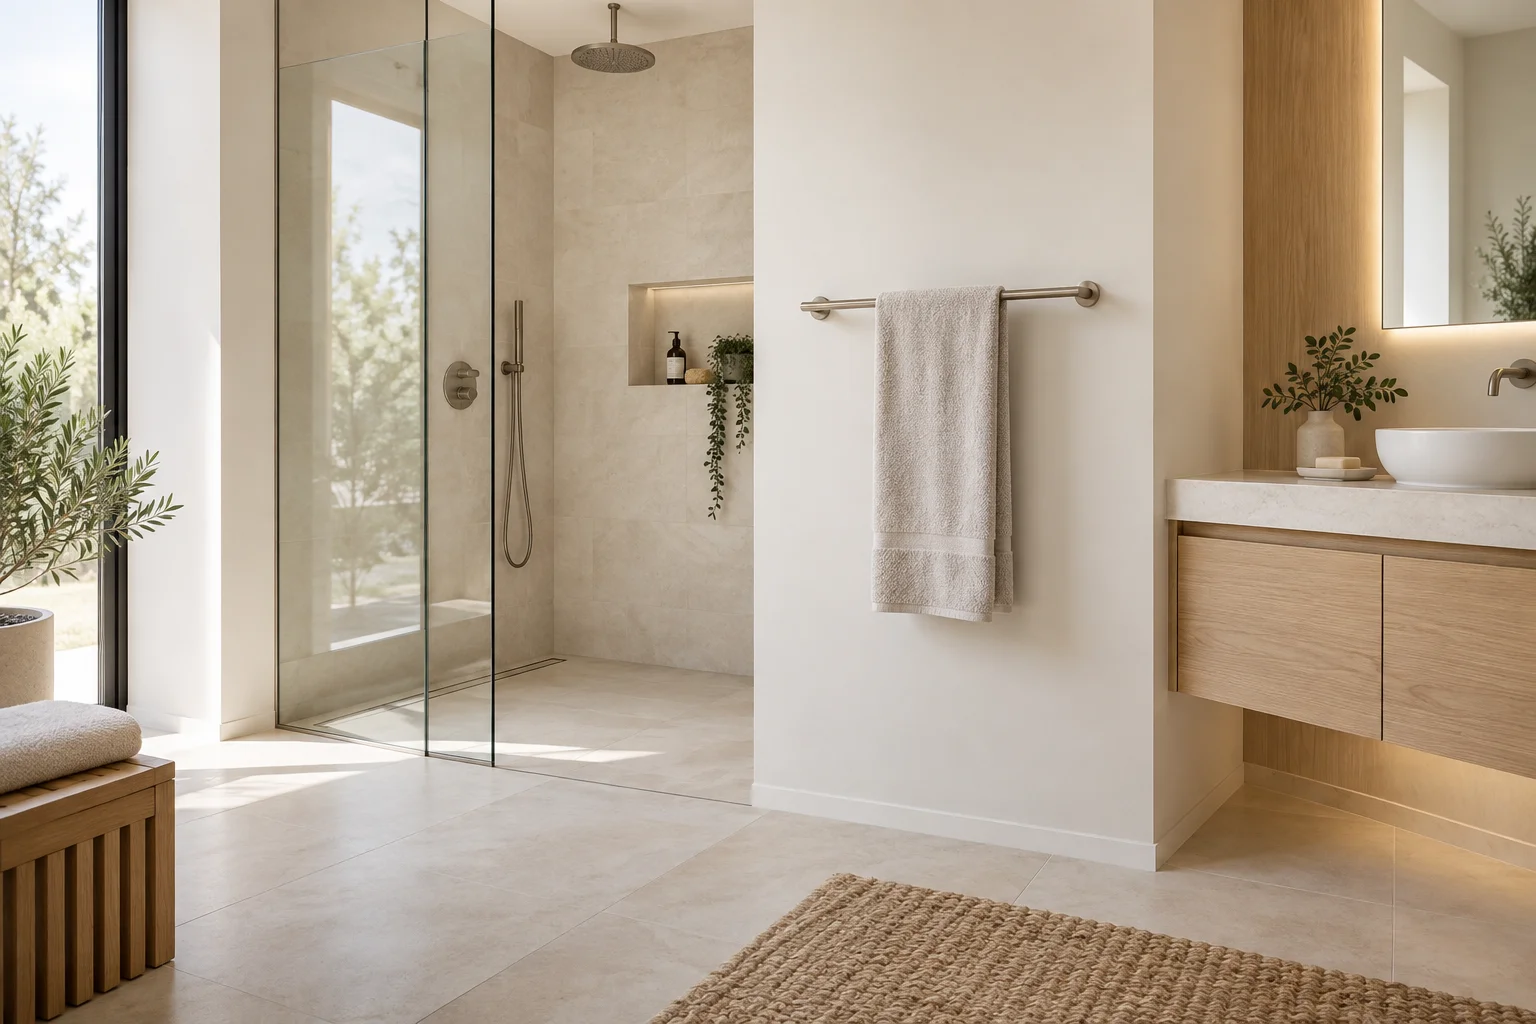
A towel rail can fit on the drawing and still fail every morning. The towel may hang against the toilet, disappear behind an open door, or require a wet step across slippery flooring. Choosing a position means planning the towel, the person reaching for it, and the moving doors together. The attractive empty rail is only one small part of that picture.
Start with an unheated rail unless you have already selected a heated product. Heated rails bring electrical or plumbing requirements that vary by product and location. The dimensions below are planning references for ordinary household use, not installation rules or accessibility compliance. Check actual users, wall construction, manufacturer instructions, and local requirements before fixing anything permanently.
Separate hand towels from bath towels
List what needs to dry between uses. A hand towel belongs near the basin, whereas a bath towel needs a reachable position outside the shower or bathtub. Combining both on one short bar usually means overlapping fabric and a longer wet journey. Guest towels and spare clean towels need storage, but they do not all need prime drying space.
Measure your actual towels. A bath towel about 700 by 1,400 mm drops roughly 700 mm when folded evenly over a bar. A larger bath sheet can hang significantly lower. Width matters too: a towel folded into thirds uses less rail length but exposes less surface to air. Decide whether faster drying or compact storage matters more in your household.
Mark the wet handoff point first
Stand inside the shower and identify the point where you can reach a dry towel without leaning on glass or stepping around the toilet. The rail should be outside the normal spray area while remaining reachable when the shower door is in its usable open position. A rail that works with the door closed can become inaccessible when that door swings outward.
For a bathtub, check the sequence of standing, finding support, reaching, and stepping out. Do not treat a towel rail as a grab bar. If somebody needs assistance or a reliable support point, specify a properly rated support and suitable structural fixing independently. Test the routine with a dry floor and a helper before deciding on the final position.
Set height from the hanging towel
For an adult bath towel, a rail around 1,100–1,250 mm above the finished floor is a useful starting range to test. With a 700 mm hanging drop, the towel bottom would sit roughly 400–550 mm above the floor. This simple calculation exposes conflicts with bins, low radiators, sanitary fixtures, or a shelf underneath.
Those figures are not a universal standard. A shorter person, a child, or someone using the bathroom seated may need a different reach height. Make a full-size paper outline of the towel and tape it at two candidate positions. Compare comfortable reach, remaining floor clearance, and the ability to lift a heavy damp towel without catching an adjacent fitting.
Give children a usable alternative
A lower hook can help a child manage a small towel independently without lowering every household rail. Make sure the towel does not pool on the floor and the hook does not create a sharp projection in the circulation route. Reassess placement as the child's reach changes rather than assuming one height will serve indefinitely.
Check the rail projection and every door
Measure from the finished wall to the outermost part of the rail, then add the bulk of a folded towel. Even a modest projection can interfere with a bathroom door, shower handle, drawer, or the person squeezing past a vanity. A double rail needs particular care because the front towel sits farther into the room.
Draw the complete swing of the entry door and shower door, including handles. Open the vanity drawers and any nearby cabinet at the same time. The room must remain usable when somebody is drying off and another person needs a toothbrush. Do not depend on everyone closing each door immediately after use to make a marginal layout work.
Provide real drying space
A towel dries through exposed surface and moving air. Avoid sandwiching fabric between a cabinet side and glass partition or stacking two wet towels on one narrow bar. If two adults shower in succession, compare two separate rails with a double rail and check whether both towels can hang without touching. A hook saves wall width but gathers more fabric together.
Room ventilation still matters. A towel rail cannot compensate for a bathroom that stays damp after showers. Keep the rail clear of ventilation grilles, follow the home's ventilation strategy, and check how towels actually dry during the most humid season. Store spare towels in a dry cabinet rather than directly under hanging wet fabric.
Match the fixing to the wall
Before drilling, establish whether the wall is solid masonry, framed construction, tile over board, or another assembly. Locate services and identify any required backing. Tiles alone do not establish the carrying capacity of a fixing. The attachment needs to suit both the rail and the substrate, especially when users habitually pull on the bar while removing towels.
Penetrations through a waterproofed surface need a compatible sealing detail. Adhesive accessories can be useful in some rental situations, but product load limits, surface preparation, moisture exposure, and removal conditions all matter. Never assume an adhesive towel rail is a safe support. If the mounting conditions are uncertain, resolve them before ordering the final hardware.
Treat heated rails as a separate equipment decision
An electric towel warmer is not simply an ordinary rail with a cable. Its approved location, electrical protection, clearances, controls, and connection method come from the selected product and local installation rules. A hydronic model adds pipe routing, valves, and system compatibility. Have the appropriate qualified installer confirm these conditions before cabinetry or tiling is finalized.
Also check where towels are allowed to touch the product, how controls are reached, and how the unit can be serviced. Do not route a trailing extension lead through a wet bathroom to rescue a poorly planned location. A good unheated rail in a reachable position is preferable to an equipment layout that cannot be installed as intended.
Compare two positions in a small bathroom
Imagine a 1,800 by 2,400 mm room with the shower at the far end and a vanity beside the entry. Position A puts a 600 mm rail behind the entry door. It looks tidy when the room is closed, but the door handle contacts a thick towel and visitors cannot find it easily. Position B uses the wall just outside the shower, above an otherwise empty area.
Position B is better only if the shower door does not cover it and the hanging towel stays clear of the toilet and circulation route. Model both options with approximate rail and towel volumes in a room layout study, then confirm dimensions with a tape measure. Use the 3D demo to explore viewpoints, while checking reach physically in the room.
Before drilling: the final rehearsal
- Hang a towel outline at the proposed height and width.
- Test the shower exit with doors and handles fully open.
- Check shorter users and anyone who reaches from a seated position.
- Leave space for each wet towel to hang without crowding.
- Confirm the wall substrate, service locations, and waterproofing detail.
- For heated equipment, obtain product-specific installation approval.
A successful rail position makes the whole drying routine feel ordinary: the towel is easy to find, easy to reach, and ready for the next use. Once those practical checks pass, choose the finish and shape that fit your interior layout. Styling is much easier when the location already works.