Bookcase Wall Gaps: Plan Around Skirting Board Depth
Calculate how a skirting board shifts a bookcase into an aisle. Compare two depths, record the wall gap, and check fixing and book storage before ordering.
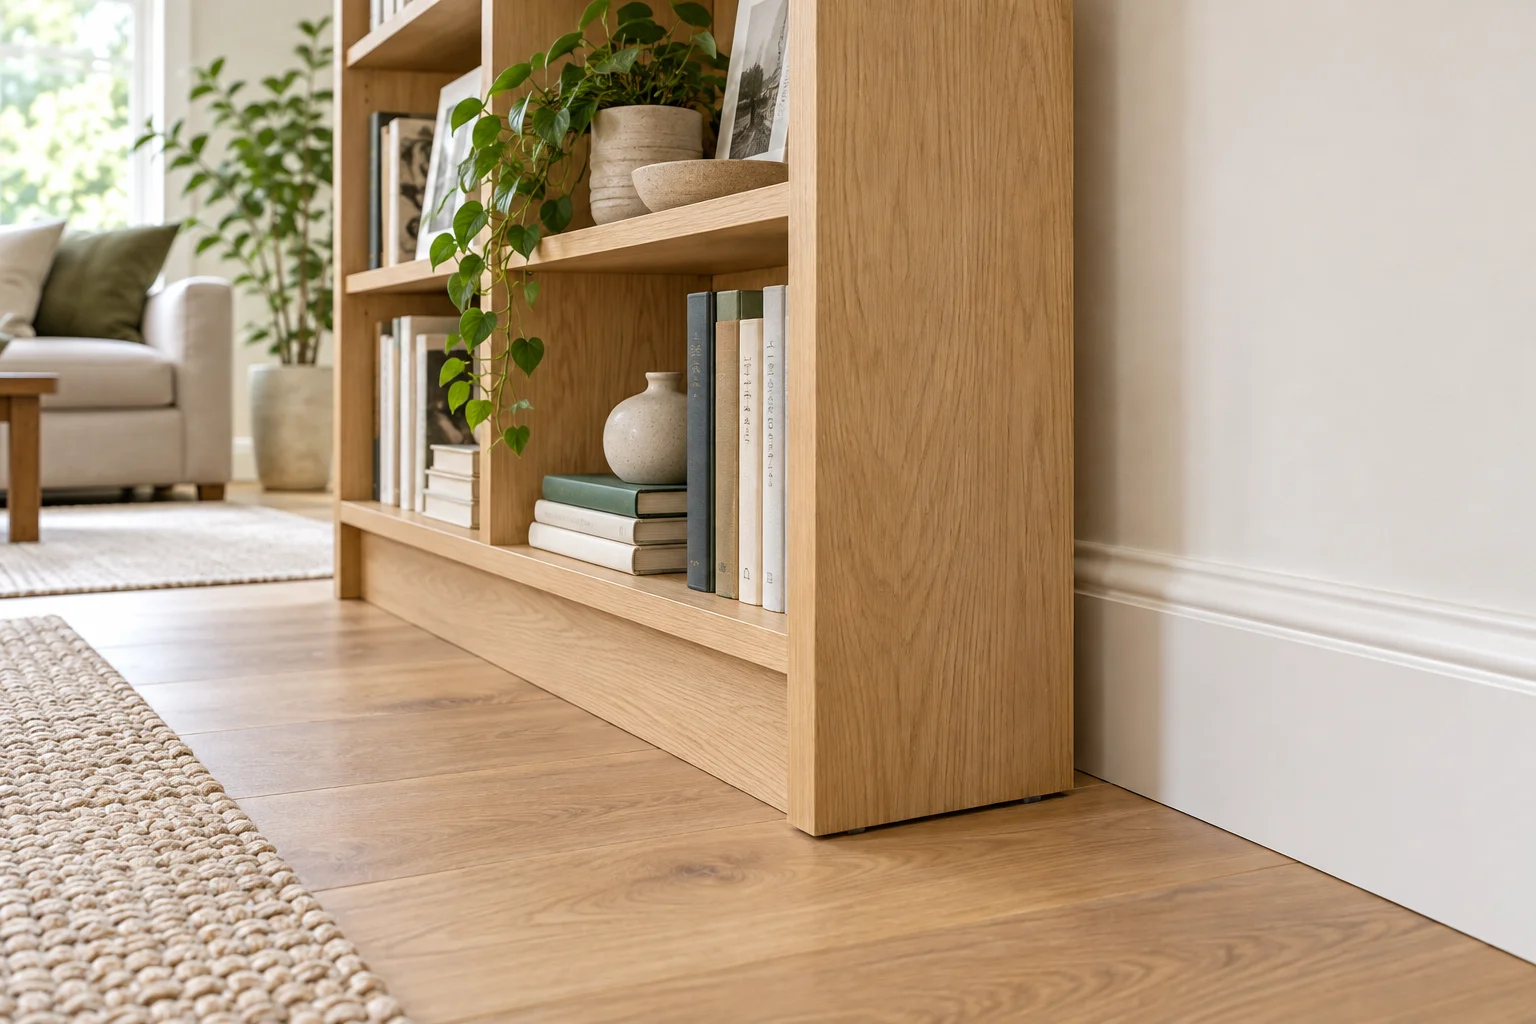
Measure the finished wall, not the catalogue rectangle
A bookcase advertised as 320 mm deep may stand farther than 320 mm from a wall. A projecting skirting board can stop a flat back or rear foot before the main body reaches the wall. The resulting gap matters twice: it moves the front edge into the room, and it changes the connection between the cabinet and its anti-tip fixing. This article addresses that small installation offset, rather than choosing an entire reading-room layout.
Start with a side profile at the proposed location. Measure skirting projection and height, then compare them with the actual rear-leg and back-panel profile. A recessed plinth may clear a low skirting board; a different board of the same projection but greater height may strike the back panel. Do not automatically add the skirting projection to every cabinet. Use the actual installed rear offset, obtained from the product detail or a safe mock-up.
A 25 mm offset changes the purchase decision
The following is an original hypothetical example in millimetres, not a surveyed room or a recommended passage standard. A fixed desk edge sits 1050 mm from the finished wall. The bookcase needs a 25 mm rear offset and has a 320 mm maximum body depth, including any projecting top. The household wants to test a 720 mm passage envelope between desk and bookcase.
| Quantity | Deep option A | Shallow option B |
|---|---|---|
| Wall to desk edge | 1050 | 1050 |
| Installed rear offset | 25 | 25 |
| Bookcase maximum depth | 320 | 280 |
| Wall to bookcase front | 345 | 305 |
| Remaining passage | 705 | 745 |
| Margin against the 720 mm trial | −15 | 25 |
The calculation is 1050 − 25 − 320 = 705 mm, followed by 705 − 720 = −15 mm. A plan that omits the offset shows 730 mm and incorrectly appears to meet the trial. Reducing the depth by 40 mm gives 1050 − 25 − 280 = 745 mm, leaving 25 mm beyond that same trial. It does not create a generous reserve for construction error, nor prove that a particular person can pass comfortably.
A shallower case costs usable shelf depth
Option B recovers passage width, but its 280 mm external depth is not its usable shelf depth. Ask for the shelf depth between the back panel and the front obstruction, and compare that with the largest books you intend to keep there. Use a real atlas or binder rather than assuming all books fit because their height does. If larger volumes project into the aisle, the layout no longer matches the model.
Another possibility is moving the desk. In option A, increasing the wall-to-desk distance to 1070 mm yields 725 mm clear and a 5 mm trial margin. That only works if the desk can move without narrowing its other approach or trapping its chair. A supported rear recess designed into a different bookcase might also reduce the gap, but cutting an existing structural back or foot is not a layout adjustment to improvise.
Keep the gap and the anchoring problem separate
Do not lean the bookcase back until it touches the wall, stack improvised blocks under its feet, or assume a long screw makes a rear gap irrelevant. Check the exact product's anti-tip instructions, compatible wall fixing, and any permitted spacer arrangement. The geometric example cannot verify the wall substrate, fixing capacity, floor loading, moisture conditions, or shelf strength. If the required fixing cannot be installed in a rental, select an appropriate alternative with the relevant parties before buying.
A socket can increase the offset beyond the skirting board. Measure a plugged-in connector and its cable route without crushing it. Use the largest required offset across the cabinet's width, and do not add two offsets that already describe the same rear space. Mark a socket requiring access as a separate constraint, not merely another number to hide behind furniture.
Make the next check reproducible
Download the wall-gap measurement sheet. Record each location, the profile evidence, and whether a value is measured or still unknown; the file contains blank entries, not automatic formulas. Then tape the actual front edge on the floor and walk past carrying the objects used on this route. Test the desk chair and any door at the narrowest point.
In the interactive section exercise, enter wall-to-obstacle distance, rear offset, body depth, and your chosen passage envelope, all in mm. First compare 320 with 280 mm while keeping everything else fixed; then test 345 mm depth, where the margin becomes −40 mm. Reset restores the published example. Blank dimensions must remain unresolved rather than being entered as zero. The diagrams below distinguish the occupied strip from the passage trial, then compare the two resulting margins.
Once the installation detail is settled, use the reading-room layout guide to reconsider seats and lighting around the real front edge.
Geometry and assumptions
Original hypothetical side section, all mm: the finished wall-to-desk distance is 1050. Band 1 is the 25 rear offset; band 2 is the 320 maximum bookcase depth; band 3 is a 720 passage trial. The rear offset already includes the skirting effect; do not count it twice.
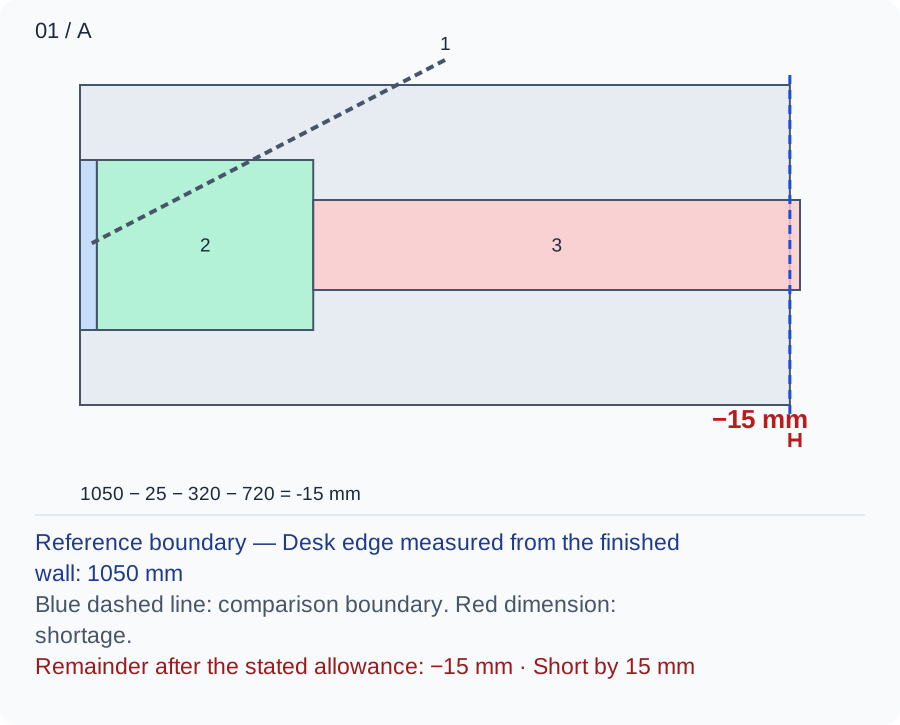
Look at the front edge of band 2: it lies 345 from the wall. The remaining 705 is 15 less than the 720 trial, so band 3 passes the boundary. This tests a selected passage, not a statutory width.
Numbers and marks identify the items described here; use the stated dimensions rather than measuring the screen.
1: Actual rear offset; 2: Maximum bookcase depth; 3: Trial passage width. Sequential width allocations, not exact furniture positions.
| Input | A | B |
|---|---|---|
| Wall to desk edge (mm) | 1050 | 1050 |
| Actual rear offset (mm) | 25 | 25 |
| Maximum bookcase depth (mm) | 320 | 280 |
| Trial passage width (mm) | 720 | 720 |
Changed conditions and evidence
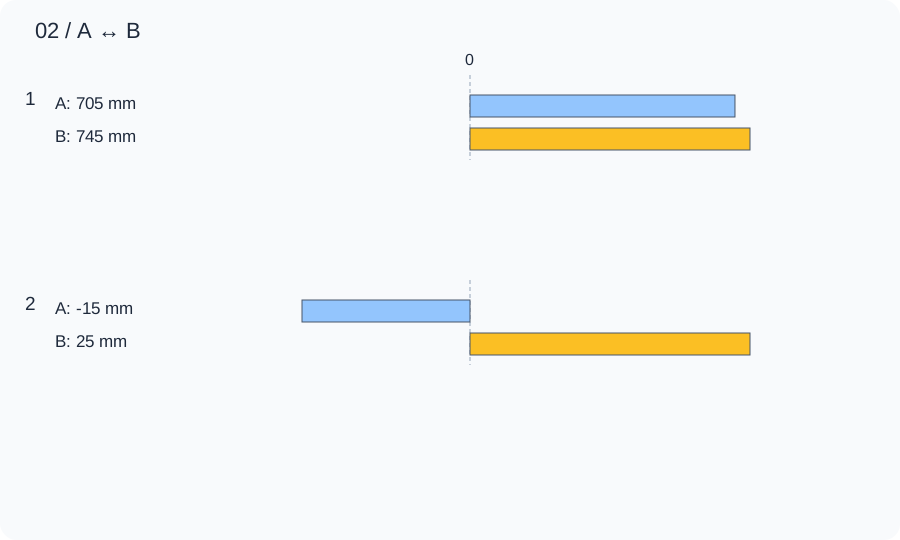
B changes only bookcase depth from 320 to 280. Passage increases from 705 to 745 and the trial margin changes from −15 to 25. Check large books before accepting the loss of shelf depth.
| Calculated relationship | A | B |
|---|---|---|
| 1. Unoccupied cross-section | 705 mm | 745 mm |
| 2. Remainder after the stated allowance | -15 mm | 25 mm |
Tape the installed front edge and walk the route with the desk chair in use. Obtain the exact fixing and rear-profile details; a positive passage margin does not verify anti-tip installation.
TRY THE EXAMPLE
Bookcase Wall Gaps: Plan Around Skirting Board Depth
Original hypothetical side section, all mm: the finished wall-to-desk distance is 1050. Band 1 is the 25 rear offset; band 2 is the 320 maximum bookcase depth; band 3 is a 720 passage trial. The rear offset already includes the skirting effect; do not count it twice.
Allowed range: 1–10000 · Step: 1
Allowed range: 0–500 · Step: 1
Allowed range: 0–1500 · Step: 1
Allowed range: 0–2500 · Step: 1
A negative remainder means the selected allocations overlap. Change the inputs or the proposal.
- Unoccupied cross-section
- 705 mm
- Remainder after the stated allowance
- -15 mm
1050 − 25 − 320 − 720 = -15 mm
Tape the installed front edge and walk the route with the desk chair in use. Obtain the exact fixing and rear-profile details; a positive passage margin does not verify anti-tip installation.
Teaching assumptions, not a surveyed home or a construction check. Results describe this simplified geometry or budget only. Changes stay on this page and reset on reload.