Home Sauna Layout Guide: Ventilation and Clearances
Plan a home sauna around bench depth, heater safety, ventilation, door swing, ceiling height, moisture control, lighting, and a practical cooling route.
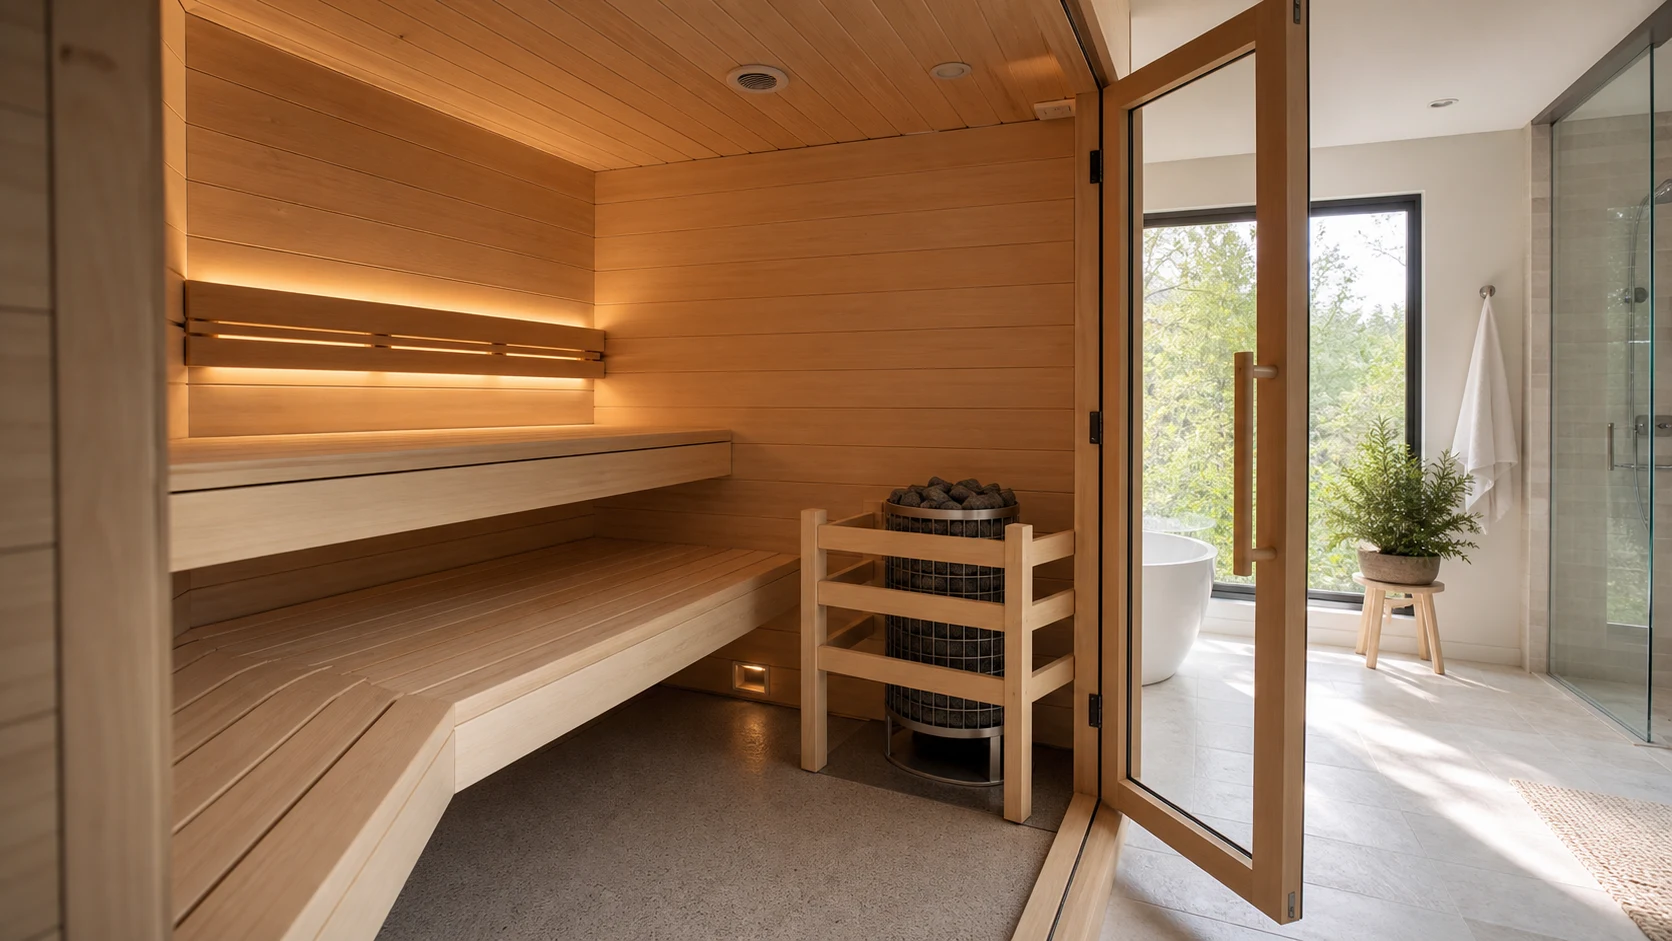
A home sauna is a small room with unusually demanding heat, moisture, ventilation, and body-clearance conditions. Attractive timber lining cannot compensate for a shallow bench, exposed hot surface, poorly placed sensor, or door that traps a user. Begin with the heater manufacturer, local codes, and the number of bathers, then shape the enclosure around safe operation.
Choose the Sauna Type Before Drawing
Traditional electric, wood-fired, and infrared saunas have different temperatures, heater zones, ventilation, electrical or flue requirements, and warm-up behavior. This guide focuses on spatial planning, not installation specifications. Use a listed system suitable for the location and have qualified professionals coordinate structure, fire protection, power, drainage, and ventilation.
Record the heater’s permitted room volume and minimum distances to walls, benches, rails, ceiling, controls, and sensors. Do not substitute a generic clearance found online. A larger room is not always better; an undersized heater may run continuously without producing an even experience.
Size Benches for Sitting and Reclining
An upper bench around 20–24 inches (51–61 cm) deep supports comfortable sitting; about 24 inches or more helps a user place both feet up. Lying down needs a clear length near 72 inches (183 cm) for many adults, adjusted to actual users. A lower bench or step should support safe access without becoming a narrow trip edge.
Keep the upper bench high enough to reach the warm zone while maintaining required head clearance. A practical rule of thumb often keeps the ceiling relatively low and the bather’s feet near or above the heater stones, but the selected system’s instructions control. Test the tallest seated user, posture, and entry movement.
Protect the Heater Zone
Show the full heater body, stones, guard rail, service access, and manufacturer clearance envelope. The guard should discourage accidental contact without becoming a handrail that overheats or blocks maintenance. Towels and timber accessories must not drift into the protected zone.
Locate controls, sensor, and emergency access exactly as specified. Moving a sensor for aesthetic symmetry can make the heater cycle incorrectly. If a glazed wall or door changes heat loss, include it in room-volume calculations as the manufacturer directs.
Plan Ventilation as a System
Fresh-air supply and exhaust locations depend on heater type, control strategy, adjacent mechanical system, and manufacturer guidance. The objective is fresh breathing air and even heat without a cold draft across bathers. A random grille at floor level and another at the ceiling is not a complete design.
Coordinate where exhausted moisture goes. It should not be released into an unprepared wall or roof cavity. The surrounding bathroom, gym, or basement also needs a drying strategy after use. Provide a way to ventilate the empty sauna without defeating required fire or energy provisions.
Make the Door an Easy Exit
Sauna doors should open outward and release readily without a lock that can trap someone, subject to local requirements and the system design. Verify that the outward swing does not strike a shower door, bench, step, or circulation route. Use hardware intended for heat and humidity.
Keep the threshold low and visible while preserving the enclosure and waterproofing details. Glazing can improve visibility, but it must be safety-rated for the application and included in thermal calculations. Never rely on ordinary interior glass near extreme heat.
Coordinate Ceiling, Insulation, and Moisture
Excess ceiling height can leave bathers sitting below the warmest air and increase heater demand. Too little height creates unsafe proximity to the heater and uncomfortable head clearance. Draw the full assembly thickness: framing, insulation, vapor control, battens, lining, lights, and any sprinkler coordination.
Moisture design is climate- and assembly-specific. Do not copy a vapor-barrier detail from another region. A building professional should coordinate continuity, penetrations, drying direction, adjacent finishes, and condensation risk.
Use Safe, Serviceable Lighting
Use fixtures rated for sauna temperature and moisture zones. Indirect light beneath a bench back or shielded at low level can reduce glare and make steps visible. Ordinary LED strips, drivers, speakers, and controls may fail rapidly or create hazards if they are not approved for the conditions.
Keep drivers and serviceable components in accessible, cooler locations where required. Light switches are typically outside the hot room. Ensure maintenance does not require dismantling the entire bench.
Design the Cooling and Changing Route
The sauna experience continues outside the door. Provide a slip-resistant route to a shower or cooling area, hooks for dry towels, a bench for changing, drinking water nearby, and ventilation for wet textiles. Avoid opening directly onto a narrow stair or polished floor.
People may feel lightheaded after heat exposure. Keep the exit legible, provide stable support where appropriate, and follow health guidance. Sauna use may be unsuitable for some conditions; users should seek medical advice when relevant.
Plan Cleaning and Inspection
Benches need gaps and access for drying and cleaning. Removable lower benches can expose the floor if their weight and lifting method are manageable. Avoid inaccessible ledges that collect water. Specify fasteners and timber appropriate to heat, moisture, and skin contact.
Protect access to heater connections, drains where present, vents, sensors, and concealed service panels. A leak or scorched surface should be visible early rather than hidden behind permanent trim.
Test the Enclosure in 3D
Build wall assemblies, both bench levels, steps, tallest seated user, reclining body, heater clearance envelope, outward door swing, vents, lights, and the cooling route in the Aedifex room planner. Inspect head and shoulder space with the 3D demo.
Use the interior planner to compare timber tone and adjacent bathroom materials only after the technical zones are fixed.
Home Sauna Checklist
- Select the heater system and use its exact room-volume and clearance data.
- Size benches for actual sitting, feet-up, reclining, and step access.
- Guard the heater while preserving controls, sensor, and service access.
- Coordinate supply, exhaust, adjacent-room drying, and condensation control.
- Provide an outward, readily releasable door and safe threshold.
- Detail ceiling height, insulation, vapor control, and rated glazing.
- Use sauna-rated lighting and keep components serviceable.
- Create a slip-resistant cooling, shower, towel, and changing route.
Treat every dimension as part of a heat-and-moisture system, not a decorative timber box. After professionals confirm the technical design, register to save the measured enclosure and installation clearances.