Kitchen Drawer Organizer Fit: Measure the Bottom and Rim
Check a cutlery tray against the usable drawer bottom, narrow opening and loaded height with a worked 432 × 472 mm example and a measurement worksheet.
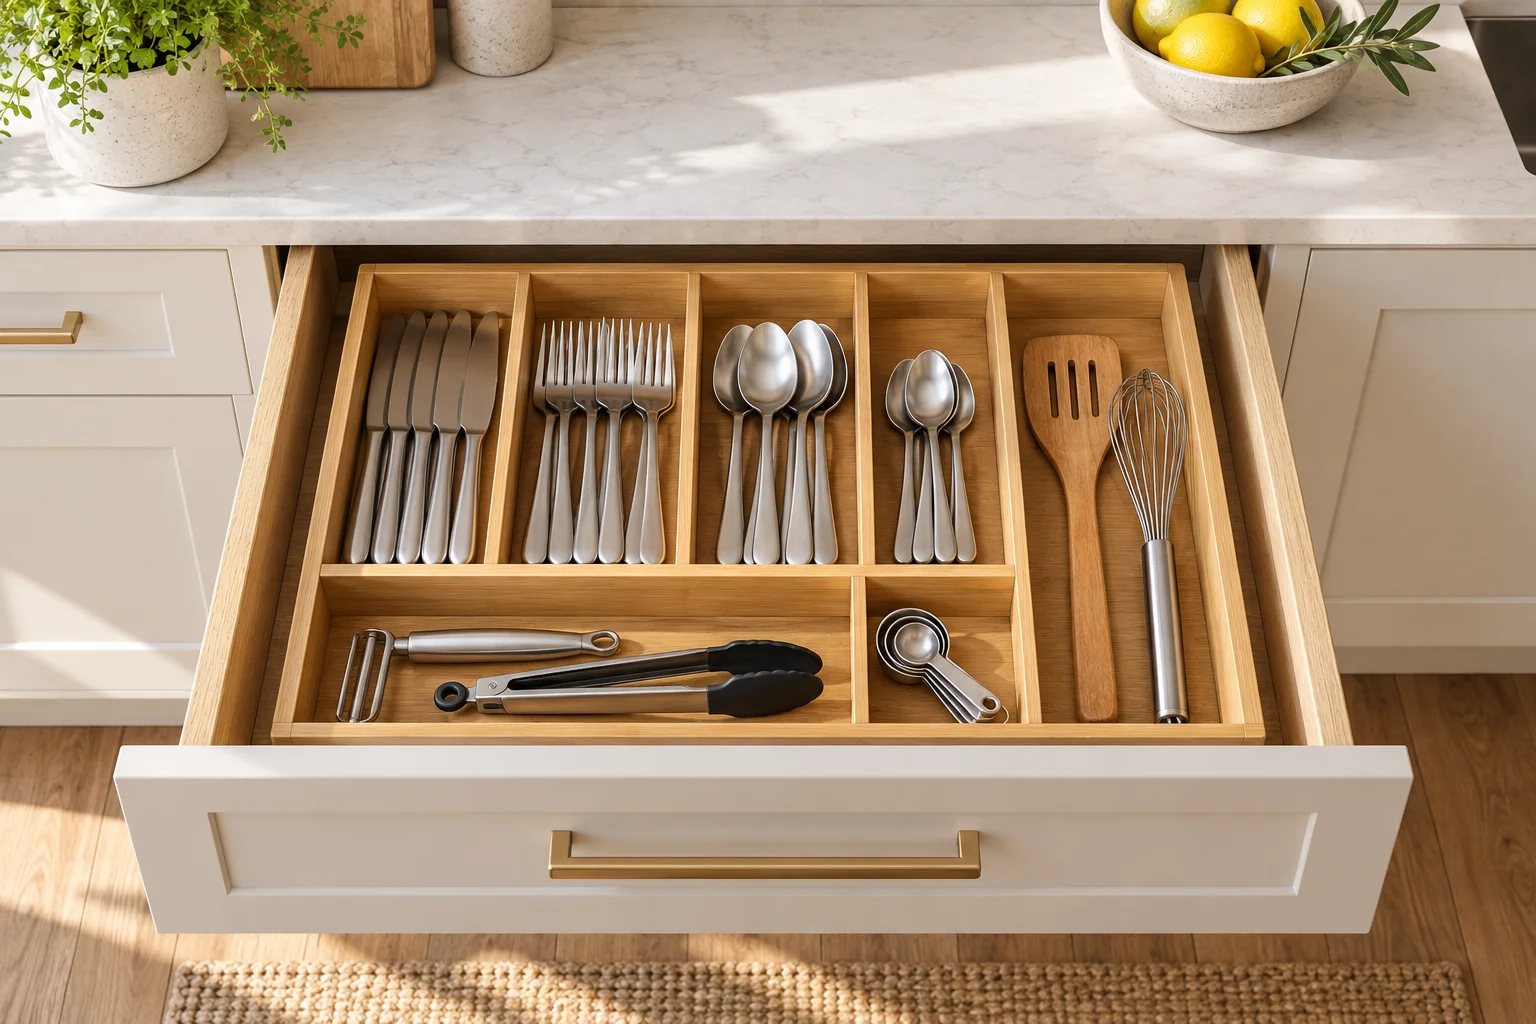
A drawer advertised by cabinet width tells you little about a rigid cutlery tray. The purchase decision is whether the tray can pass the opening, sit flat and close when loaded. Those are three different checks. This article concerns the inside of the drawer; space for standing in front of the cabinet is a separate layout task.
Measure the bottom, then the insertion opening
Empty the drawer and identify where the flat bottom turns into the side wall. Measure width at the front, centre and back; measure depth on both sides. Use the smallest rectangular region that excludes screw heads and curves. Do not subtract the same fixing twice after measuring to its face.
Measure the tray at its largest rim, not the compartment floor. Expandable trays need the intended locked width, including tabs. Make a cardboard footprint, add the tray height, and check the insertion opening separately. A flexible tray may distort, but distortion is not evidence that partitions will remain useful.
Compare the tray rim at a fixed origin
A 432 × 472 mm usable bottom and a 430 × 460 mm rim, placed 3 mm from the left and front, leave −1 mm at the right and 9 mm at the rear. A 420 × 450 mm replacement at the same origin leaves 9 and 19 mm respectively. The diagrams below separate the containment problem from the four-edge comparison.
Keep the offset or choose a narrower tray
Moving the 430 mm tray hard against the left wall would leave 2 mm on the right, but remove the chosen 3 mm offset. That is not the same test, and curved walls may prevent the move. The narrower candidate keeps the allowance; loose individual inserts offer another route but can slide and reduce long-item storage. Check the actual longest spoon and a loaded closing cycle before buying multiples.
Record the rim and loaded closing test
Download the measurement and test record (CSV). The worksheet pairs each drawer-bottom measurement with the tray rim and left/front offset. Enter the narrowest reading and a photo of the curved transition; leave an inaccessible opening dimension blank. Record the loaded closing test separately from the footprint result. The CSV has no formulas, so check all four remainders yourself and retain it outside the exercise, which resets on reload.
Change the example in the interactive exercise
For a different problem, check sliding-door overlap before accessing an internal drawer.
Geometry and assumptions
This invented top view uses a 432 × 472 mm rectangular usable bottom, after excluding curved side transitions and rear fixings. A rigid tray is 430 × 460 mm at its widest outer rim. Its left and front offsets are each 3 mm. The drawing faces into the drawer: top is front, bottom is rear.
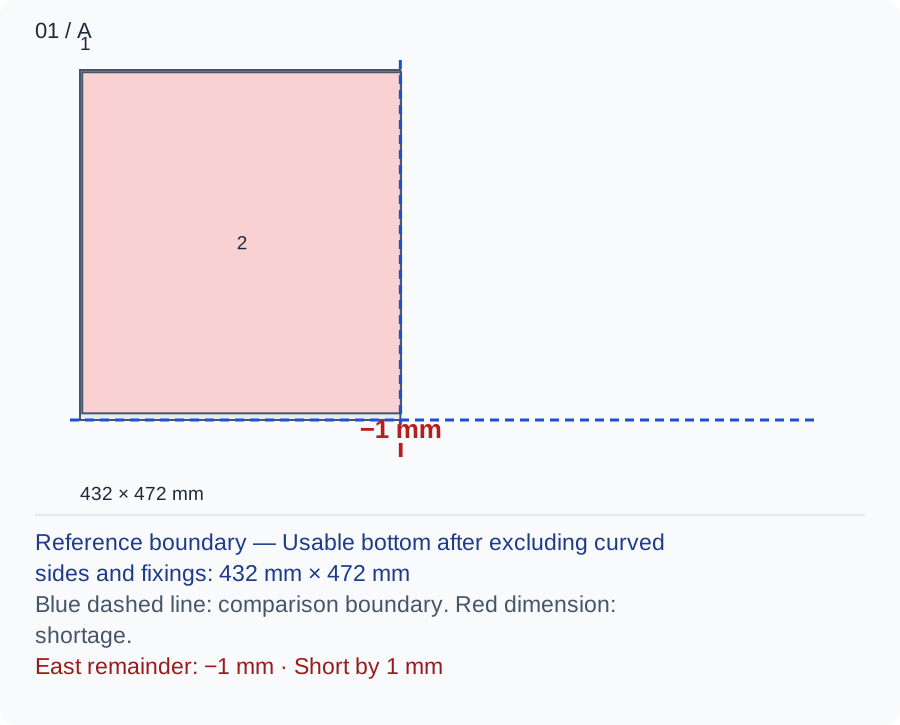
Diagram A checks boundary containment, not cabinet clearance. Left/right/front/rear remainders are 3, −1, 3 and 9 mm: 432 − 3 − 430 = −1. The right rim exceeds the usable rectangle even though the nominal tray width is less than the bottom width.
Numbers and marks identify the items described here; use the stated dimensions rather than measuring the screen.
1: usable bottom boundary; 2: maximum tray rim rectangle. Left/right correspond to west/east in the outputs; front/rear correspond to north/south. Millimetres; rim height and curved walls omitted.
| Input | A | B |
|---|---|---|
| Usable bottom width (mm) | 432 | 432 |
| Usable bottom depth (mm) | 472 | 472 |
| Maximum tray width (mm) | 430 | 420 |
| Maximum tray depth (mm) | 460 | 450 |
| Left offset (mm) | 3 | 3 |
| Front offset (mm) | 3 | 3 |
Changed conditions and evidence
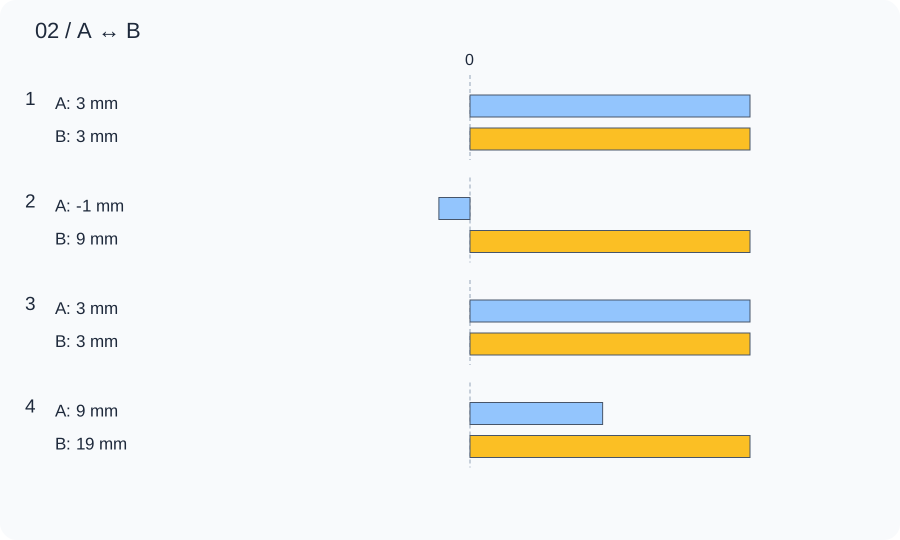
Diagram B keeps the drawer and offsets but uses a 420 × 450 mm tray. Remainders become 3, 9, 3 and 19 mm. The comparison chart separates width recovery from depth recovery; the smaller tray sacrifices compartment capacity. Neither result tests vertical insertion under a lip.
| Calculated relationship | A | B |
|---|---|---|
| 1. West remainder | 3 mm | 3 mm |
| 2. East remainder | -1 mm | 9 mm |
| 3. North remainder | 3 mm | 3 mm |
| 4. South remainder | 9 mm | 19 mm |
Measure the opening at tray-rim height as well as the bottom. Test a full-height cardboard envelope, then the actual empty tray without forcing it. Load the longest utensil and slowly close the drawer: a raised handle, rear screw or closing cross-member can invalidate a positive plan result.
TRY THE EXAMPLE
Fit the tray to the usable drawer bottom
This invented top view uses a 432 × 472 mm rectangular usable bottom, after excluding curved side transitions and rear fixings. A rigid tray is 430 × 460 mm at its widest outer rim. Its left and front offsets are each 3 mm. The drawing faces into the drawer: top is front, bottom is rear.
Allowed range: 1–2000 · Step: 1
Allowed range: 1–2000 · Step: 1
Allowed range: 1–2000 · Step: 1
Allowed range: 1–2000 · Step: 1
Allowed range: 0–2000 · Step: 1
Allowed range: 0–2000 · Step: 1
A negative remainder means the selected allocations overlap. Change the inputs or the proposal.
- West remainder
- 3 mm
- East remainder
- -1 mm
- North remainder
- 3 mm
- South remainder
- 9 mm
Reference boundary — Usable bottom after excluding curved sides and fixings: 432 mm × 472 mm
Blue dashed line: comparison boundary. Red dimension: shortage.
East remainder: −1 mm · Short by 1 mm
432 × 472 mm
Measure the opening at tray-rim height as well as the bottom. Test a full-height cardboard envelope, then the actual empty tray without forcing it. Load the longest utensil and slowly close the drawer: a raised handle, rear screw or closing cross-member can invalidate a positive plan result.
Teaching assumptions, not a surveyed home or a construction check. Results describe this simplified geometry or budget only. Changes stay on this page and reset on reload.