Sliding Wardrobe Doors: Check Internal Drawer Access
Check whether a wardrobe drawer can pass its sliding doors. Use opening coordinates, compare offset and narrower drawers, and record the evidence before ordering.
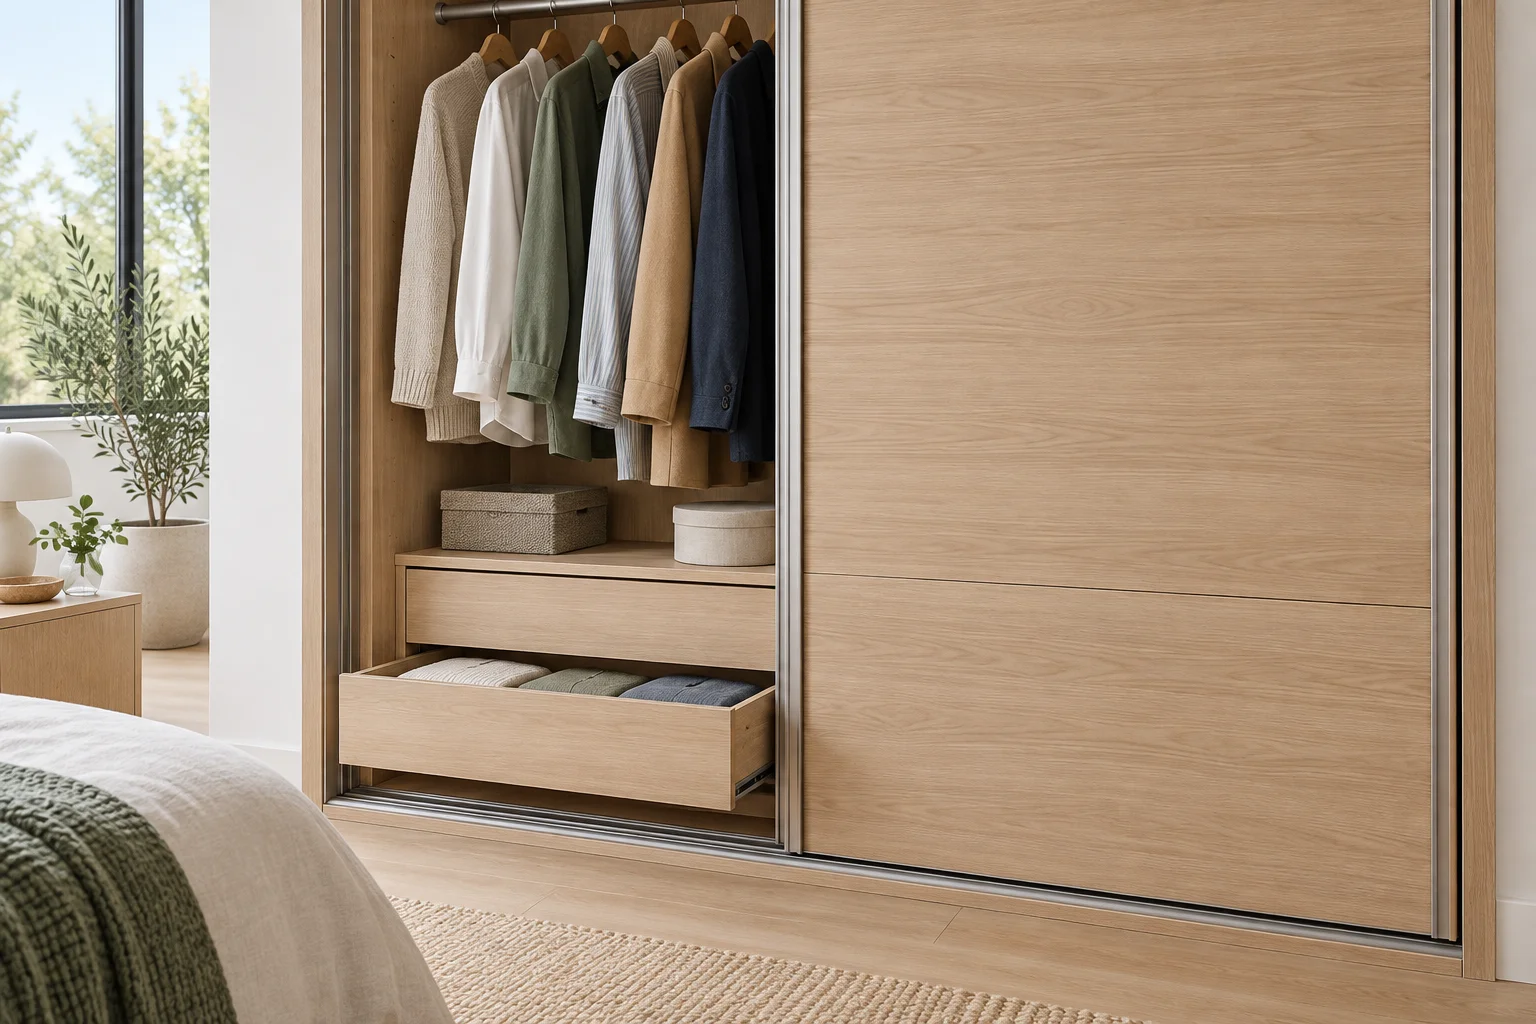
A wide enough opening can still be in the wrong place
Sliding wardrobe fronts save a door-swing area, but they do not reveal every internal compartment at once. An internal drawer must pass through an opening at the correct position, not merely through a gap whose total width exceeds the drawer width. The problem often appears only after the interior and the door system have been chosen independently.
Use this guide before ordering an internal drawer bank or replacing the sliding doors. It focuses on lateral alignment at the front of the wardrobe. Drawer extension into the room, standing space, rail strength, and installation tolerances remain separate requirements. For the broader bed-to-wardrobe layout, see the wardrobe depth and door-clearance guide.
Give every dimension the same origin
Choose the inside left reference line of the wardrobe frontage as x = 0. Record the left and right edges of the actually exposed opening when the panels reach an allowed stop position. Include the obstructing door edge, frame, overlap, handle, and any hardware that reduces that opening at the drawer's height. A cabinet's nominal external width is not this measurement.
For the drawer, record the leftmost and rightmost parts that must move through that front plane: not just the box, but any wider front, handle or fitting that crosses it. Draw the sliding panels on their own depth layers as well. If the obstruction changes during travel, one front-view interval is only a first screening; inspect the full movement rather than assuming a single plane proves clearance.
An original coordinate example
All dimensions below are hypothetical millimetres. At a selected door position, the unobstructed interval is x = 40 to 820, a width of 820 − 40 = 780. The drawer's moving envelope is x = 80 to 840, width 840 − 80 = 760.
The opening is 20 wider than the drawer, yet the drawer's right edge exceeds the opening by 840 − 820 = 20. The left clearance is 80 − 40 = 40 and the right clearance is 820 − 840 = −20. A negative edge clearance means the intervals overlap an obstruction; a positive difference between their total widths cannot cancel it.
| Option | Moving drawer interval | Left clearance | Right clearance | What changes |
|---|---|---|---|---|
| A: original | 80–840 | 40 | −20 | Right edge blocked |
| B: shift left 30 | 50–810 | 10 | 10 | Width stays 760 |
| C: keep left, narrow 40 | 80–800 | 40 | 20 | Width becomes 720 |
B solves the simplified lateral overlap by moving the whole drawer module 30 to the left. It requires a compatible interior arrangement, supports, and fixing positions; it is not an instruction to slide a mounted rail sideways. C keeps the left datum and loses 40 of moving width, potentially reducing storage capacity. Neither margin is a manufacturer-approved installation tolerance. A zero edge clearance would mean theoretical contact, not permission to order.
Do not “fix” it by removing a door stop
Moving a door beyond its designed stop may change overlap, retention, soft-close operation, or the ability to remove the panel safely. Keep the approved travel limits and obtain the exact system drawing instead. If the chosen drawer position is impossible, compare a compatible relocated module, a narrower drawer, or a non-pull-out storage arrangement in that bay. The last option can preserve storage width but changes how items are reached.
Test every drawer bay, not just the first. Another panel position may expose a different opening, and a central divider may prevent the module shift shown in B. Label each useful door position and the bays it exposes. If a drawer can open only after moving two panels in sequence, decide whether that sequence is acceptable for daily use and whether another person can move a panel into the open drawer.
Verify the outward path after the lateral check
A laterally clear drawer may still hit a bed, handle, rail, or adjacent drawer as it extends. Obtain the extension dimension and removal procedure for the selected hardware. Make a plan of the full extended envelope and the person reaching the lowest drawer. A shallower drawer can help the room-side path but does nothing to correct a right edge that lies outside the door opening.
Do not claim an automated collision test from a rectangular furniture model. A room plan can communicate the chosen cabinet front and open-drawer envelope, while the actual door layers and hardware details require their own evidence. Keep uncertain parts visibly unresolved.
Follow the evidence sequence rather than a pass button
The interactive check sequence lets you switch among three tasks: record the opening, compare the drawer interval, and verify travel. Each selected task displays a different action and required evidence. It does not calculate arbitrary coordinates or certify a passed check. Read the arithmetic above, apply the two edge comparisons to your own measurements, and return to the first step if the door system changes. Reset selects the initial task; nothing is saved after reload.
Download the opening-and-drawer register. Use one set of rows per bay and panel position, attach the drawing reference, and leave missing values blank. Before purchase, the useful outcome is a named option with both edge clearances, an approved mounting arrangement, and a recorded outward-path check—not simply the statement that the drawer is narrower than the opening.
Geometry and assumptions
Original hypothetical front-coordinate check, mm. Set a common left datum x=0. Opening [40,820] is 780 wide, drawer envelope [80,840] is 760 wide. The drawer is 20 narrower overall but its right edge is blocked by 20. These are assumed intervals, not a product certification.
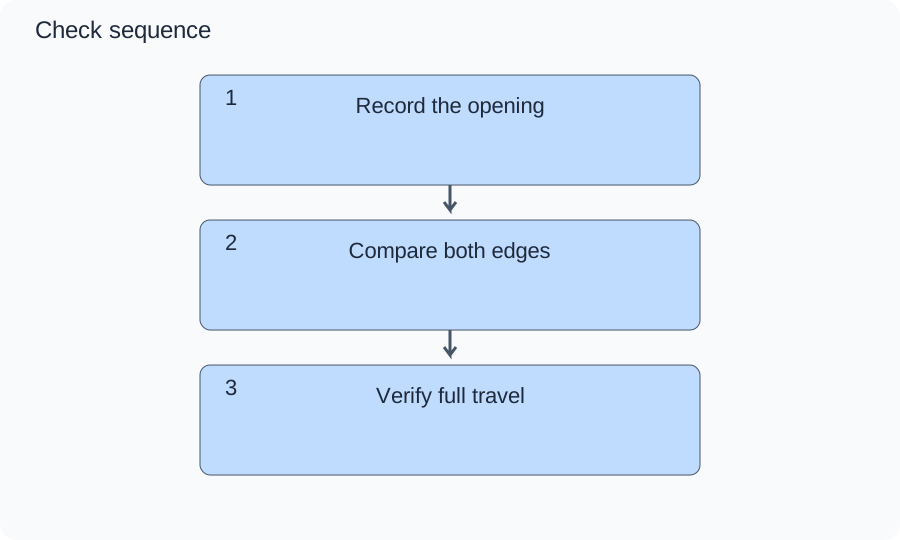
Follow 1 → 2 → 3: establish the allowed opening first, compare both edge coordinates next, and only then verify the outward path. This sequence prevents a clear aisle or a positive total-width difference from hiding a lateral collision.
Numbers and marks identify the items described here; use the stated dimensions rather than measuring the screen.
1–3 refer to the evidence steps below. A highlighted step is selected, not automatically verified.
| Step / option | What to check |
|---|---|
| 1. Record the opening | At each permitted panel stop, mark the clear left and right edges at drawer height from one datum. Keep a dimensioned drawing or measured profile; if handle projection or overlap is unknown, do not release the drawer order. |
| 2. Compare both edges | Subtract opening-left from drawer-left, and drawer-right from opening-right. For [40,820] and [80,840], record 40 and −20; choose the compatible shift or narrower option and obtain the mounting detail. A negative edge rejects this position even when total width fits. |
| 3. Verify full travel | With the approved door position held, inspect full extension, removal and the lowest-drawer posture against panels, handles, bed and other drawers. Keep model-specific instructions and a trial record. Missing travel evidence or any contact stops the decision; a clear front interval alone is insufficient. |
Changed conditions and evidence
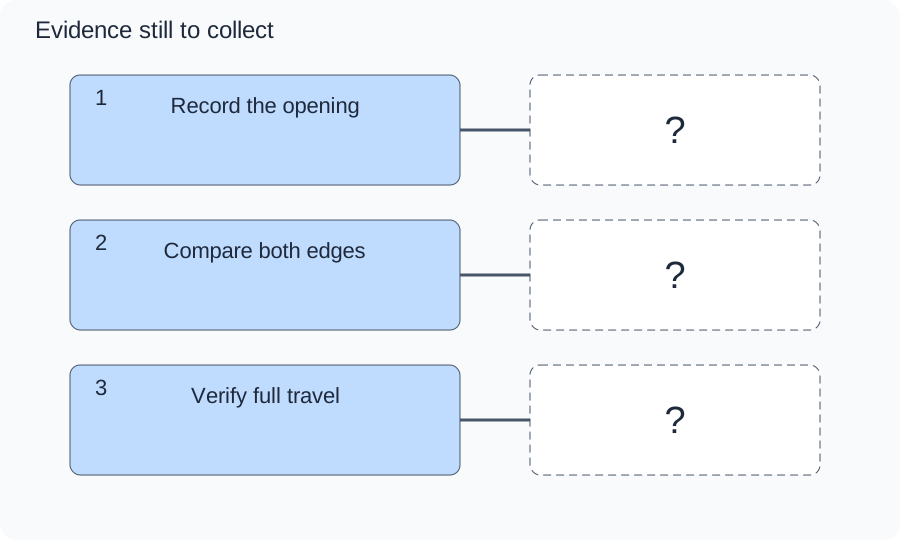
Option B shifts [80,840] left by 30 to [50,810], producing 10 at each edge. C keeps x=80 and narrows to [80,800], producing 40 left and 20 right while losing 40 width. The evidence diagram has question marks because neither option has verified hardware or travel.
The question marks are evidence still to obtain, not a completed check.
Obtain the system drawing with approved stops, confirm the selected internal mounting, and test the full drawer including its removal position and nearby bed. Switching steps records no approval; unknown evidence remains unknown.
TRY THE EXAMPLE
Sliding Wardrobe Doors: Check Internal Drawer Access
Original hypothetical front-coordinate check, mm. Set a common left datum x=0. Opening [40,820] is 780 wide, drawer envelope [80,840] is 760 wide. The drawer is 20 narrower overall but its right edge is blocked by 20. These are assumed intervals, not a product certification.
At each permitted panel stop, mark the clear left and right edges at drawer height from one datum. Keep a dimensioned drawing or measured profile; if handle projection or overlap is unknown, do not release the drawer order.
Obtain the system drawing with approved stops, confirm the selected internal mounting, and test the full drawer including its removal position and nearby bed. Switching steps records no approval; unknown evidence remains unknown.
Teaching assumptions, not a surveyed home or a construction check. Results describe this simplified geometry or budget only. Changes stay on this page and reset on reload.