Kitchen Sink Drainboard Layout: Keep Prep Space Clear
Plan a sink and drainboard around washing, drying, and food preparation, with practical sizing checks, dish-rack options, and clear routes to storage.
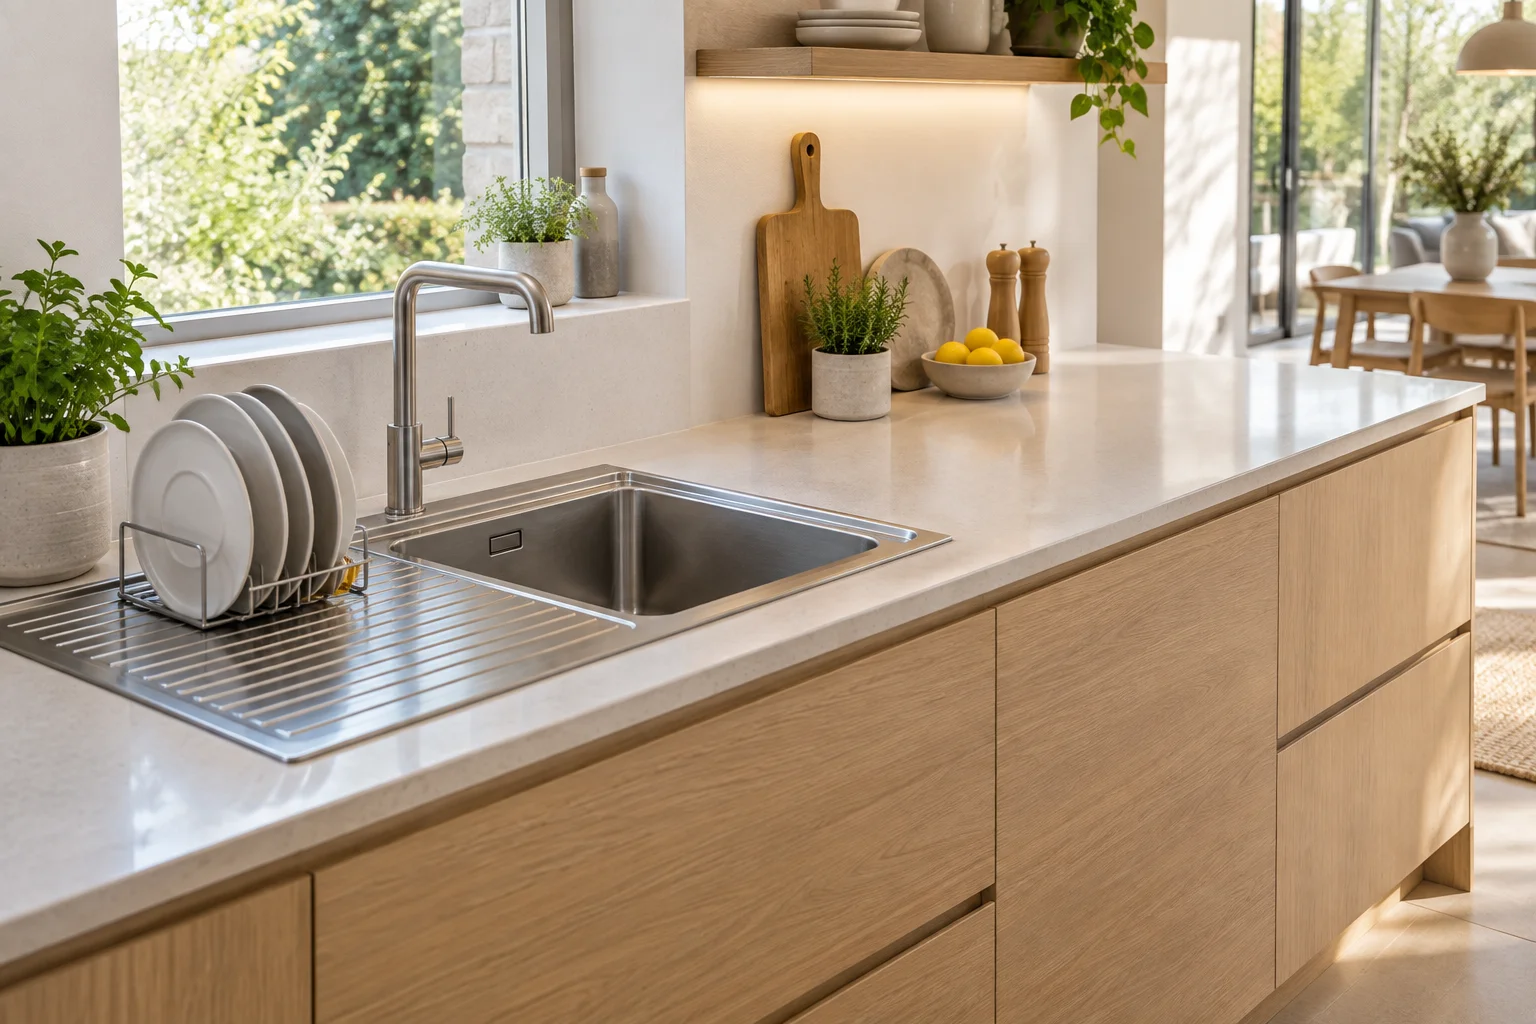
A sink with a generous drainboard can make washing up simple, or it can permanently occupy the kitchen's best preparation surface. The difference is the sequence around it. Dirty dishes need an arrival point, washed items need somewhere to drip, and food preparation needs a clean working area that survives the dinner rush. Choose the sink and drying arrangement together, using the real dishes and routines in your household rather than a showroom photograph.
Map dirty, wet, and dry movements
Start by drawing three destinations: where dirty dishes arrive, where they are washed, and where clean items go. Then add the dishwasher if you have one. The most convenient drainboard is usually on the side that supports this sequence without sending clean dishes through the dirty pile or across the main chopping area. Being right-handed does not automatically make a right-hand drainboard the best choice.
Observe an ordinary evening before drawing the final plan. One person may rinse vegetables while another clears the table. If both need the same strip of counter, identify which activity can move. Keep a dedicated area for food preparation, and avoid treating a drying mat that is always full as temporary clutter. Its occupied footprint belongs in the design just as much as the sink does.
Measure useful bowl size before total sink size
Measure the largest roasting tray, frying pan, and chopping board that you wash regularly. Compare those items with the sink's internal dimensions and depth, not only its outside width. A wide sink with two small bowls may handle a large pan less conveniently than a single bowl. A very deep bowl can also increase bending, particularly when installed in a lower worktop.
Check the cabinet underneath at the same time. The sink, waste fittings, plumbing, dishwasher connections, and any waste sorter compete for space. Drawer storage that looks available in the elevation may be lost to the bowl or trap. Ask the cabinet and sink suppliers to confirm compatibility using installation drawings. Do not assume that a nominal cabinet width guarantees clearance for every sink of a similar advertised size.
Protect the preparation surface beside the sink
A useful planning goal is a continuous 60–90 cm preparation area between washing and cooking, where the room permits. This is a layout reference rather than a requirement for every kitchen. Deduct the drainboard, rack, soap dispenser, and frequently stored appliances before measuring what remains. Several small strips of counter do not provide the same function as one clear rectangle.
For example, a 240 cm run may look spacious until a 100 cm sink-and-drainboard unit and a 60 cm cooktop are placed in it. The remaining 80 cm is only useful if enough of it is continuous and the relevant installation offsets are respected. Draw the individual components instead of allocating vague zones. The kitchen layout guidance can help place this wet zone within the wider room.
Decide whether the drainboard belongs left or right
Compare two mirrored arrangements using the same sink model. In the first, dirty dishes arrive beside the dishwasher, pass through the bowl, and dry toward the dish cupboard. In the second, the drainboard occupies the space between sink and cooktop. The second arrangement may shorten storage movement while making meal preparation worse. Decide which conflict happens most often rather than optimizing a single reach.
Window handles, corners, and tap placement can also determine the workable side. A rack near a side wall may prevent large trays from standing securely. A corner sink may leave an apparently generous drainboard that is awkward to reach. Test a full rack and the largest pan together. If either overhangs the intended wet area, choose a different accessory or revise the arrangement before ordering the worktop cutout.
Compare integrated and removable drying surfaces
An integrated drainboard gives water a defined route toward the bowl when installed according to its specification. Check the designed slope and installation level; do not rely on an improvised tilt of the entire worktop. Its drawback is permanent occupation of counter length, even when the dishwasher handles most daily loads. Consider how often you actually hand-wash large items.
A removable rack or mat can return the surface to food preparation after dishes are put away. That benefit only exists if there is a convenient, ventilated storage location for the accessory. Check the rack's tray, spout, and feet, including how water returns to the sink. A flat mat that stays saturated needs regular washing and thorough drying; it should not become a hidden reservoir against a vulnerable worktop joint.
Use over-sink accessories with a clear purpose
A roll-up rack or fitted board can be useful for occasional overflow, rinsing produce, or resting light items when the sink system permits it. Check compatibility, support, and load limits. Accessories reduce access to the bowl, so they are less useful when the same sink must remain available for washing vegetables and draining dishes at the same time.
Do not count an accessory-covered sink as the household's only preparation surface. That arrangement creates repeated lifting and relocation during cooking. In a very small kitchen, test the exact sequence: remove dishes, store rack, fit board, prepare food, remove board, wash bowl, then drain. If every step requires finding another temporary resting place, the theoretical space saving has shifted the problem rather than solved it.
Keep water away from edges and electrical equipment
Map where dripping trays travel, including the route to a nearby cupboard. Position the drying area so that routine splashes stay within a suitable wet surface. Pay attention to worktop joints, exposed board edges, and the gap behind the tap. Material care and sealing requirements depend on the chosen worktop and sink installation method, so follow the suppliers' documentation.
Avoid a drying rack that sheds water toward small appliances, plugs, or sockets. Any electrical location and separation requirements must be checked against local rules by the appropriate professional. Also inspect window operation: a tap or tall stack of plates can prevent a casement from opening. Leave enough access for cleaning around the tap base instead of filling every centimeter with dispensers.
Test a complete washing-up cycle
Set out the plates, cups, utensils, and pan from a typical meal on a table. Mark the proposed bowl and drainboard footprint with tape. Work through scraping, loading the dishwasher, hand-washing, draining, and returning items to storage. Add a second person preparing breakfast or fetching water. The test reveals whether the clean and dirty areas overlap at the busiest moment.
Then draw the chosen arrangement in the room planner with dishwasher doors and drawers open. Keep notes on the actual rack model and the useful clear counter dimensions. Before ordering, confirm the cutout, cabinet support, tap reach, plumbing space, and installation details with the suppliers. A good sink area leaves food preparation possible even when the drying rack is full, and gives every wet item a predictable route back to storage.