Water Filter Pitcher in the Fridge: Measure Access
Check a filter pitcher's height, handle and removal path against a refrigerator shelf before choosing the shelf or buying a pitcher.
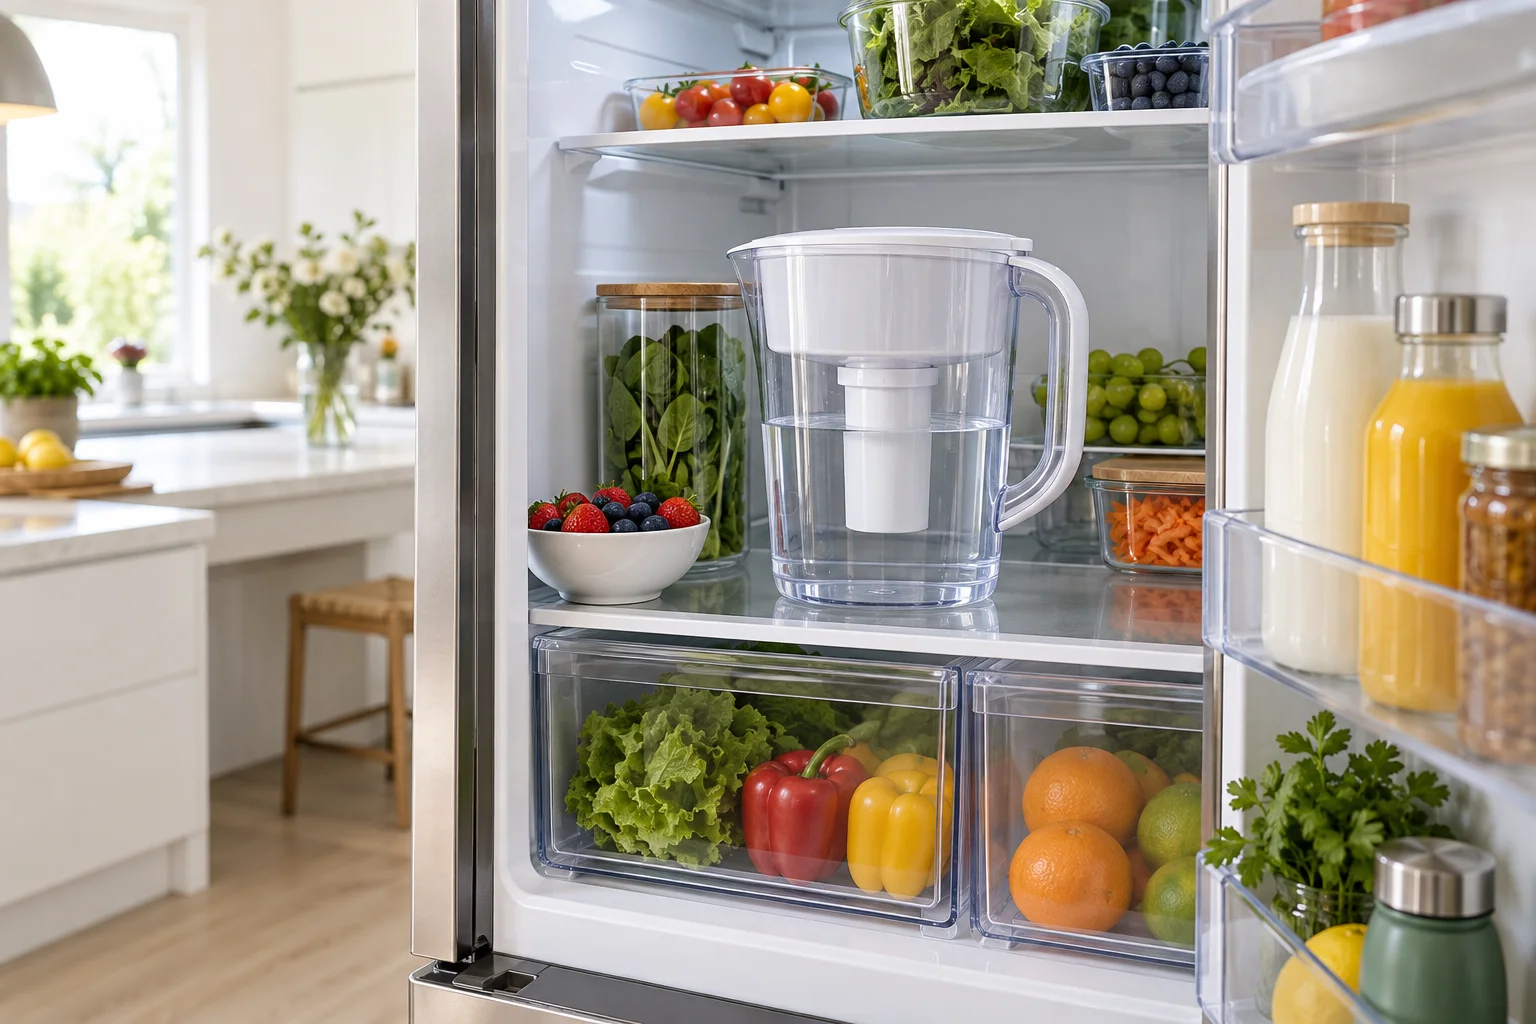
A water-filter pitcher can fit between refrigerator shelves and still be hard to remove without tilting or spilling. Measure its complete height and handle, then test how the particular refrigerator door and shelves allow you to lift and carry it. Follow both manufacturers' instructions for storage and handling.
Choose the shelf: Start with a shelf permitted by both product instructions, then check the full pitcher height and handle route. If it fits but is awkward to remove, compare another permitted shelf or a smaller pitcher; verify any change against capacity and the space needed for other items.
Measure the usable shelf, not the fridge exterior
Measure from the support surface to the lowest obstruction above the proposed position, including shelf trim or a light housing. Measure the pitcher with its lid and filter fitted, including the handle and any spout projection. The door bins may limit the path even when the interior is wide enough. If a measurement is unavailable before purchase, keep it unknown and confirm it with the product dimensions or the actual item.
In this height-section example, a shelf opening is 310 mm high and the complete pitcher is 260 mm high. The physical gap above it is 50 mm. A separately chosen 30 mm trial allowance leaves 20 mm. The calculation compares one vertical section; it does not prove the pitcher can be gripped, lifted, tilted or removed without spilling.
A 240 mm pitcher in the same opening has a 70 mm gap and 40 mm after the same allowance. A shorter model may hold less water or have a different handle; compare those tradeoffs and the maker's capacity and care information. Do not move a shelf or remove a refrigerator component unless the appliance instructions permit it.
Test the route with a representative load
With the refrigerator door safely open and no food in the path, use the actual pitcher and a manageable amount of water to test gripping and removing it. Follow the product's filling and handling instructions. Observe the handle's height, door bins and the path over the shelf lip. Stop if it catches, spills or feels too heavy. The space required for a filled pitcher depends on the person and the product; a positive height balance does not certify safe lifting.
Compare a second shelf or door location only if the manufacturer permits it and the shelf can support the actual load. Moving the pitcher can block tall bottles or reduce access to another item. Confirm the door closes without contact and that refrigerator airflow and storage instructions are respected; the simple diagram does not model those conditions.
Record the useful dimensions
Keep the shelf opening, complete pitcher height, handle projection and observed removal path together. Recheck when the shelf is adjusted or a new pitcher is used. If removal is awkward, try an allowed lower position or a smaller suitable pitcher rather than assuming a larger arithmetic gap solves every problem. The kitchen storage guide offers related shelf-measurement ideas, though a refrigerator has its own instructions.
Download the measurement and evidence record (CSV). Keep unknown values blank. The example uses the stated inputs. Record your own measurements and the source of each observation.
Geometry and assumptions
Teaching section in mm: shelf opening 310, no additional upper projection assumed, complete pitcher height 260 and independent trial allowance 30. Zero is an explicit assumption rather than unknown data.
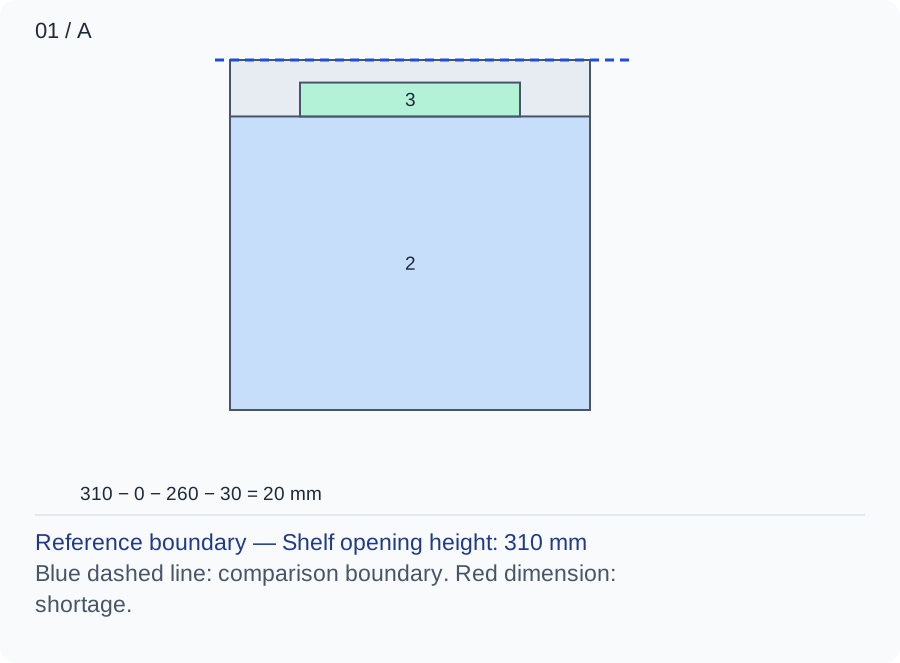
The physical height gap is 50 mm and the trial balance 20 mm. The drawing does not show the handle, door bins or the lifting path.
Numbers and marks identify the items described here; use the stated dimensions rather than measuring the screen.
1: additional upper projection assumed zero; 2: complete pitcher height; 3: chosen trial allowance. Only vertical allocation is shown; grip and removal are omitted.
| Input | A | B |
|---|---|---|
| Shelf opening height (mm) | 310 | 310 |
| Additional upper projection (mm) | 0 | 0 |
| Complete pitcher height (mm) | 260 | 240 |
| Chosen trial allowance (mm) | 30 | 30 |
Changed conditions and evidence
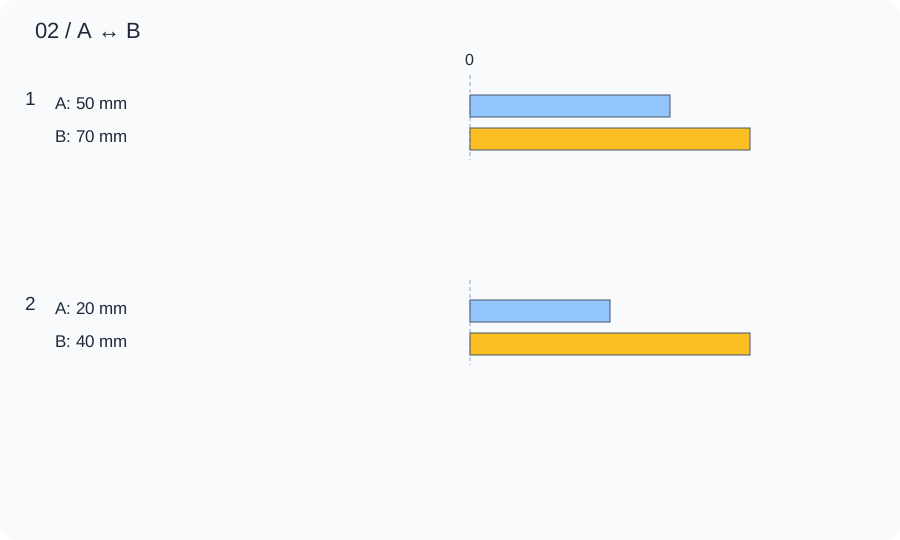
B uses a 240 mm pitcher, making the gap 70 and the trial balance 40 mm. Compare capacity, grip and the actual door opening.
| Calculated relationship | A | B |
|---|---|---|
| 1. Physical gap above pitcher | 50 mm | 70 mm |
| 2. Balance after trial allowance | 20 mm | 40 mm |
Test the real pitcher and a manageable representative load, including handle and door-bin clearance; follow the appliance and product instructions.
TRY THE EXAMPLE
Compare the shelf height
Teaching section in mm: shelf opening 310, no additional upper projection assumed, complete pitcher height 260 and independent trial allowance 30. Zero is an explicit assumption rather than unknown data.
Allowed range: 1–1500 · Step: 1
Allowed range: 0–500 · Step: 1
Allowed range: 0–1500 · Step: 1
Allowed range: 0–500 · Step: 1
Positive remainder under these assumptions. Check the actual use and product requirements before choosing a layout.
- Physical gap above pitcher
- 50 mm
- Balance after trial allowance
- 20 mm
Reference boundary — Shelf opening height: 310 mm
Blue dashed line: comparison boundary. Red dimension: shortage.
310 − 0 − 260 − 30 = 20 mm
Test the real pitcher and a manageable representative load, including handle and door-bin clearance; follow the appliance and product instructions.
Teaching assumptions, not a surveyed home or a construction check. Results describe this simplified geometry or budget only. Changes stay on this page and reset on reload.