Microwave Placement: Counter Space and Safe Clearances
Choose a practical microwave location by comparing counter, shelf, and built-in options, then check ventilation, door swing, reach, and hot-food landing space.
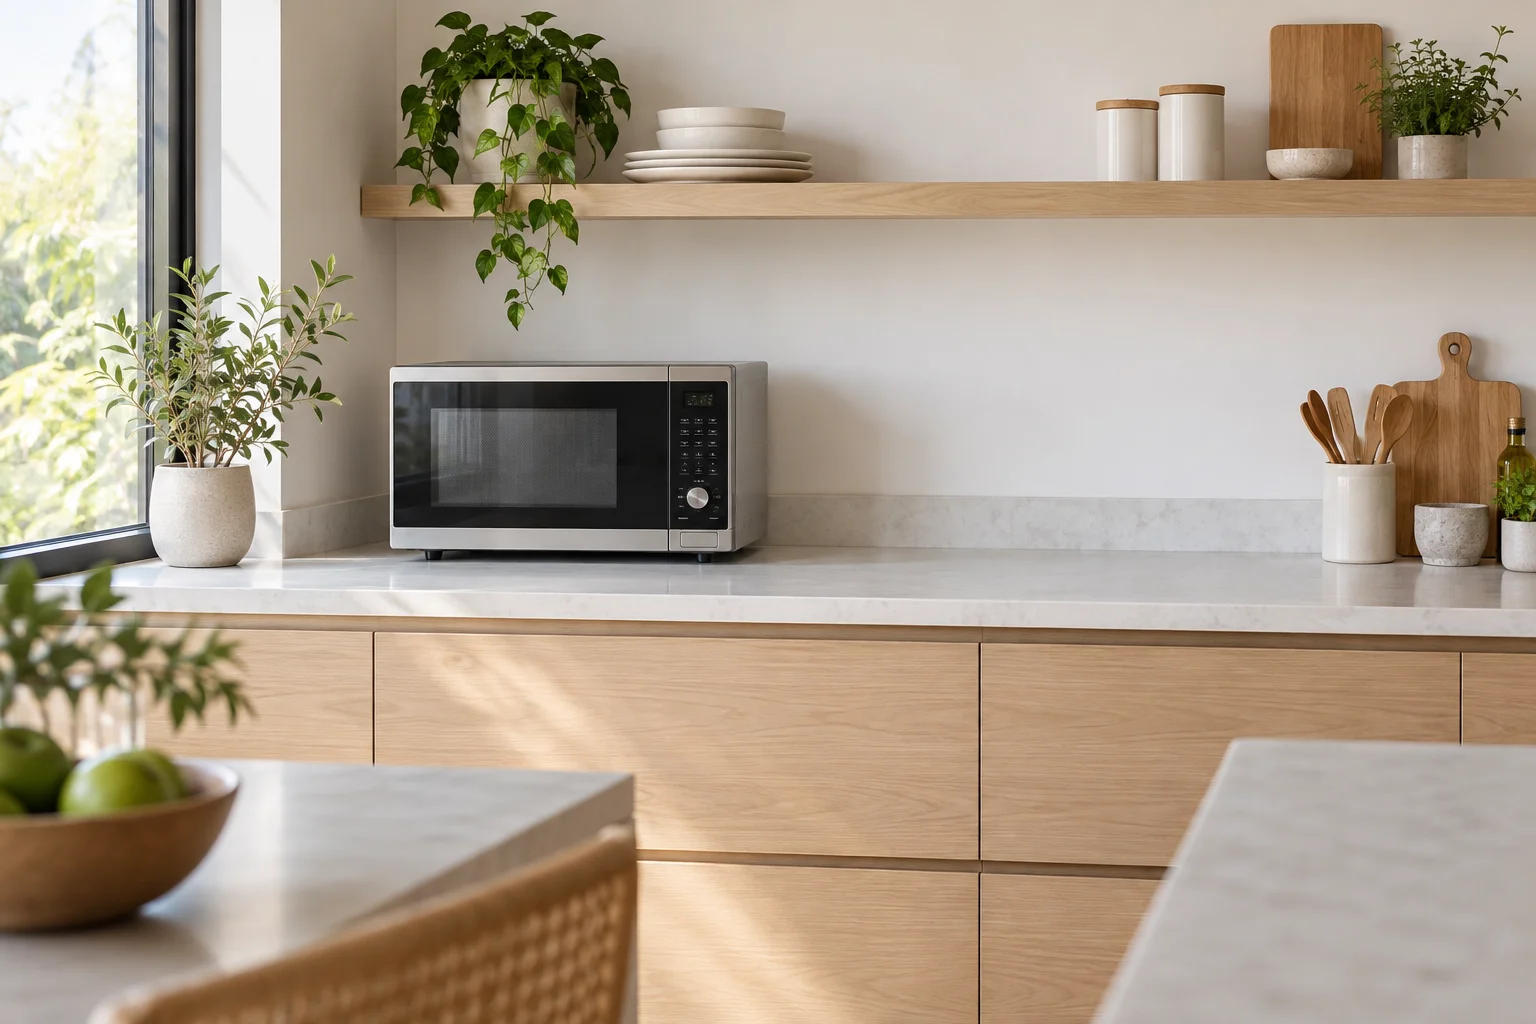
A microwave is easy to buy and surprisingly easy to position badly. A compact appliance can consume the only useful chopping surface, send its door into a wall, or require someone to carry a hot bowl across the kitchen. The right location depends on who uses it, what goes into it, and the installation requirements of the exact model. Start with the movements around the appliance before choosing a shelf or modifying cabinetry.
Measure the appliance as a working object
Record width, height, depth, handle projection, and the position of its feet. Then add the manufacturer's required clearances at the back, sides, and top. These allowances vary substantially, particularly between ordinary microwaves and combination convection models. A cabinet opening that fits the metal case may still be unsuitable because ventilation openings are blocked or the power plug pushes the appliance forward.
Draw two outlines: the installed envelope and the fully open door. Include a user standing in front with both hands occupied. Many doors hinge on the left, making a close wall on that side awkward; other models have drop-down doors. Confirm the actual hinge and opening angle instead of assuming the display photograph tells the whole story. Measure the largest dish you regularly heat, including its handles.
Give hot food a nearby landing surface
A practical starting point is an unobstructed landing area about 40 cm wide beside the appliance, with enough depth for the largest dish. This is a planning allowance, not a universal safety standard. A larger casserole or a user with limited grip may need more. The surface must remain available during breakfast and dinner, rather than being occupied by a coffee machine or drying rack.
Test the transfer with a cold, empty bowl. Can you open the door, lift the bowl with two hands, and place it down without reaching around the open door? A surface behind you may look adjacent in plan but require a risky turn. Avoid transfers over a cooktop or across a busy aisle. If the only landing surface is the door itself, check the manual; an open appliance door is not automatically a shelf.
Compare a countertop position with a dedicated shelf
Countertop placement usually gives straightforward access and makes it easier to inspect the appliance. Its cost is lost preparation area. In a narrow kitchen, preserve a continuous 60–90 cm preparation surface between the sink and cooking area if possible, then locate the microwave beyond that sequence. The galley kitchen guide explains how interrupted worktops reduce otherwise efficient layouts.
A dedicated shelf can recover counter space, but check its load rating with the microwave, a full dish, and the manufacturer's installation requirements in mind. Shelf depth must support the specified contact points. Do not let the front feet hang beyond the edge. The supporting wall, fixings, and cabinetry require appropriate assessment; decorative floating shelves are not a substitute for a verified support design.
Treat built-in installation as a separate decision
An appliance designed for countertop use should not be enclosed simply because it fits. Only use a built-in installation permitted by the manufacturer, with the correct trim kit or enclosure requirements where specified. The ventilation path may need more space than the visible opening, and service access must remain possible after the surrounding cabinetry is installed.
Consider replacement as well as first installation. An unusually tight, custom opening can force a future purchase into a narrow set of models. Save the installation drawing with your kitchen measurements and record the usable cavity behind any trim. Electrical work and changes to fixed cabinetry should be checked by the appropriate qualified professional rather than inferred from a room visualization.
Choose height around the actual user
There is no single ideal microwave height for every household. A high shelf may free a worktop while making it difficult to see liquid in a bowl. Begin by testing a position where the primary user can see the dish and lift it without raising the shoulders excessively. Use a cardboard appliance outline to compare several heights before ordering cabinetry.
A lower installation can help a shorter or seated user, but it may require bending and can put controls within easy reach of children. Drawer-style microwaves have their own installation and operating constraints. For any position, test with the shortest regular adult user and anyone with restricted mobility. If a person cannot make the transfer steadily with an empty bowl, the layout needs revision before hot food is involved.
Separate steam, splashes, and traffic
Avoid locating the appliance where sink spray reaches its controls or power connection. Keep it out of the cooktop's heat and grease zone unless the exact appliance is designed and approved for that placement. Over-the-range models are a distinct category with prescribed mounting and ventilation requirements; a countertop microwave above a hob is not an equivalent arrangement.
Breakfast traffic matters too. Put frequently used dishes and cereal nearby so someone heating milk does not repeatedly cross the main preparation area. Check whether the refrigerator door blocks access and whether a person using the microwave traps the cook between opposing counters. A location near the kitchen entrance can work well only when the open door and waiting user stay clear of the entrance itself.
Work through a compact kitchen example
Imagine a 300 cm counter run containing a sink, a 75 cm preparation section, and a cooktop. A 50 cm-wide microwave on the preparation section would leave only fragments of working space. One alternative is an appropriately supported, manufacturer-compliant shelf on an adjacent wall, provided the nearby counter still offers a landing area. Another is a short counter extension away from the wet and hot zones.
Compare both options using finished dimensions. The shelf option may preserve chopping space but fail the reach test. The extension may provide easier access but narrow the entry route. Model the room in the online room planner, then use tape and a cardboard box for the handling test. A 3D view helps reveal conflicts, while the physical test reveals balance and reach that a drawing cannot establish.
Check the plan before installation
- Confirm the exact appliance model and permitted installation type.
- Add every required ventilation gap, not a generic clearance assumption.
- Show the door open and the largest dish coming out.
- Keep a stable, clear landing surface within a comfortable transfer.
- Verify support, electrical access, and maintenance access.
- Test the shortest user and the busiest household routine.
Keep a second feasible position in reserve until the manual, support details, and electrical arrangement have been checked. You can explore the surrounding kitchen in the demo, but the final installation should follow the appliance documentation. A successful location makes the whole sequence easy: approach, open, lift, set down, and leave without crossing another person's work.