Sewing Machine Table Layout: Needle, Pedal, Fabric Space
Set up a sewing machine table with comfortable needle height, stable pedal placement, fabric support, task lighting, and enough space to thread and maintain it.
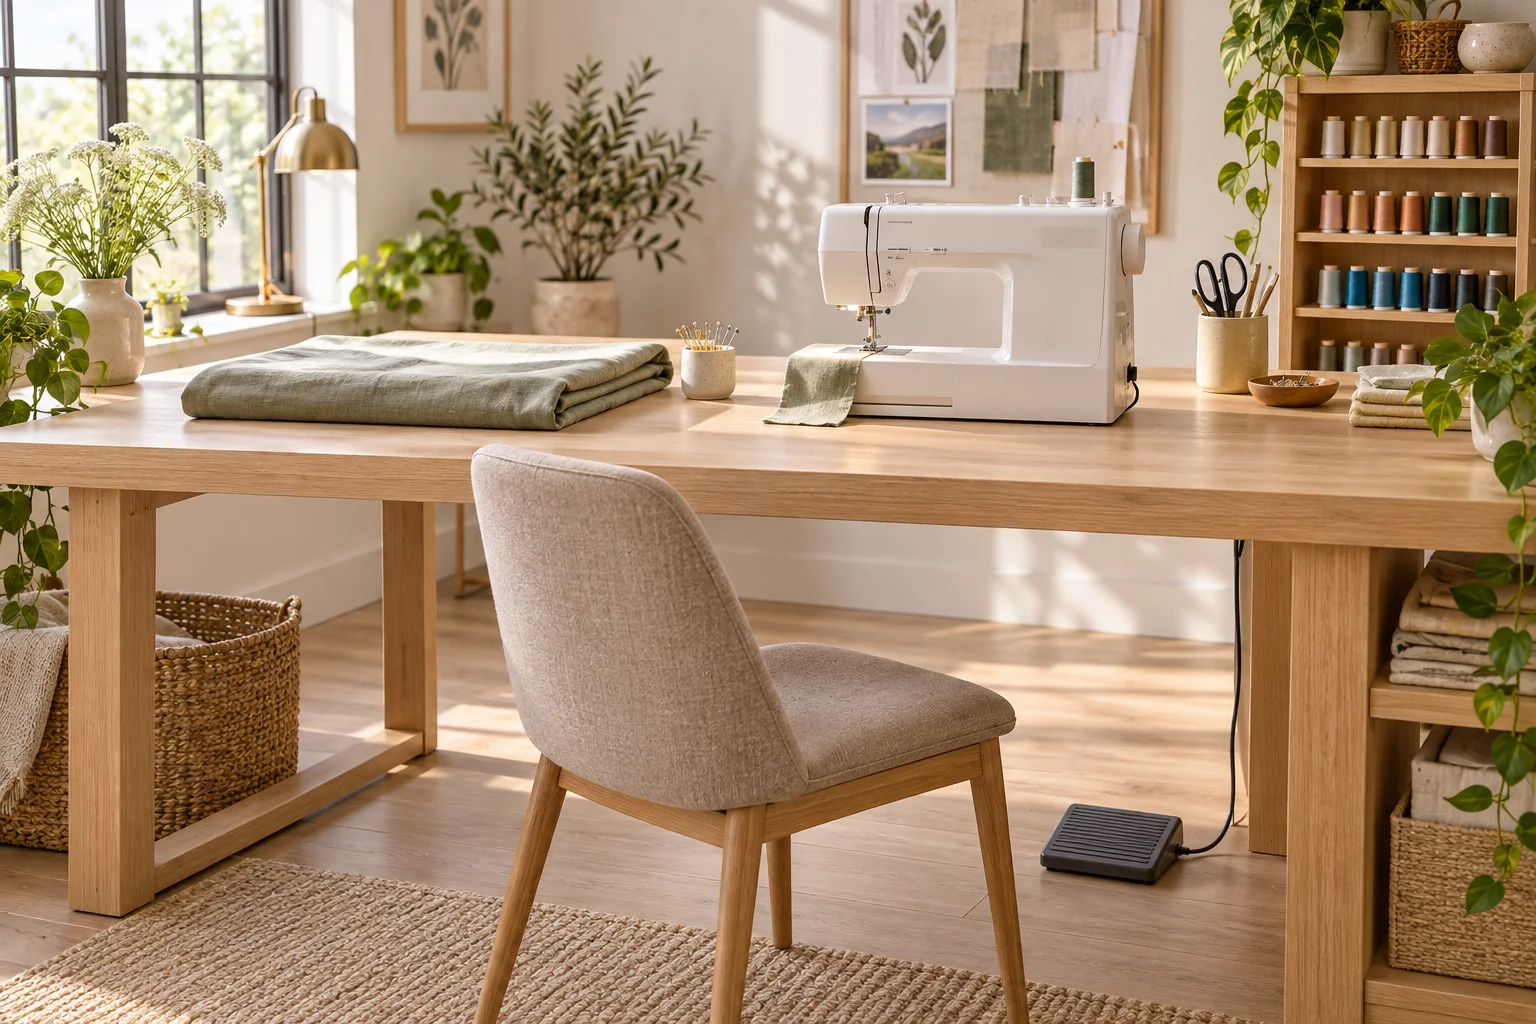
A sewing machine table is successful when the needle, hands, feet, and fabric can work together without constant correction. A large desk can still feel cramped if the needle is too far away, the pedal slides, or a curtain panel pulls off the side. Begin with the seated sewing position, then build the surrounding support and storage around it.
This is a guide to one machine workstation, whether it lives in a dedicated room or a shared dining area. For cutting tables and the relationship between several craft activities, see the sewing room planning guide. Here, every dimension should be tested against the user and machine rather than treated as a universal ergonomic standard.
Locate the Needle Before Centering the Machine
Sit in the intended chair with shoulders relaxed and feet supported. Position the needle area where you can guide fabric without leaning forward or lifting your shoulders. The machine body will probably sit to one side of your torso because the needle is not centered in the appliance.
A common mistake is centering the entire machine on the desk and then twisting toward the needle. Mark the needle position first. Add the machine footprint afterward, including its cable connection and any embroidery attachment that will remain installed during use. Confirm that your forearms can rest lightly rather than hanging unsupported.
Compare Table Height With Sewing Height
A portable machine on a normal desk raises the sewing surface above the tabletop. If a desk is 740 mm high and the machine bed adds 90 mm, the fabric is handled at approximately 830 mm. That arithmetic explains why a desk comfortable for writing can feel too high for sewing.
Those figures are an example, not a prescription. Measure the actual bed height and test the resulting position. An adjustable table, a suitable recessed machine cabinet, or a chair adjustment with proper foot support may help. Do not raise the chair so far that the pedal foot loses stable contact or the thighs press against the underside of the table.
Give the Pedal Its Own Floor Plan
Place the pedal where the ankle can operate it comfortably without stretching the leg. The preferred foot and pedal action vary between users, so test the real equipment. Maintain stable support for the other foot and ensure the chair does not roll backward under pedal pressure.
A crossbar, drawer unit, or table leg may occupy the best pedal position. Draw these objects, not just the desktop rectangle. Route the pedal cable so it does not snag a chair caster or get pulled when the user stands up. Use only suitable accessories and follow the machine instructions rather than fixing the pedal with a method that damages its case or mechanism.
For a preliminary model, reserve a clear seated bay about 700 mm wide and then verify it with the actual chair and leg movement. Some users and machines require more. Knee height, thigh space, and cable routes are as important as the width measured at the floor.
Support Fabric Where It Wants to Travel
Small garment pieces may need only a modest surface beside the needle. A quilt or curtain creates a different load: fabric hanging from the left edge can pull against the feed and make steering harder. Provide support to the left and behind the machine according to the largest project you regularly sew.
Try a 1,400 mm by 700 mm table as a test footprint for a portable machine and medium projects. Place a real folded quilt or curtain on it. If fabric bunches against the wall or falls into the user's lap, adding depth or a stable side extension may matter more than adding drawers.
Avoid a Step Between Support Surfaces
A neighboring surface that sits slightly below or above the machine bed can catch fabric. Recessed installations and approved extension tables can create a more continuous surface, but they must suit the machine and allow access to its controls. Measure the bed, extension, and opening carefully; do not cut a tabletop based on a generic machine outline.
Any folding or rolling support must be stable under the expected load. Test it while guiding a bulky project, not merely with a hand pressed on the corner. Leave the operator's exit route open when extensions are deployed.
Place Light at the Needle Without Hiding the Work
The machine's built-in lamp may leave shadows around dark fabric or a presser foot. Add an adjustable task light positioned so your dominant hand and machine body do not block the useful beam. Check for glare on the needle plate and reflections from glossy thread or fabric.
Use ambient room lighting as well, particularly when working at night. A bright island around the needle in an otherwise dark room can be uncomfortable. Move the lamp through the full threading and maintenance motions to ensure its arm does not occupy the same space as an open cover or raised spool pin.
A window offers daylight but is not a complete lighting plan. Test the position at the hours you actually sew. If strong side light makes markings hard to see, an adjustable blind may be more useful than rotating the whole workstation.
Keep Frequent Tools Within an Easy Reach
Place thread snips, seam ripper, pins, and marking tools where they are visible without reaching over the running machine. A shallow tray beside the user's nonworking area can be easier to manage than deep drawers. Keep sharp items contained and switch off the machine for handling procedures as directed by its manual.
Do not crowd the fabric path with decorative jars or tall thread racks. Wall storage can free the table, but it should not require repeated overhead reaching for the items used every few minutes. Store less-used feet, manuals, and spare needles separately so the immediate work zone remains clear.
Preserve Threading and Maintenance Access
Open the bobbin compartment, thread the machine, change the needle as instructed, and access the power switch. A flush-looking cabinet can still prevent a side cover from opening or hide the connection point. Leave the manufacturer's required access and ventilation, and make unplugging straightforward before maintenance.
If the machine must be lifted out for storage, check its weight and the lifting route. A low shelf under the desk may be difficult to use without twisting while holding a heavy appliance. Keep the storage height and carry distance manageable, and use help where needed rather than designing around an unsafe solo lift.
Test a Shared-Room Setup in Both Modes
In a dining room, draw the table with the machine out and with the machine stored. The chair must withdraw far enough for sitting and standing, and the door must open in both states. A folding side support that blocks a family route is not a workable everyday solution.
Use the room planner to compare a straight desk with a desk plus removable side support. Add blocks for the seated user, chair withdrawal, and fabric spread. Explore the demo to understand the room in three dimensions, then confirm comfort with a temporary physical arrangement.
Sew a sample for twenty minutes and review shoulder tension, pedal stability, lighting, and fabric drag. Adjust one element at a time so you know what helped. Finalize the table only after the complete routine—setup, sewing, bobbin access, and packing away—works without awkward lifting or repeated furniture moves.