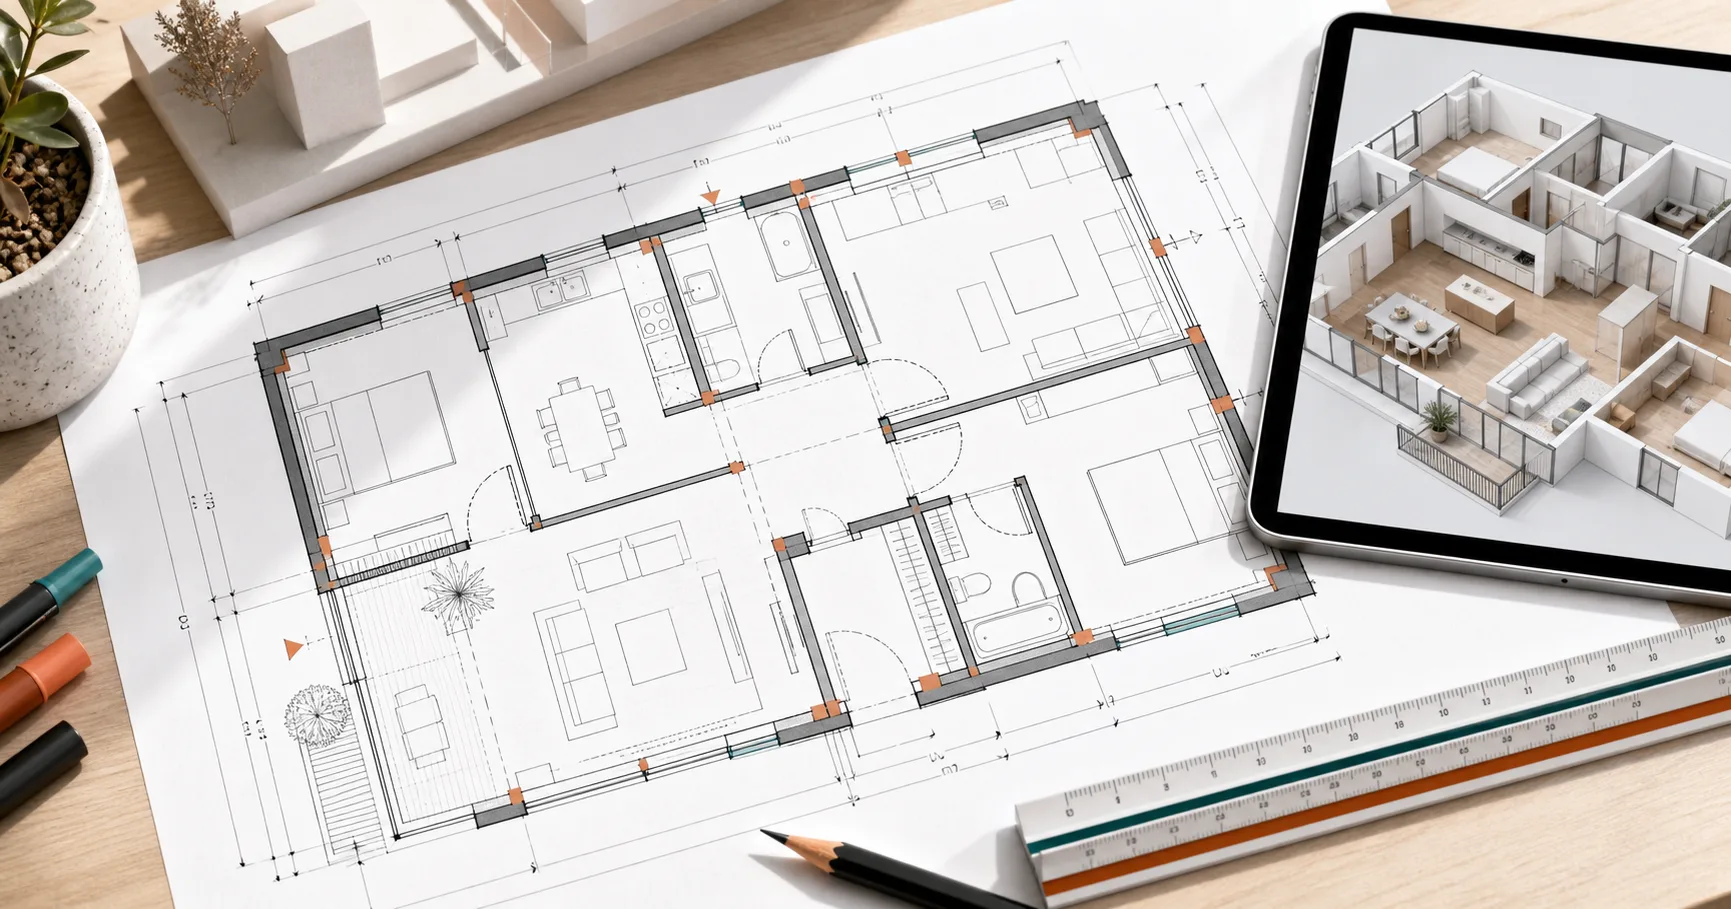
Floor Plan Symbols and Measurements: Doors, Windows, Walls, Scale
Learn common floor plan symbols, door swings, windows, wall thickness, furniture blocks, scale, and measurement checks before 3D modeling.

Reading a floor plan is a design superpower. Once you understand symbols, scale, wall thickness, and clearances, a flat drawing stops looking like lines and starts looking like a room you can test. You can see where doors collide, where furniture is too large, and where a beautiful renovation photo would fail in your own apartment.
This guide explains the common symbols and measurements homeowners, designers, and product teams need before moving a plan into Aedifex or any 3D room planner.
Scale Comes First
Every plan is a reduced version of real space. Common scales include 1:50, 1:100, or 1/4 inch = 1 foot, depending on region. The exact format matters less than the habit: always confirm the scale before trusting any measurement.
If a plan has a scale bar, use it. Printed plans can be resized accidentally, especially after being scanned or inserted into a PDF. A written scale like 1:50 is only reliable if the drawing was printed at the intended size. A scale bar remains useful even when the page is resized.
When recreating a plan digitally, start with one known dimension such as overall room width, a door width, or a kitchen cabinet run. Use that to calibrate the rest.
Walls: More Than Lines
Walls are usually drawn as thick double lines or filled bands. Their thickness matters because it changes usable room area.
Interior partition walls may be around 100mm to 150mm thick. Exterior walls can be much thicker. In older buildings, masonry walls may vary across the plan. If you measure only from line center to line center, furniture may not fit.
For layout planning, distinguish:
- Structural walls: difficult or impossible to remove.
- Partition walls: sometimes movable, but still involve cost.
- Low walls or half walls: affect sightlines more than circulation.
- Glass partitions: visible boundary without the same light blockage.
If you are considering wall removal, compare the tradeoffs in Open Floor Plan Pros and Cons.
Door Symbols
Most hinged doors are shown as a thin rectangle plus an arc. The arc shows the swing direction. This small curve is one of the most important symbols in the drawing because it predicts collisions.
Check:
- Does the bedroom door hit a wardrobe?
- Does the bathroom door hit the vanity?
- Does the entry door block the shoe cabinet?
- Can two nearby doors open at the same time?
Sliding doors are usually drawn as overlapping panels or a line along the wall. Pocket doors disappear into a wall cavity. Bifold doors are drawn with folded panels. Each door type changes usable space, privacy, sound, and cost.
Window Symbols
Windows are often shown as breaks in the wall with thin parallel lines. The plan may not show sill height, opening direction, or exact frame depth, so do not assume every window can take furniture underneath it.
Important window checks:
- Sill height: can a desk or sofa sit below?
- Opening type: does the sash swing into the room?
- Radiator or HVAC below: does it block furniture?
- Daylight direction: which wall receives natural light?
Window position should influence work zones, plants, mirrors, and TV placement. In small apartments, daylight is often more valuable than symmetry. See the 30 sqm apartment walkthrough for a practical example.
Furniture Blocks Are Usually Optimistic
Floor plans often include furniture to show room purpose, but those blocks may be generic. A bed symbol might be smaller than the actual bed frame. A sofa might ignore arm thickness. A dining table might not include chair pull-out space.
Before buying anything, model the true dimensions:
- Bed frame, not just mattress
- Sofa including arms and recline clearance
- Dining table plus chairs pulled out
- Desk plus chair movement
- Wardrobe doors or drawers when open
This is where a browser 3D model is useful. Place the real rectangle, then walk the route around it. If the plan only works when every chair is perfectly tucked in, it does not work.
Dimension Lines and What They Mean
Dimension strings can measure different things:
- Outside wall to outside wall
- Inside finished wall to inside finished wall
- Centerline to centerline
- Rough opening for doors or windows
Interior design usually needs finished inside dimensions, because furniture cares about the surface it touches. Construction drawings may include other dimensions for builders. If numbers do not add up, look for wall thickness, structural offsets, or rounded values.
Room Names Can Mislead You
A plan may label a room "bedroom," "study," or "dining," but the label does not guarantee it works for your use. A study may not fit two monitors. A bedroom may fit a queen bed only if the wardrobe becomes unusable. A dining area may seat four only when no one walks behind the chairs.
Instead of trusting labels, test activities:
- Enter the room.
- Use the main furniture.
- Open storage.
- Move to the window.
- Leave without moving another object.
If the activity works, the room works.
A Quick Workflow for Beginners
Use this order when reading any plan:
- Confirm scale with a known dimension.
- Mark structural walls and wet zones.
- Trace every door swing.
- Mark windows and daylight direction.
- Place true-size furniture blocks.
- Check clear paths between entry, storage, and windows.
- Move the plan into 3D and test eye-level views.
Try the workflow in Aedifex. Draw the walls first, then doors and windows, then furniture. If you want a more guided design tool, start with the 2D Floor Plan Maker or the broader Room Planner.
Once you can read symbols and measurements, you stop guessing. The plan becomes a testable model, and design decisions become much less expensive.