TV Console Layout for Ventilation and Cable Access
Plan a TV console around equipment airflow, plugs, rear access, and cabinet doors. Use measured examples to keep everyday use and future maintenance simple.
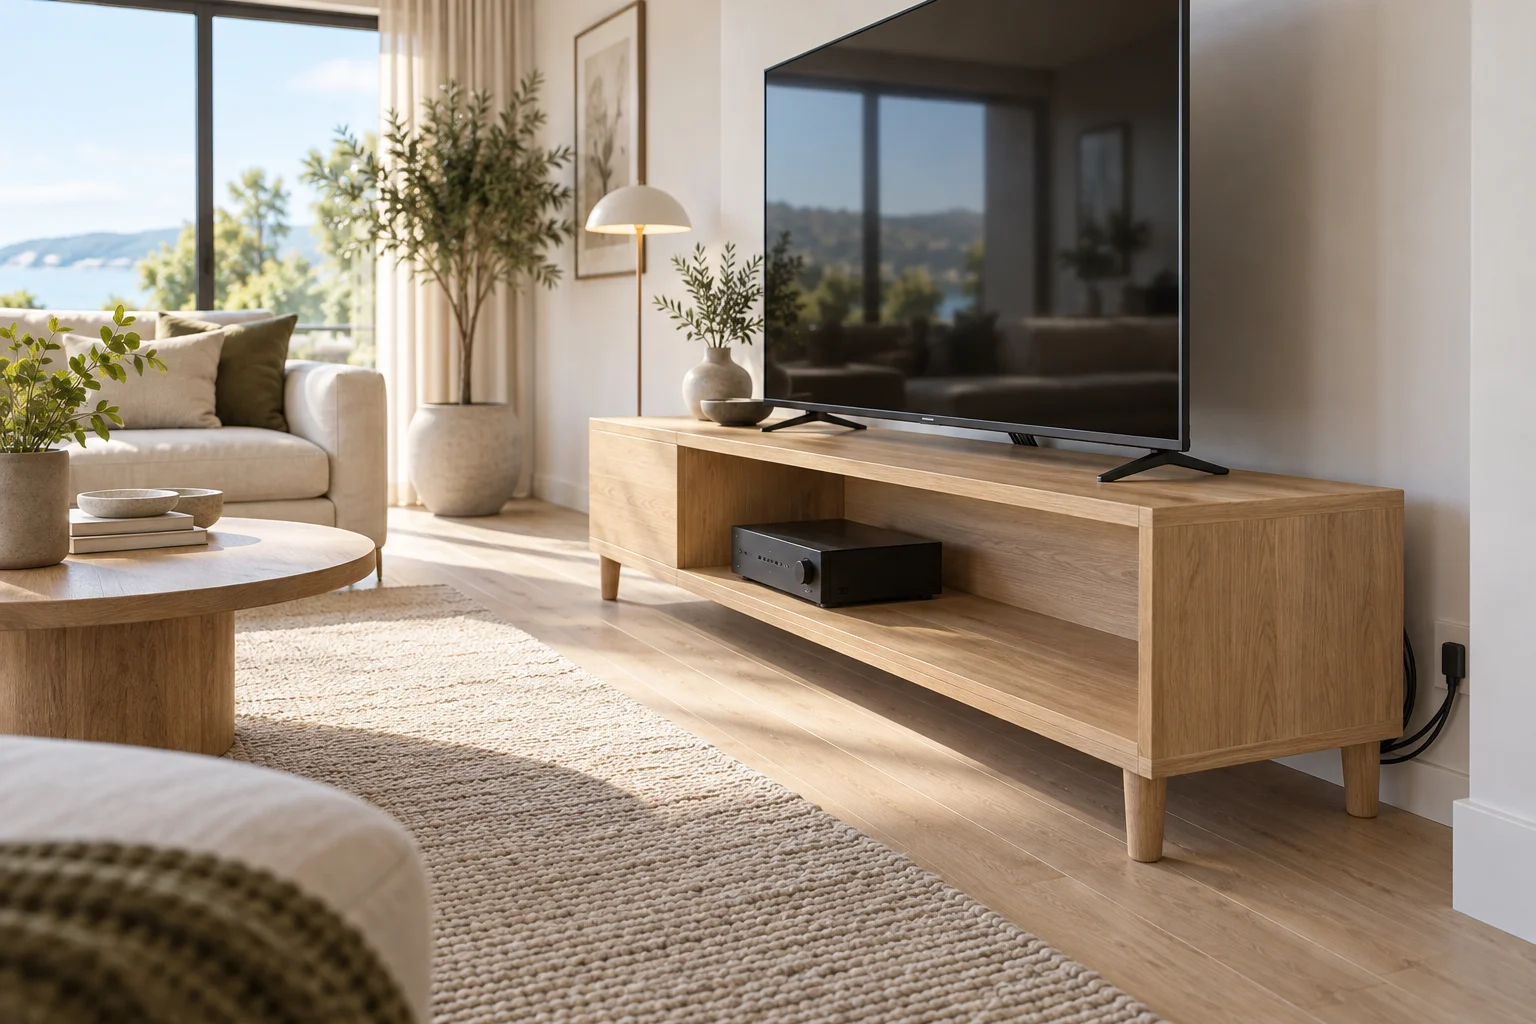
A television console can look perfectly sized from the sofa while failing at the back. The receiver fits until its plugs are connected. A cabinet door hides the equipment but also closes its airflow route. Replacing one cable requires moving a heavy television. These problems begin when the furniture is selected by external width alone.
Plan the console as an equipment location with two conditions: normal operation and maintenance. The examples below explain how to measure them; they are not universal ventilation requirements. Equipment and furniture instructions determine permitted installation, clearances, loading, and mounting. A cable hole is not proof that a cabinet is suitable for every electronic device.
Make an equipment inventory before choosing furniture
List each item that must live in the console: receiver, game console, streaming box, router, power supply, and any future equipment you already intend to buy. Record width, height, depth, weight, connector locations, and which surfaces contain vents. Include removable stands and external power bricks rather than measuring only the main case.
Add a task column. A disc drive needs room to open; a game console may need access to a front port; a router may need an accessible reset button. Separate items that need routine handling from items touched only during maintenance. This helps decide which shelf deserves the easiest reach instead of automatically placing the largest device in the middle.
Measure the usable compartment, not the advertised depth
A console advertised as 400 mm deep may have substantially less usable depth after accounting for its door, back panel, and recessed shelf. Ask for the internal drawing. Measure the narrowest opening too: a device that fits inside may not pass through a door frame or around a fixed divider.
Consider a hypothetical device 300 mm deep. Its connected plug and relaxed cable turn occupy another 60 mm, while the selected installation requires a further 30 mm beyond that cable envelope. This example needs 390 mm of usable depth. Do not borrow these numbers for your equipment, and do not add allowances twice if the manufacturer already defines clearance from the connected assembly.
Cable bending requirements vary. A right-angle adapter is not automatically an acceptable fix for insufficient depth; verify compatibility and installation requirements. Pressing a connector against a back panel can put stress on the port even when the cabinet door closes.
Draw an uninterrupted airflow route
Identify where each device takes in and releases air. Then check whether the shelf, adjacent equipment, stored books, or closed door obstructs that route. An open back does little for a top vent pressed under the shelf above it. A perforated door also needs sufficient effective opening area for the specified installation.
Keep the manufacturer's clearances as separate reserved spaces in your notes. They are not spare storage areas for controllers or instruction manuals. Avoid stacking devices unless explicitly permitted. The heat produced by the complete equipment group matters, so a compartment that works for one streaming box should not automatically receive a receiver as well.
If the instructions require active cabinet ventilation, obtain a compatible designed solution. A room layout cannot calculate operating temperatures or certify cooling performance. Do not improvise by drilling a structural panel or assuming that leaving the door ajar will become a reliable daily habit.
Give the rear gap a specific purpose
A rear gap might accommodate plugs, provide an airflow path, or let a hand reach a connector. Those are different requirements. A narrow cable gap can be useful without being a usable maintenance space. Measure from the wall's most projecting feature, including skirting, outlet faceplates, and plugs.
For example, a 420 mm deep cabinet sitting 80 mm away from the wall occupies 500 mm of room depth before handles are considered. Use that total in the living room plan. If a walking route crosses in front of it, the gap cannot be treated as invisible just because nobody stands behind the cabinet.
Mark wall outlets against the actual compartments. An outlet hidden behind a fixed vertical divider may be technically nearby yet impossible to reach. Coordinate any electrical alterations with a qualified professional instead of planning on permanently trapped extension connections.
Choose a realistic maintenance method
Write down how you will replace a cable. Will a removable rear panel provide access from the side? Can an individual device slide forward on a suitable shelf? Must the cabinet move? Test that sequence with the television support, anti-tip restraints, cables, and floor protection included.
Do not disconnect a required restraint merely to make the furniture movable, and do not move a loaded console if its instructions prohibit it. If safe servicing requires two people or removal of the television, accept that as a maintenance constraint and compare a more accessible cabinet before buying.
Reserve a temporary place for removed equipment. A device resting on the floor in a doorway creates a second problem while the first is being fixed. Keep the front access zone large enough to kneel or sit in the way the actual user needs.
Route cables by destination and service sequence
Label both ends of each cable before closing the cabinet. Group routes by destination so that removing one device does not require unthreading every lead. Use appropriate reusable retainers without crushing cables, covering vents, or binding power bricks into a dense bundle.
Allow the amount of movement required by the chosen service method, following cable and equipment guidance. Excess cable should not become a tangled heap behind a hot device. Keep power connections accessible, avoid overloaded or daisy-chained power strips, and obtain electrical advice where the existing outlets cannot support the intended arrangement.
Include doors, drawers, and cleaning
Draw hinged doors fully open and drawers pulled out. Check the coffee table and the main route from the entry. A cabinet that can only open after moving a loaded table is inconvenient for daily controller storage, even if rear maintenance is well planned.
Check whether the vacuum head can reach below the console and whether vent openings can be cleaned according to the equipment instructions. A permanently inaccessible dust pocket is a poor companion to a carefully measured airflow gap. Store spare cables separately so that they do not gradually occupy the spaces reserved for cooling.
Rehearse the complete arrangement
Tape the total console footprint, including the rear offset, onto the floor. Place a cardboard outline of the largest device on the intended shelf and simulate its connected depth. Walk through normal use, an open drawer, and replacement of one cable. Record any step that depends on lifting heavy furniture.
Use the room planner as a starting point for comparing the console with the rest of the room, then verify connectors and ventilation physically. If the television shares a wall with a hearth, also review the separate fireplace and TV layout guide; that placement question does not replace equipment-specific heat guidance.
Before ordering, confirm internal dimensions, approved airflow clearances, connected depth, door movement, outlet access, and a safe service sequence. A good console should be easy to live with on movie night and equally understandable when one small cable needs replacing.