Height Adjustable Desk Clearance: Sit-Stand Planning
Plan a height adjustable desk around its full travel, cable slack, shelves, chair parking, and standing space with practical measurement examples.
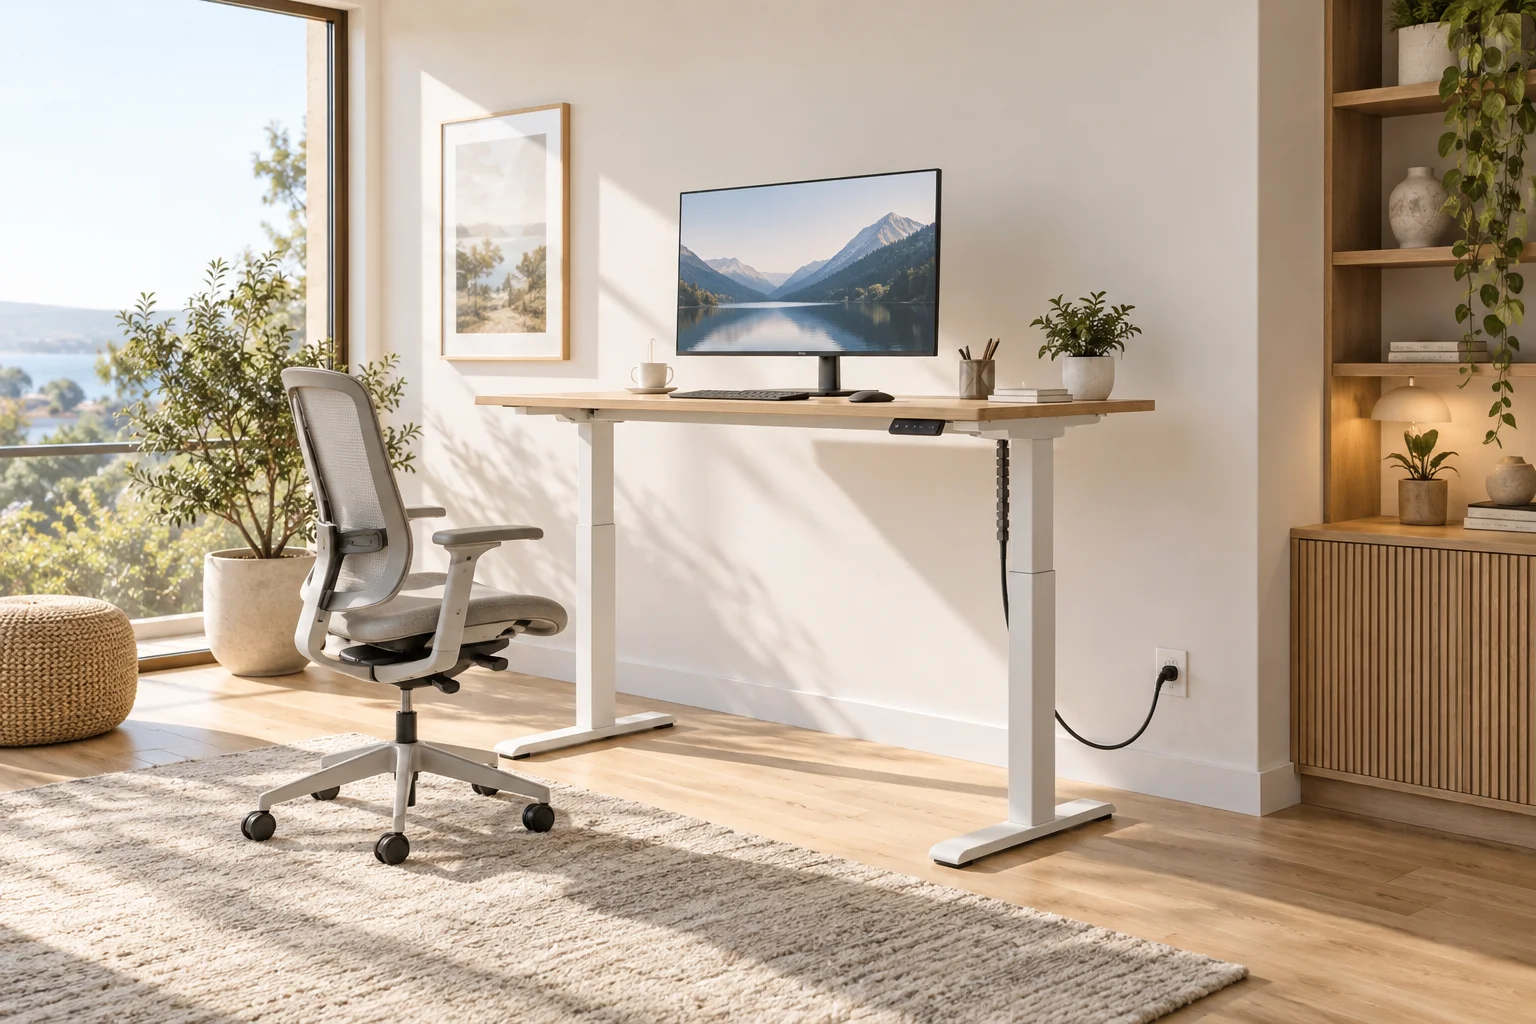
A height adjustable desk occupies more than its footprint. The desktop rises, the monitor rises with it, cables change shape, and a chair that was useful a moment ago needs somewhere to park. A layout can look comfortable at sitting height while trapping a cable or striking a shelf halfway through the next movement. Plan the complete journey between working positions before deciding where the desk belongs.
The dimensions below are worked examples, not building rules, ergonomic prescriptions, or clearances approved for a particular desk. Follow the desk and accessory manufacturers' instructions, including load limits, installation requirements, and restrictions on nearby objects.
Record Two Working Heights and the Equipment Above Them
Start with the people using the desk. Trial a comfortable seated and standing position with the actual chair, keyboard, footwear, and any standing mat. Record desktop height at both positions. Do not choose settings solely from another person's height chart, and do not assume the desk's lowest and highest settings are both useful to you.
Next measure the tallest attached item above the desktop: monitor, raised laptop, lamp, microphone, or document holder. An example desk moving from 70 to 116 cm with a monitor top 47 cm above its surface has a monitor top that travels from 117 to 163 cm. An overhead shelf whose underside is 155 cm would intersect that example arrangement. Moving only the desktop outline in a plan misses this conflict.
Measure the manufacturer's full operating range as well. A saved standing preset does not necessarily prevent someone from raising the desk farther. If the desk offers manufacturer-approved travel limits, document and test them rather than relying on a handwritten reminder.
Draw a Vertical Travel Envelope
Treat every desk-mounted object as part of a moving volume. Sketch the desktop at its low and high positions in a side view, then add the monitor, rear cable tray, clamp screws, and anything hanging below. Check the volume between those endpoints against window sills, shelf brackets, radiators, wall lights, and sloping ceilings.
Low objects matter too. A drawer pedestal can fit under a raised desk but obstruct its descent. Measure the lowest underside component, which may be a frame rail or motor housing rather than the desktop itself. Keep mobile storage outside the travel envelope unless the manufacturer explicitly supports the arrangement. Do not rely on collision detection to make an obstructed layout acceptable.
Divide Cables Into Moving and Fixed Groups
List each device and where its cable terminates. A monitor and dock both attached to the desktop move together. A cable from that dock to a computer on the floor connects moving and fixed points. These two situations need different routing.
Where permitted by the equipment instructions, mounting a suitable power distribution unit to the moving desk can reduce the number of cables crossing that boundary. It does not remove electrical load limits or authorize drilling into the desk frame. Confirm mounting and ventilation requirements, keep connectors accessible, and avoid routing cables through moving mechanisms.
For each remaining crossing, measure the actual route at the lowest and highest positions. Include bends around the tray and the approach to the outlet, not just a straight vertical distance. The cable needs enough usable length for the longest route plus a controlled service loop; that loop must not reach casters or hang where a foot catches it.
Work Through One Cable Example
Suppose the chosen cable route uses 85 cm at sitting height and 131 cm at standing height. The route gains 46 cm. A cable with only 25 cm free at the seated position cannot serve that movement simply because it looks loose under the desk.
If a 160 cm cable serves this example route, the high position leaves 29 cm before accounting for connector strain relief and any required bend radius. Check whether that remainder can form an appropriate loop using the cable manufacturer's guidance. This is a measurement method, not a recommendation that every setup needs a 160 cm cable.
Repeat the calculation for power, display, USB, network, speakers, and chargers. The shortest overlooked cable sets the practical limit. Then check the low position: excess length can fold into a pinch point even when the high position looks perfect.
Give the Chair and Standing Mat Separate Parking Places
A chair pushed straight backward may block the only route through the room. Mark its standing-mode parking position beside the desk or in a deliberate bay, then verify you can still reach the door and storage. Test with the chair's real backrest and caster footprint, not only its seat width.
A mat creates a second transition. Decide whether it stays under the chair, moves beneath the desk, or stores upright in a location intended for it. Check the product's compatibility with chair casters and the floor. A curled edge beside the parking bay is a layout problem even if the desk itself has generous clearance.
For broader desk placement and daylight decisions, use the home office layout guide. Keep this check focused on what changes when the desk changes height.
Test Nearby Furniture in Its Open Position
Open the nearest cabinet and pull out the adjacent drawer. Raise and lower the planned desk position on your drawing while those objects remain open. Check an inward-opening window, curtain stack, and radiator valve too. A curtain can enter the mechanism without appearing in a furniture footprint.
In a shared office, one person's stationary desktop can become an obstruction for the other person's descending equipment. Place the two travel envelopes independently. The two-person office guide helps organize the shared route, but independent height settings need this additional side-view check.
Commission the Layout Before Everyday Use
Follow the desk's assembly and commissioning instructions, with the operating area clear. Do not put fingers into suspected pinch points to test them. Observe the desk through its allowed travel from a safe position and stop if a cable tightens, an accessory shifts, or an object approaches the moving assembly.
Use this handover checklist:
- Confirm actual low, high, and permitted travel-limit settings.
- Check every attached accessory at both endpoints and between them.
- Verify cable slack, connector access, and low-position loop storage.
- Park the chair and mat without occupying the exit route.
- Repeat the inspection after adding a screen, lamp, or drawer unit.
Use a room plan to compare where the desk and parked chair fit, and keep your measured vertical and cable checks alongside it. The successful arrangement lets you change posture without first moving furniture, rescuing a cord, or wondering what is hidden beneath the desktop.