Monitor Arm Clearance: Desk Clamps, Walls, and Reach
Measure monitor arm clearance at the clamp, rear wall, joints, and screen corners before buying, with a practical fit worksheet and setup sequence.
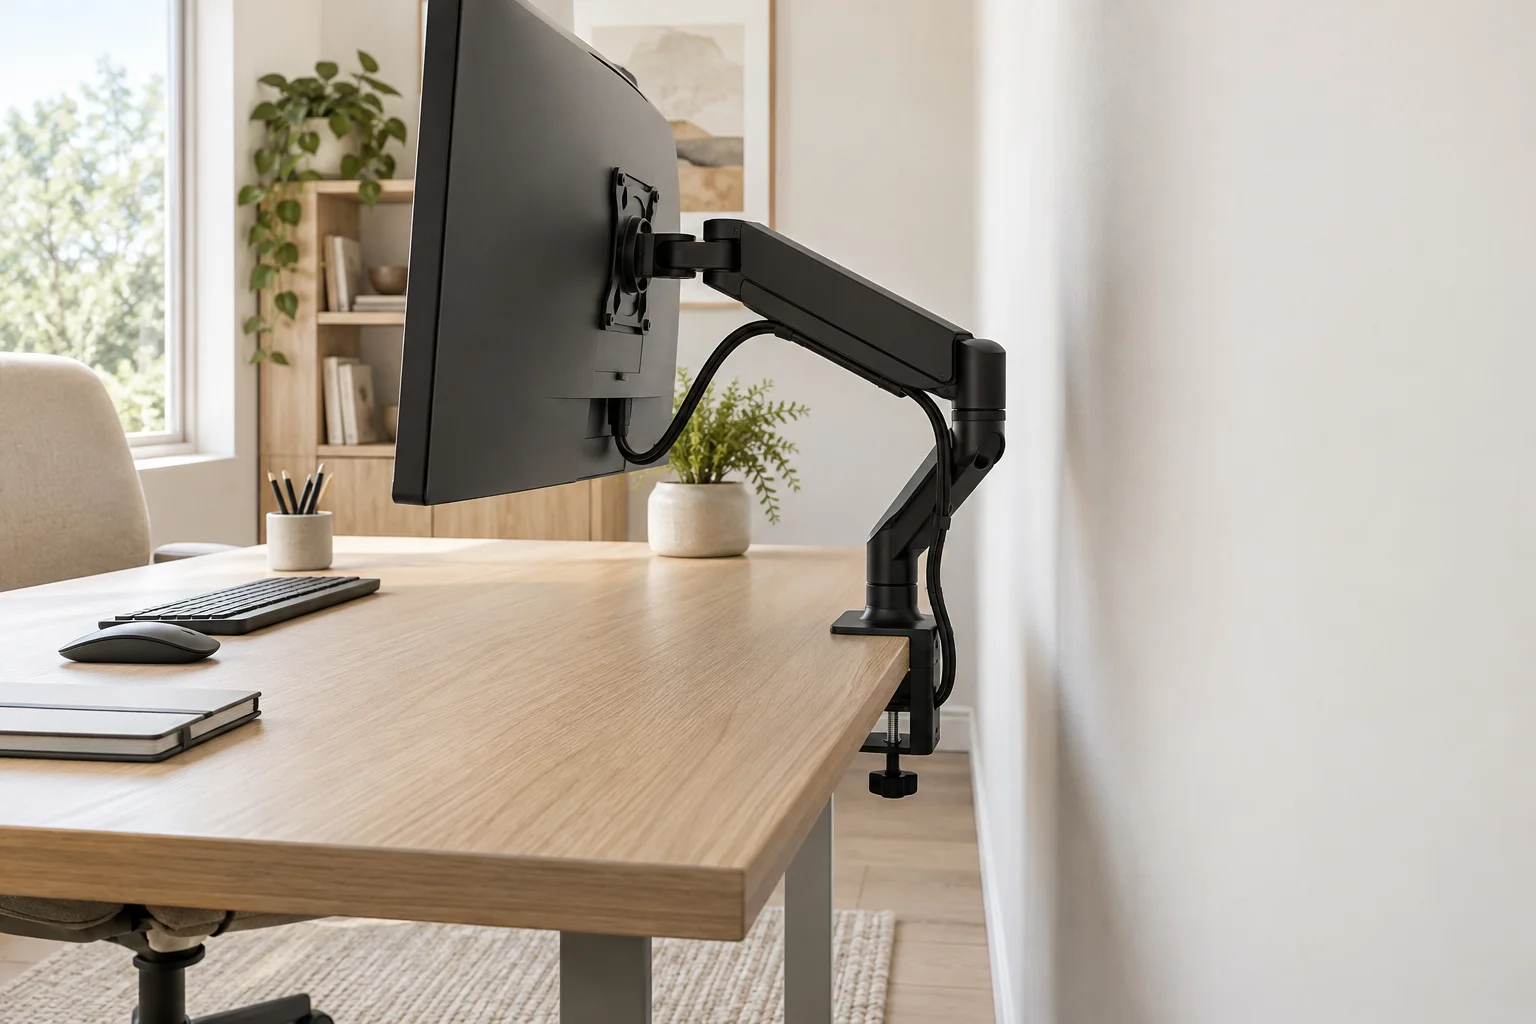
A monitor arm can free desktop space while requiring more room behind the desk than the original screen stand. The clamp needs an unobstructed mounting patch, the folded joints need somewhere to go, and screen corners sweep sideways when you rotate the display. Treat the arm as a moving assembly rather than a slim vertical pole shown in a product photograph.
This guide uses illustrative dimensions to explain measurement. They are not universal clearances or structural approval. The desk, monitor, and arm instructions determine compatibility, supported loads, mounting details, and permitted movement.
Confirm Compatibility Before Measuring the Room
Record the monitor's weight without its original stand, mounting pattern, and any recessed mounting area. Compare those details with the arm's stated limits and adapter requirements. Screen size alone does not establish compatibility: two equally wide displays can differ in mass and where that mass sits relative to the mounting plate.
Check the desk construction too. A top may have a hollow core, beveled edge, glass insert, cable channel, or structural apron that makes an apparently convenient position unsuitable. Do not assume a reinforcement plate makes every desktop acceptable. Use one only where the desk and arm manufacturers permit it, and confirm whether drilling or clamp mounting affects the desk's support requirements.
Measure the Clamp Above and Below the Desktop
A compatible desktop thickness is only the first check. Measure the flat upper contact area, lower contact area, and the depth available beneath the rear edge. Add space to insert the clamp, turn its handle, and retighten it later. A rear rail can obstruct the screw even when the visible desktop edge seems perfect.
Imagine a clamp that needs a 9 cm deep underside mounting area. If a frame rail starts 6 cm from the back edge, the proposed spot fails that example requirement. Moving the clamp sideways may solve it, provided the alternative location remains structurally suitable and within the arm's useful reach.
Measure with a ruler under the desk rather than estimating from above. Mark the mounting patch with removable tape, including both the clamp body and the hand access needed for installation. Check cable trays and drawer runners before ordering hardware.
Separate Wall Gap From Joint Sweep
The gap behind the desktop and the space behind the screen are different measurements. A display can sit close to a wall while an elbow projects backward below it. Conversely, an arm may fold sideways and need little rear projection but considerable width along the wall.
Ask for the product's dimensioned drawings showing folded and extended positions. If only maximum reach is listed, that number does not tell you the minimum rear space. Do not infer joint geometry from a marketing photograph. Choose a model with documented geometry or inspect a sample when the wall gap is tight.
At the intended clamp location, plot the most rearward point in every position you expect to use. Include joint covers, adjustment knobs, and cables exiting behind the screen. Keep access to an outlet or switch separate from the arm's physical clearance.
Use a Coordinate Sketch for the Rear Gap
Take the rear desktop edge as zero. Suppose the selected clamp's pivot sits 4 cm forward of that edge, while a particular folded elbow reaches 13 cm backward from the pivot. The elbow then projects 9 cm behind the desktop: 13 minus 4. A 6 cm desk-to-wall gap cannot accommodate that position.
This subtraction works only for the measured arm configuration. Changing joint angles changes the result, and the cables may extend farther than the elbow. Add the installation allowance specified by the manufacturer rather than treating a barely non-touching drawing as a reliable fit.
Possible responses include moving the desk forward, selecting an arm that folds sideways, moving the clamp to an approved offset position, or keeping the original stand. Compare these options against the room's walking route. Recovering 10 cm of desktop is not useful if moving the entire desk removes the space needed behind your chair.
Check Screen Corners, Not Just the Mounting Plate
Use a cardboard rectangle matching the display's outer dimensions, including bezels. Hold it at the intended screen plane and trace the corners through landscape-to-portrait rotation and side-to-side adjustment. Have a helper hold it securely; a paper template is not a substitute for safely supporting the real display during assembly.
A centered rectangular screen sweeps a radius equal to half its diagonal when rotating in its own plane. For an illustrative 62 by 37 cm rectangle, that radius is about 36 cm. Actual mounts can be off-center, so use the real mounting position. A nearby shelf or second screen may obstruct a corner even though the final portrait position appears clear.
Protect Useful Viewing Depth
An arm does not automatically move the screen farther away. Some folded configurations place the display well forward of the rear edge. On a shallow desk, that can leave too little space for your preferred keyboard position and viewing distance.
Mock up the screen plane before selecting the clamp location. Sit in the actual chair with the keyboard and mouse positioned comfortably. Compare the result with the original stand. If you must lean backward to see comfortably or move the keyboard to the edge, choose a different configuration rather than assuming the arm is an improvement.
The home office layout guide covers overall desk placement. For a multi-screen entertainment setup, compare the equipment arrangement in the gaming room guide.
Route Cables Through the Same Movements
Follow the arm's cable-routing instructions and leave the prescribed slack at moving joints. A cable fixed tightly between two links can restrict movement before the metal parts reach their limits. Check connectors behind the screen during tilt and rotation, especially where plugs project toward the wall.
If the desk also rises, the arm's motion and desk travel are separate checks. Test the arm's permitted positions at both desk heights. Do not combine several unknown movements into one quick adjustment and conclude that the cables are long enough.
Make the Final Fit Decision
Before purchase, your worksheet should contain the mounting patch dimensions, supported desktop construction, clamp access, greatest rear projection, sideways joint sweep, screen-corner envelope, and usable screen plane. Any blank field is an unresolved fit question.
After installation according to the instructions, move through the intended positions slowly, keeping people and loose items clear. Check fasteners at the intervals the manufacturer specifies. A room planner can help compare the desk's location in the room; use the arm drawings and physical measurements for the mechanism itself. The right arm fits your desk, wall, and daily adjustments together.